
Gallery: Nokia N8 by Nokia N8: White Background Macro Photography (and using Photo Editor's Highlights and Shadows)

Prior to the Nokia N8 I relied on the N82 for product shots. Yes, I could have used a digicam but I just like the simplicity of sending a bunch of photos over bluetooth. No looking for wires, removing any memory cards, just click and send.
Anyway, I was checking out the N8 to see how it would fare and thought I’d share some of the raw unedited photos as well as on board photo editing. You can see full sized pics by clicking at the gallery at the end of this post.
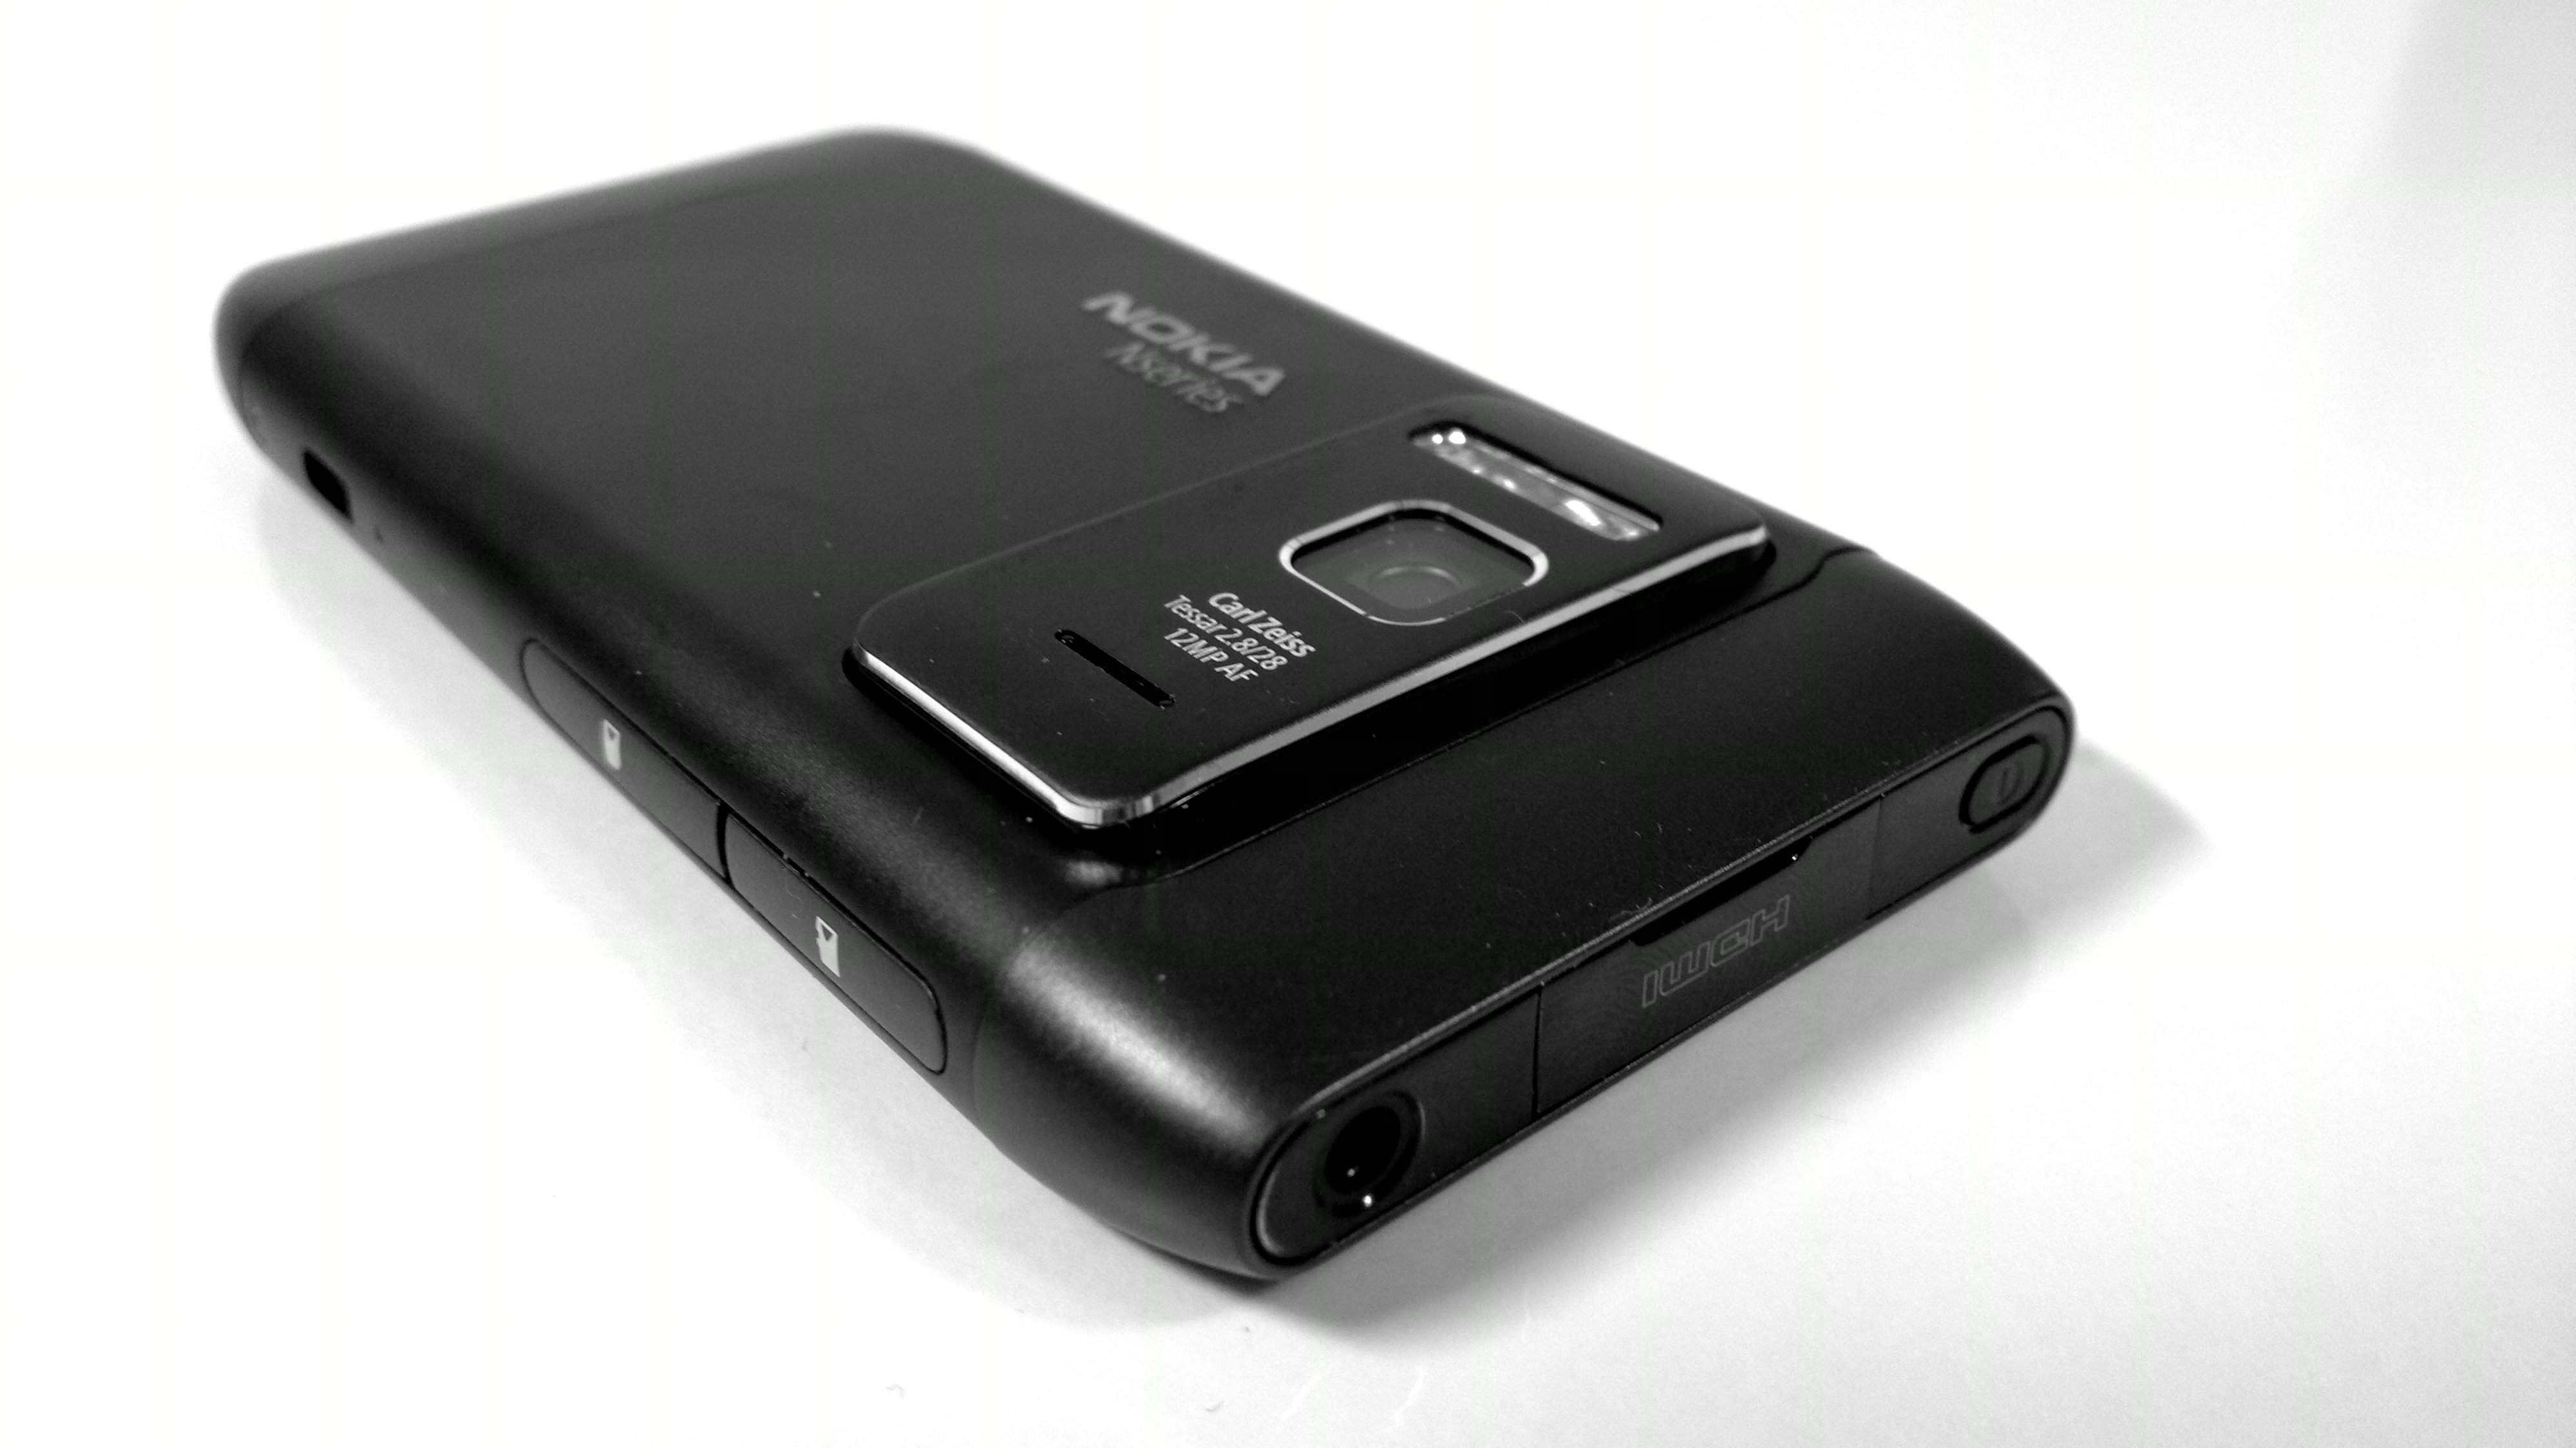
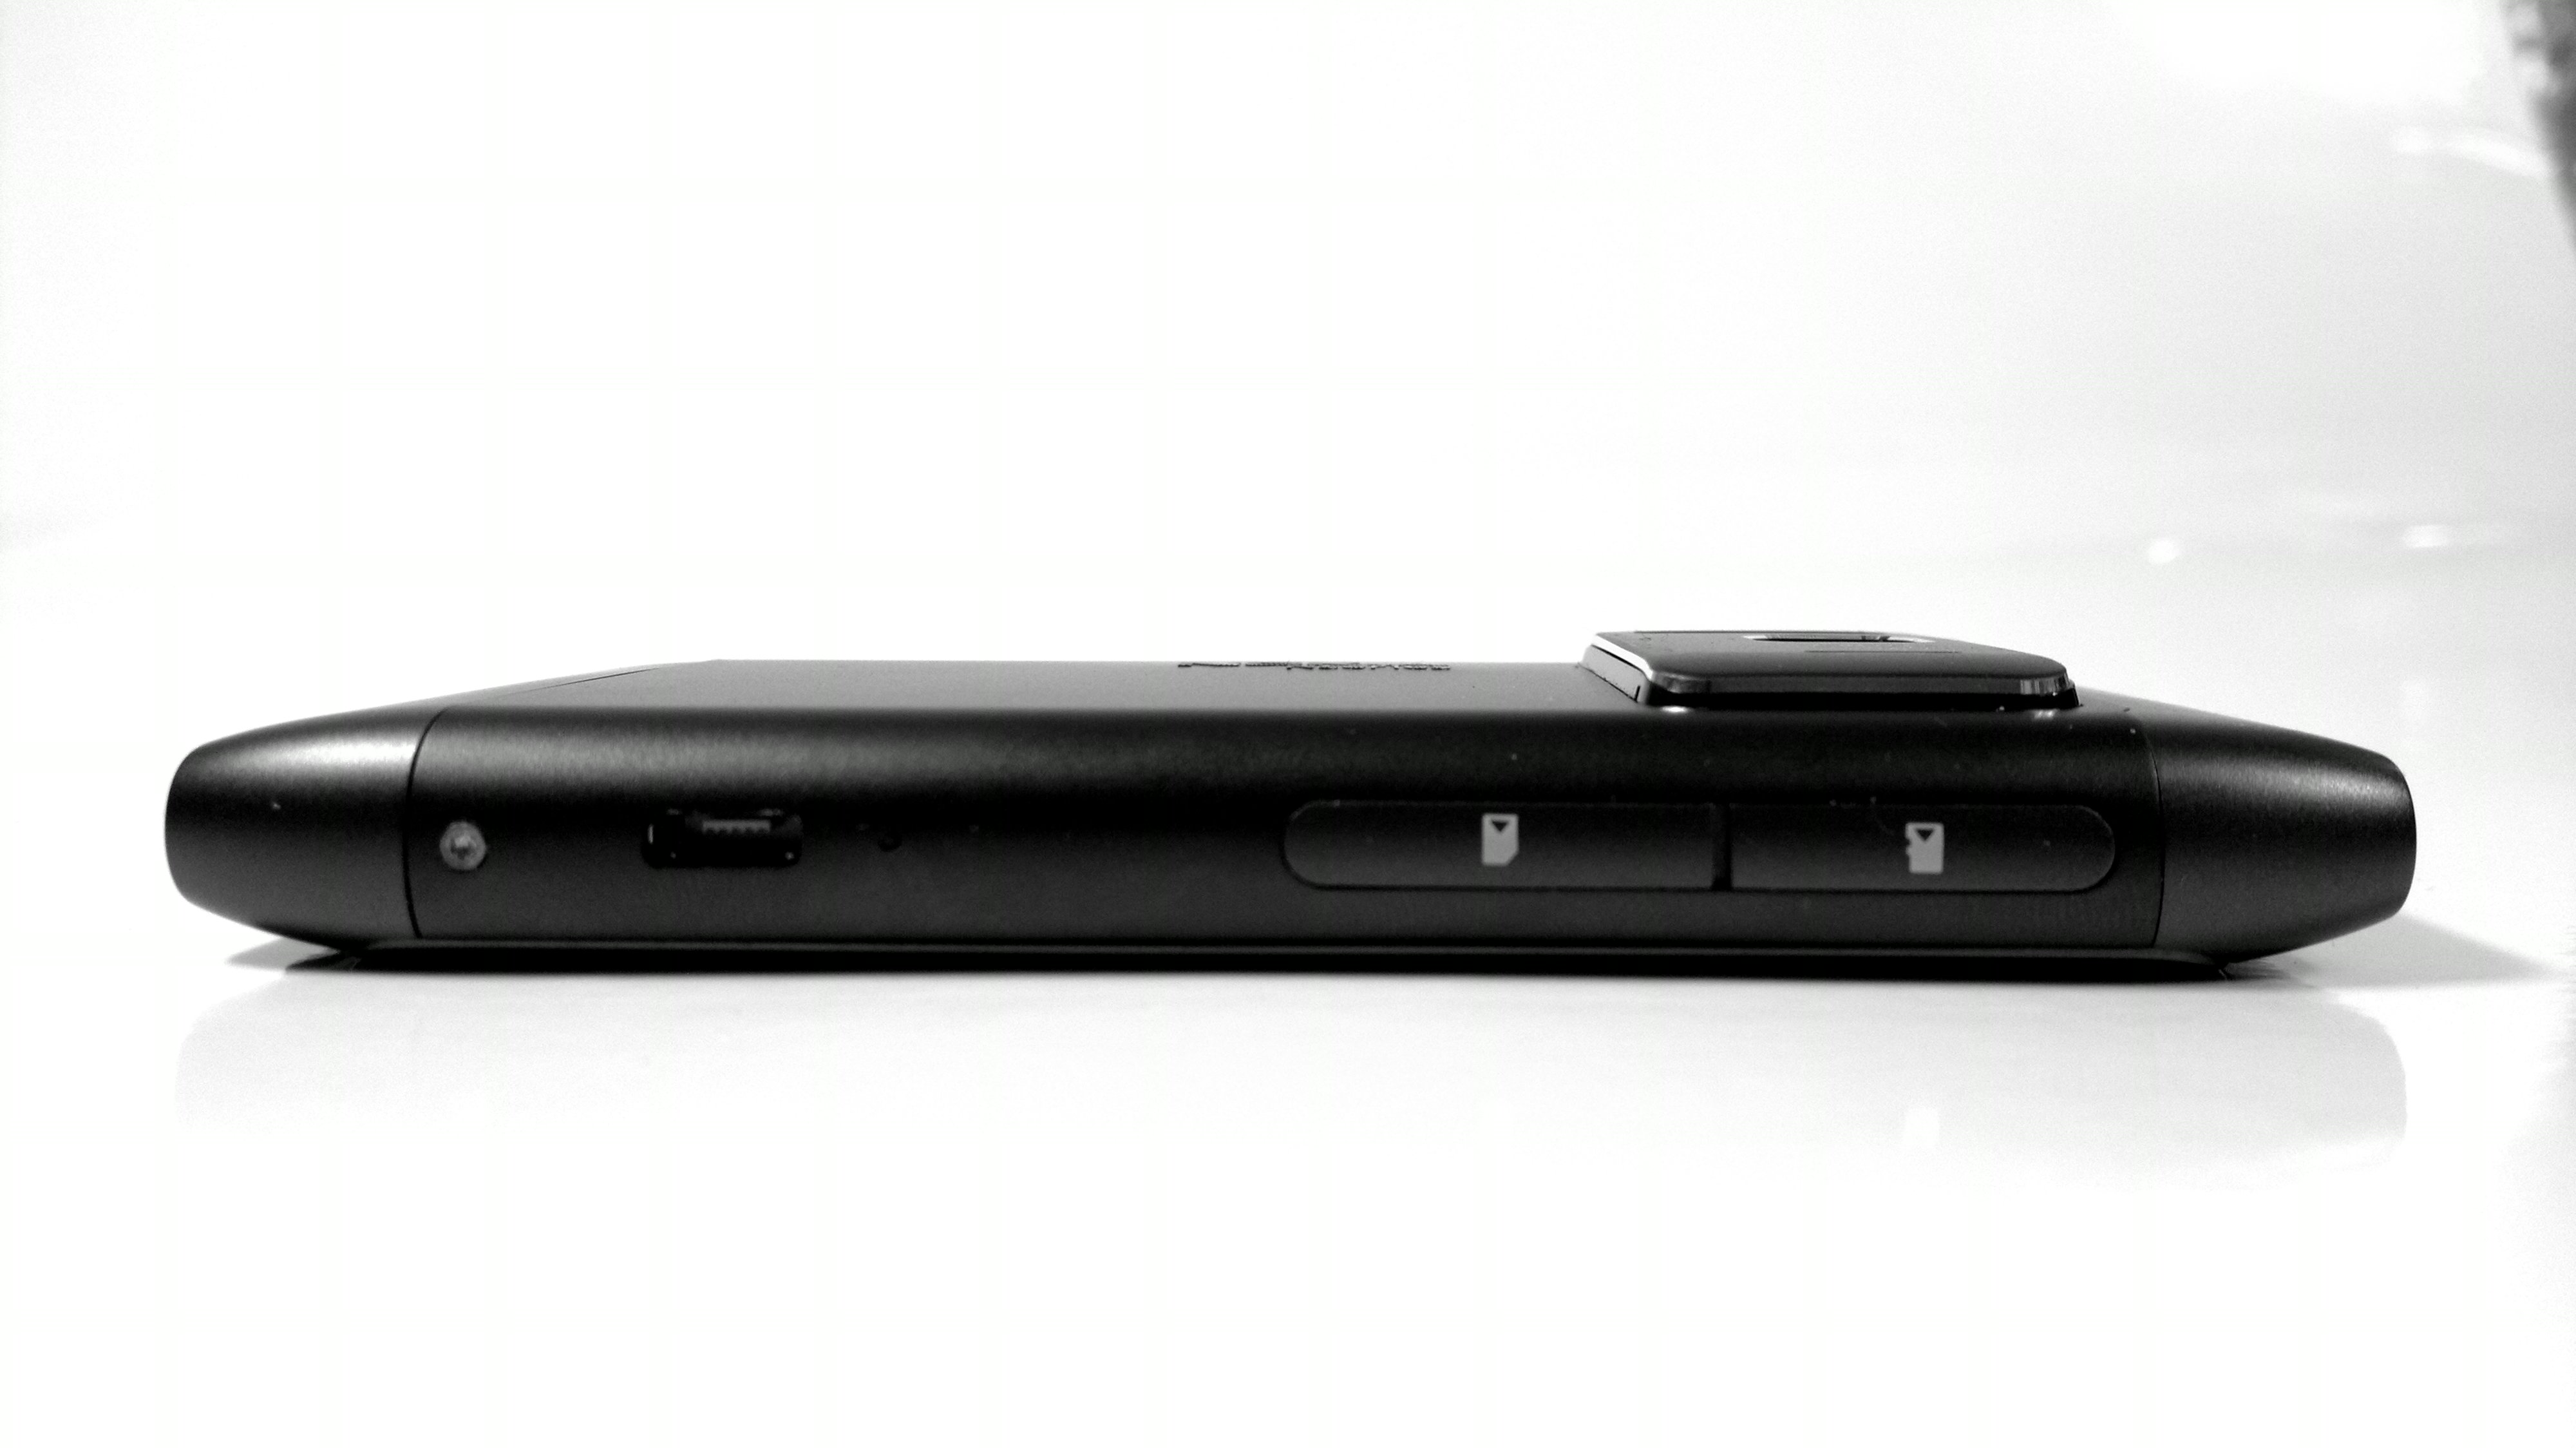
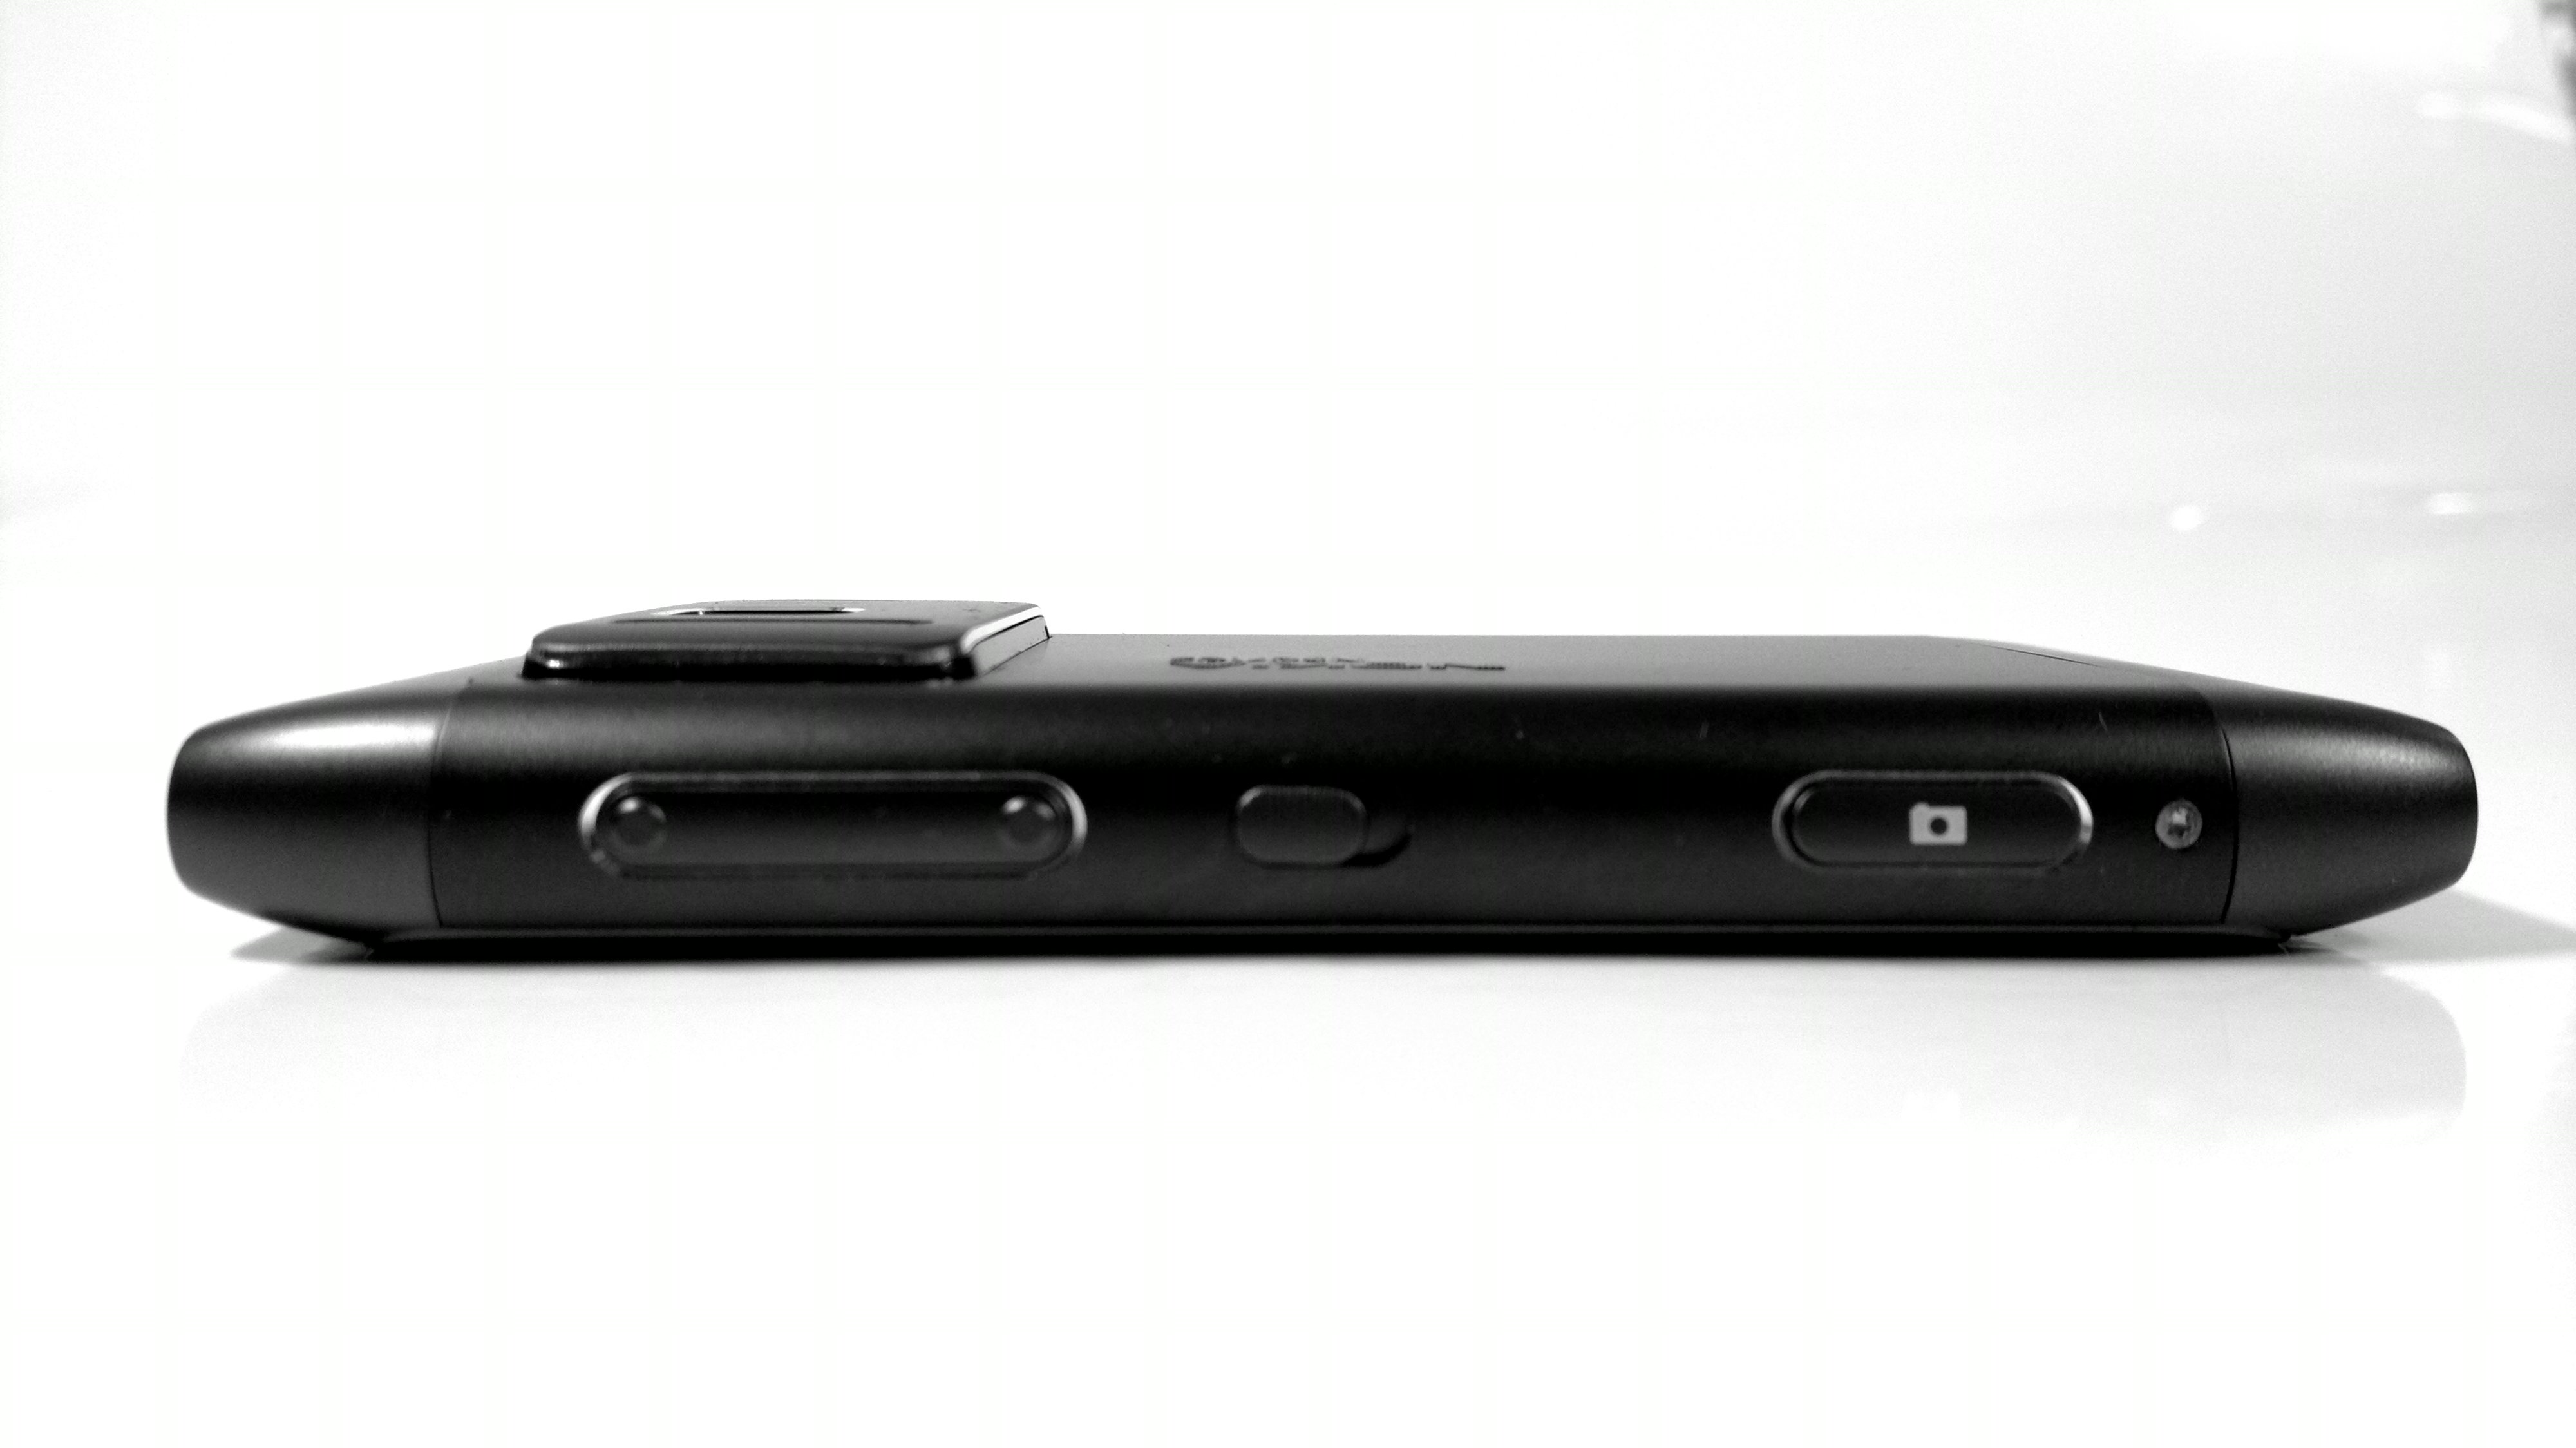
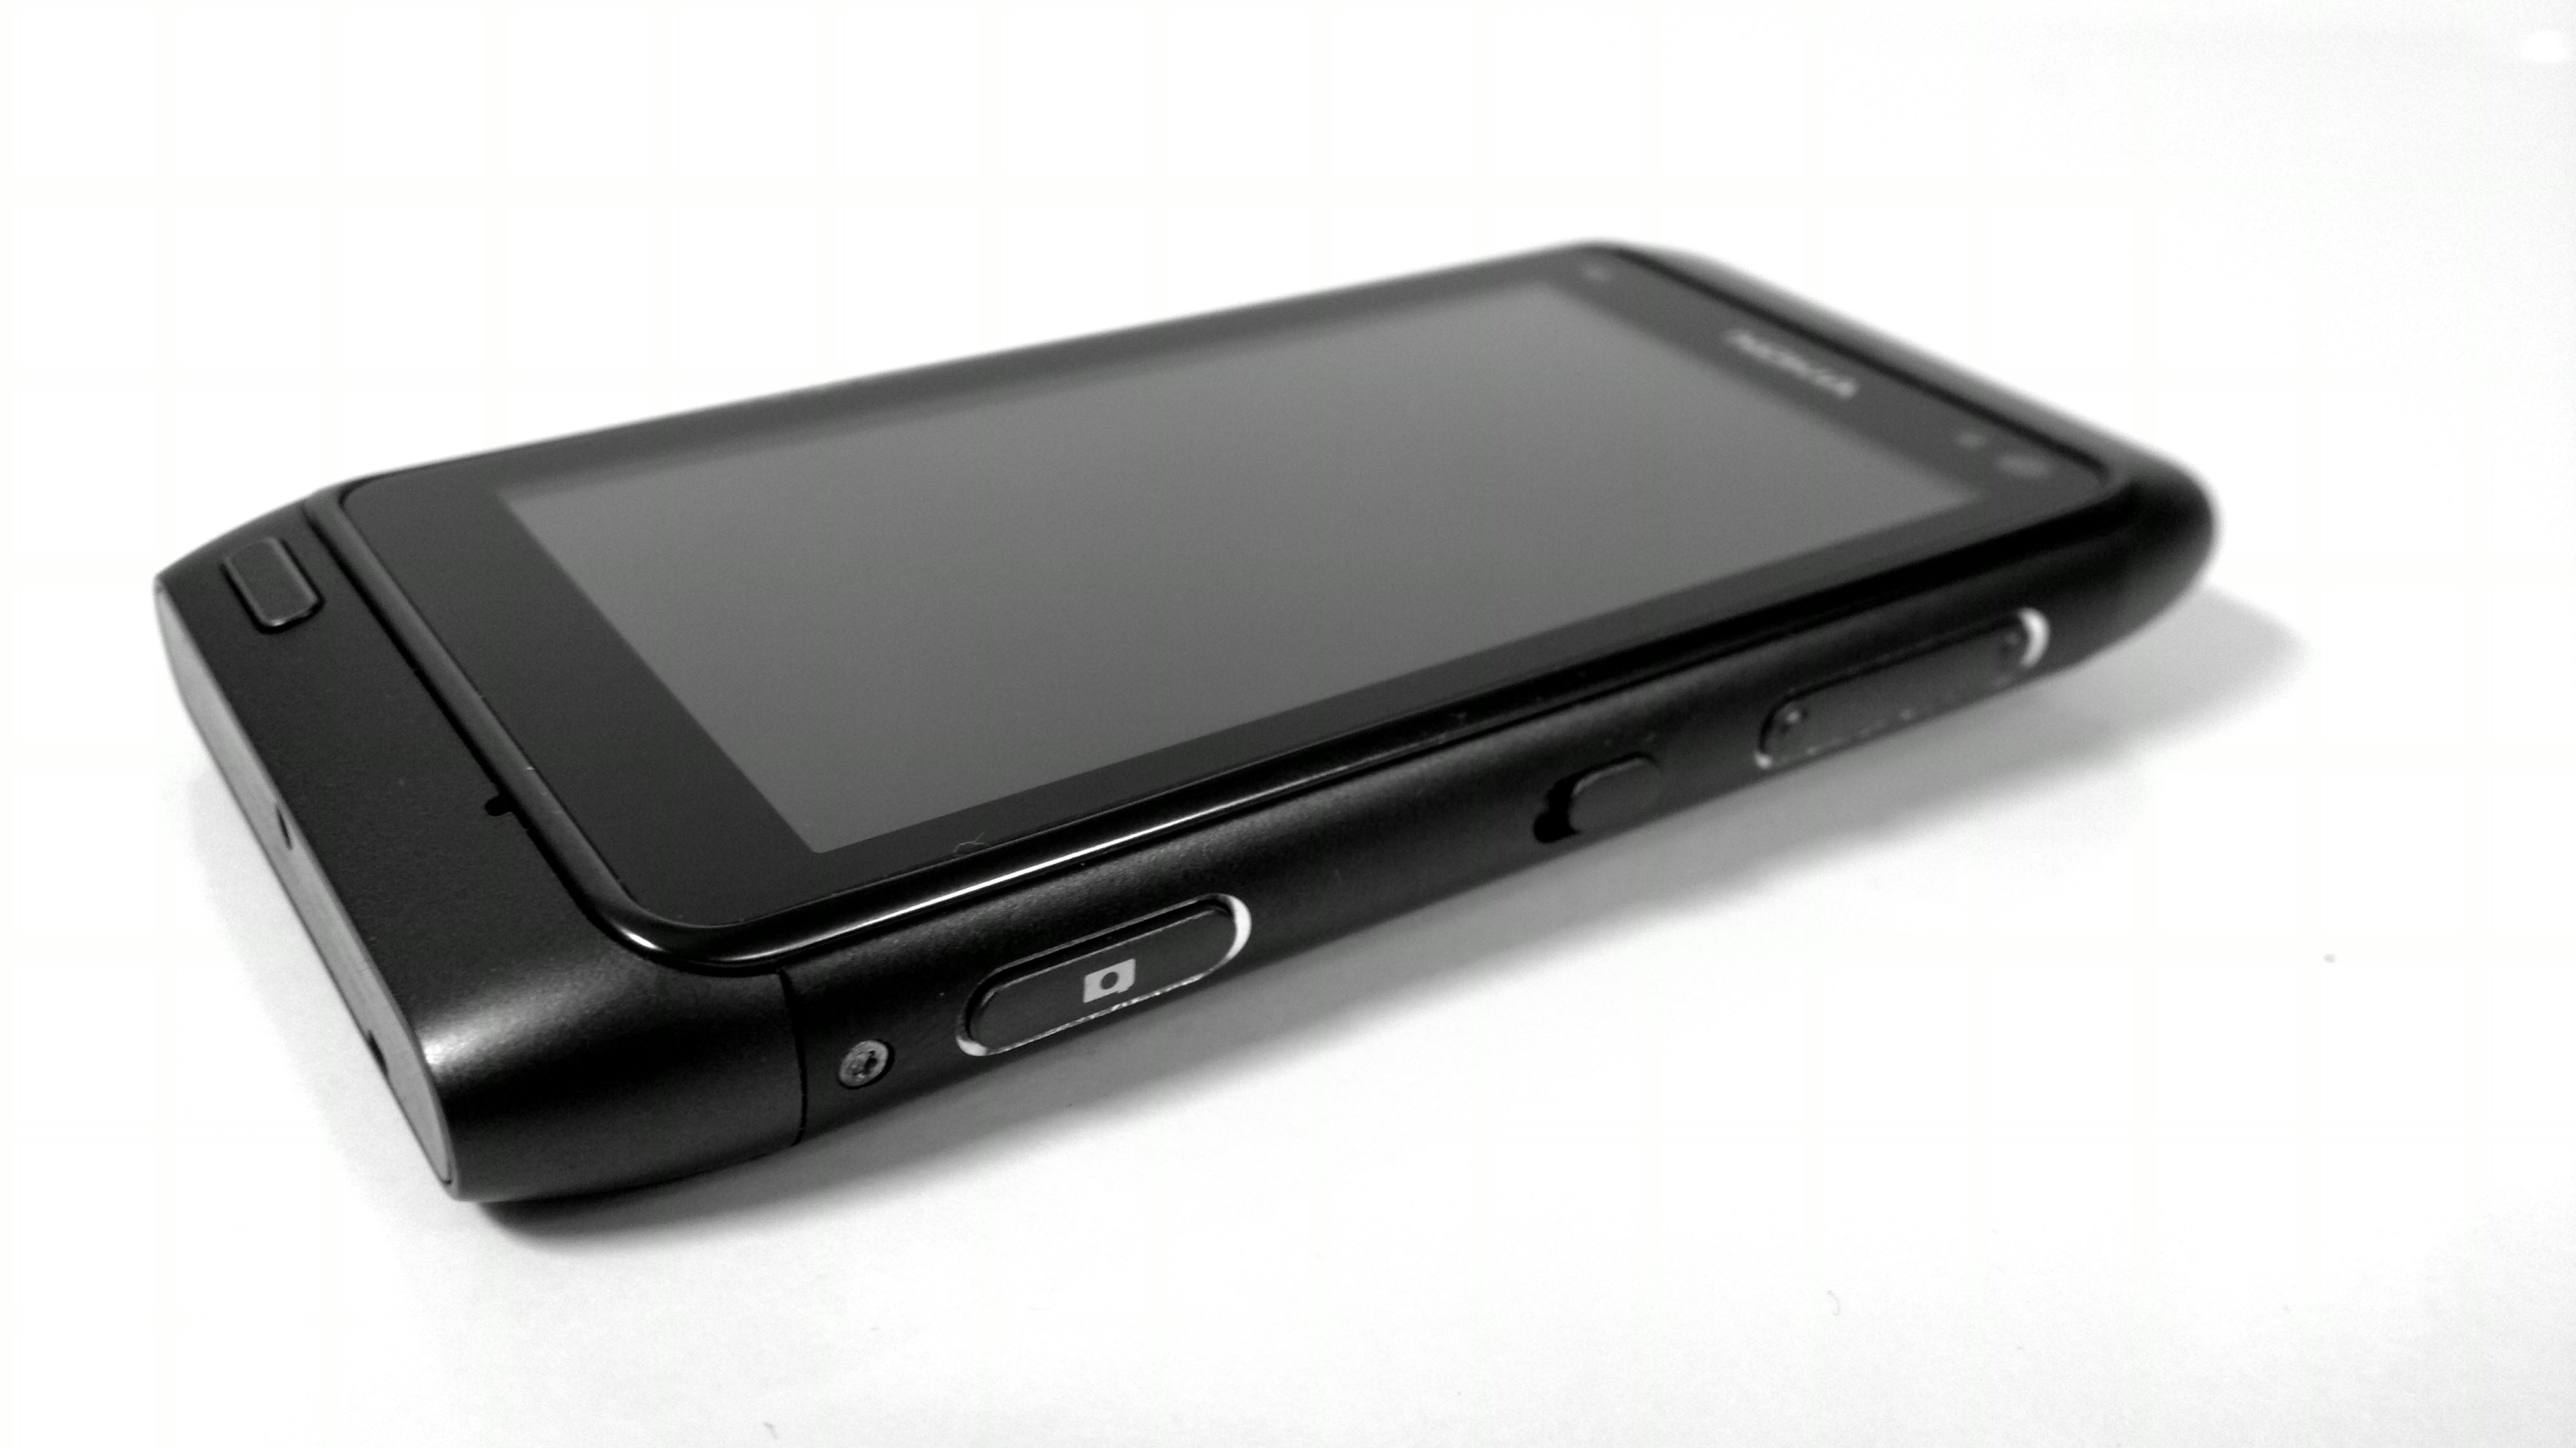
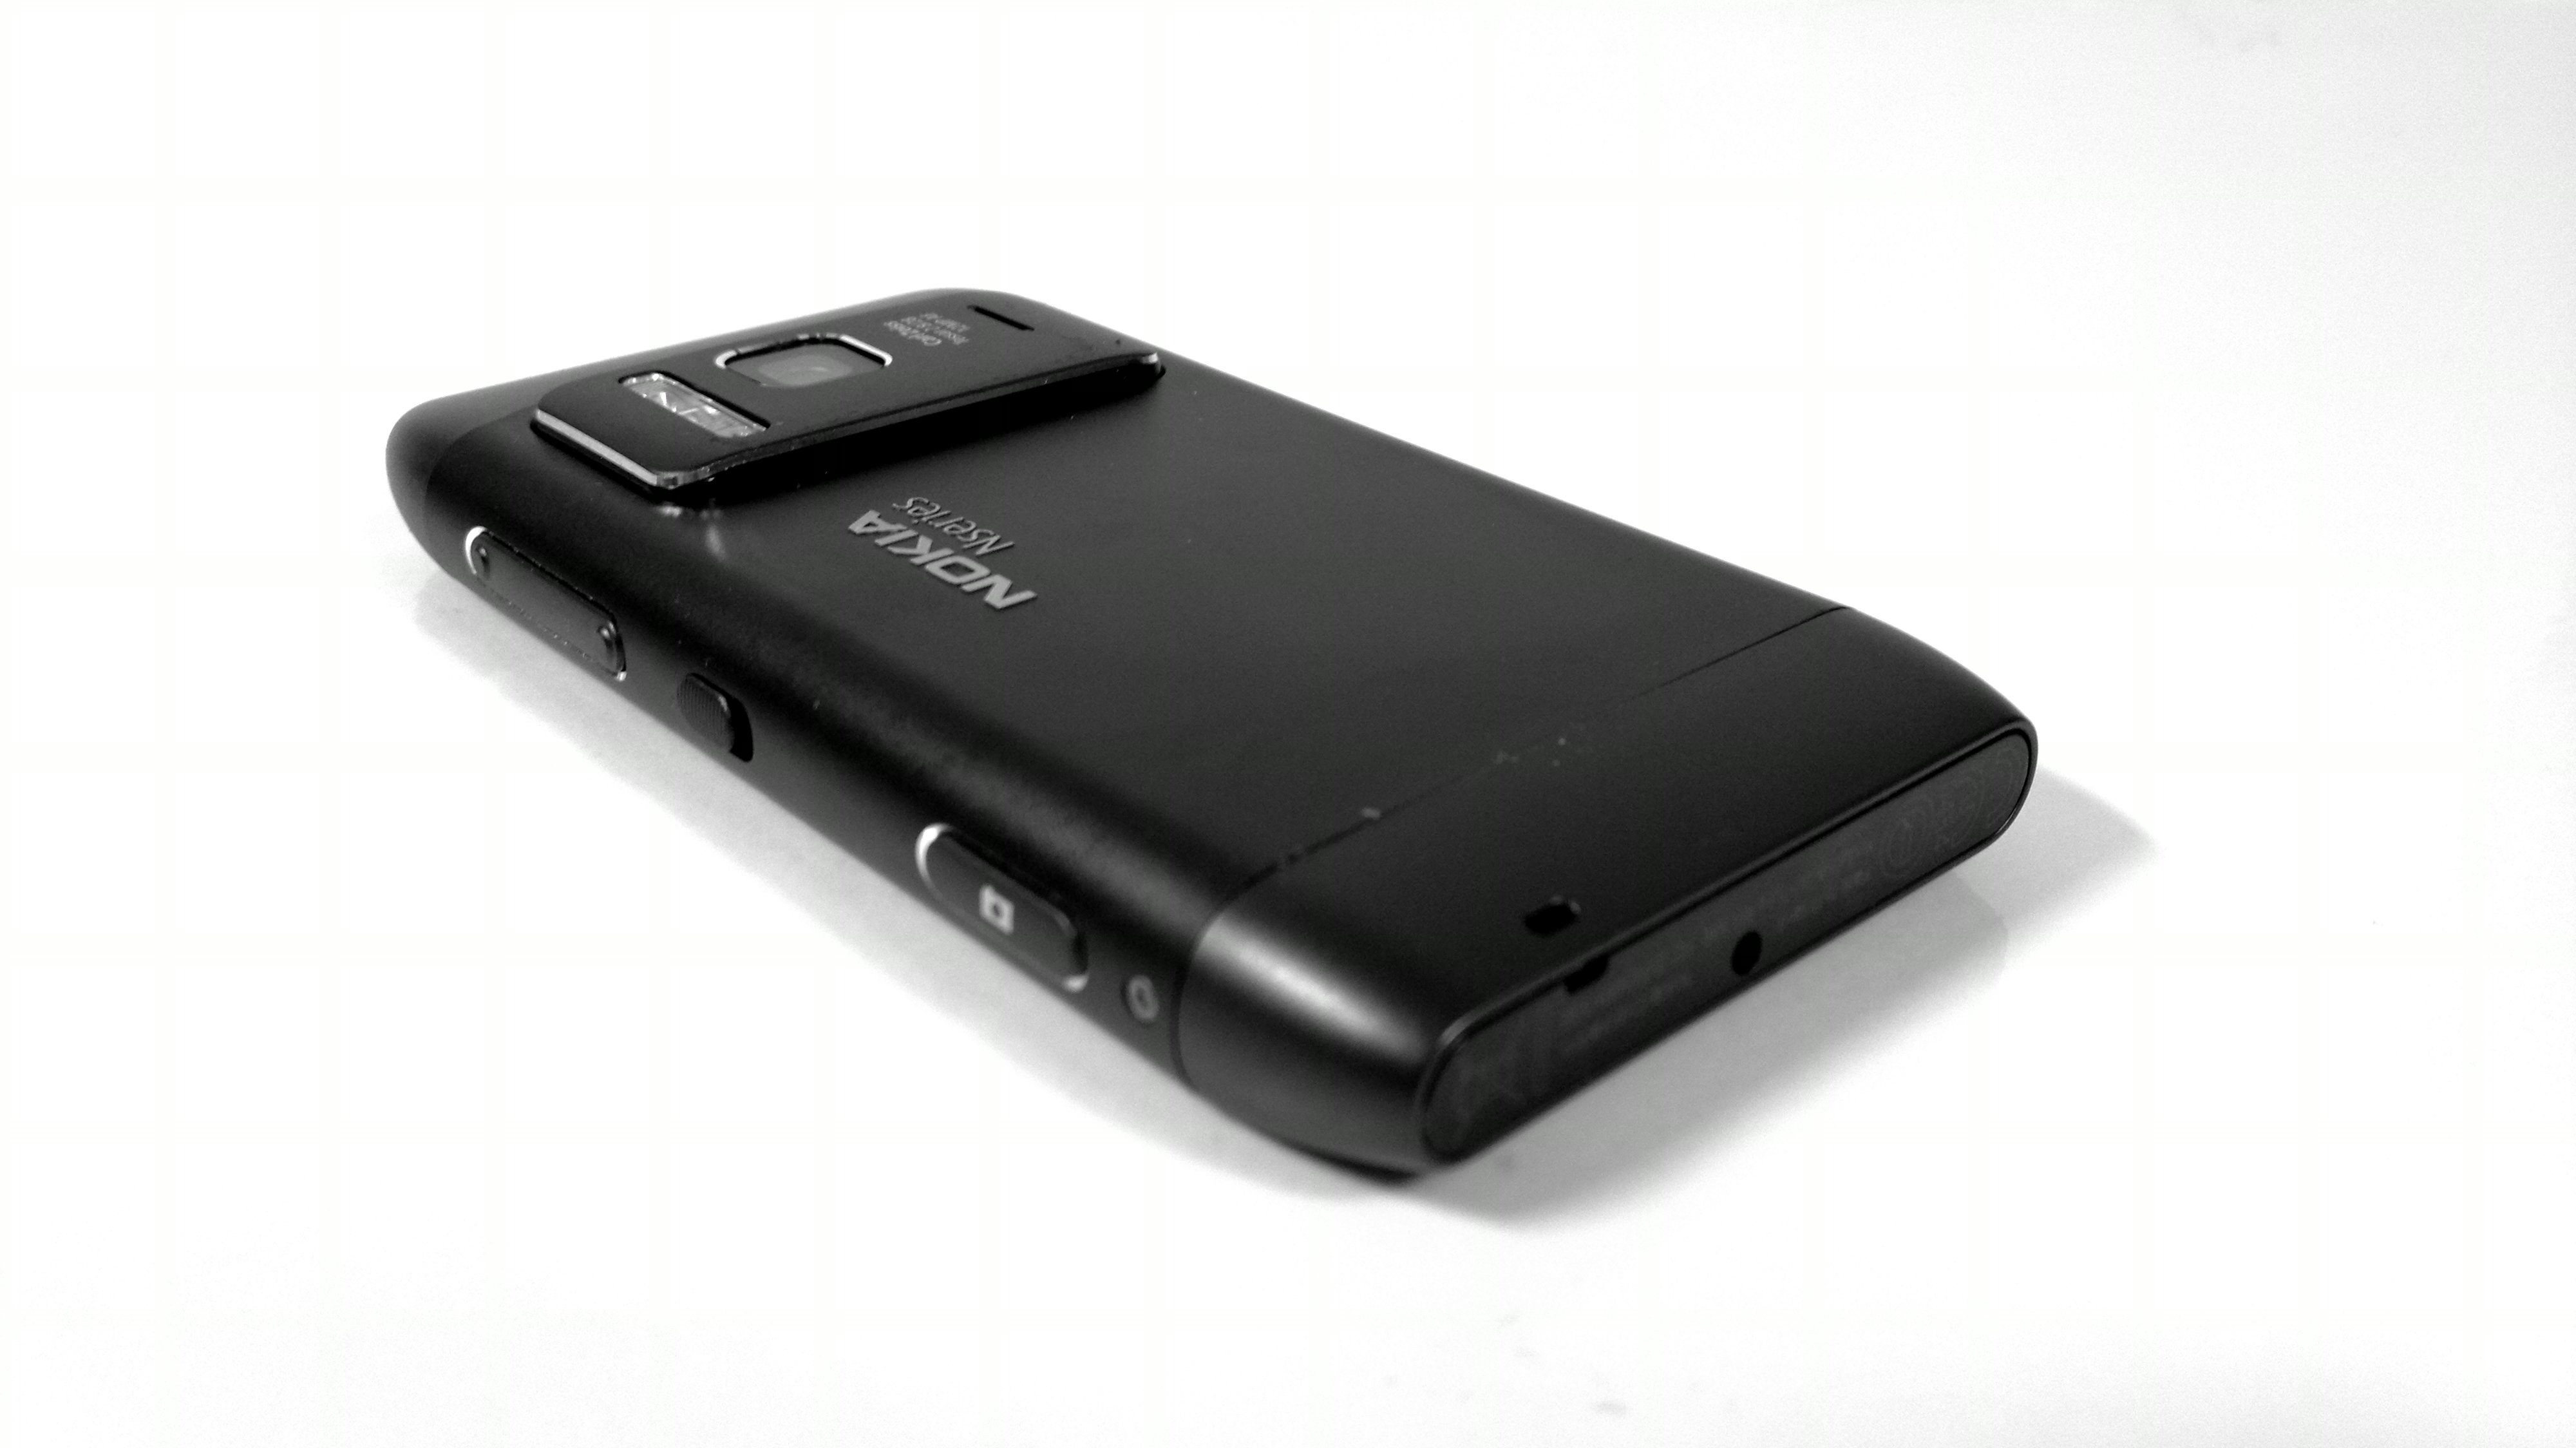
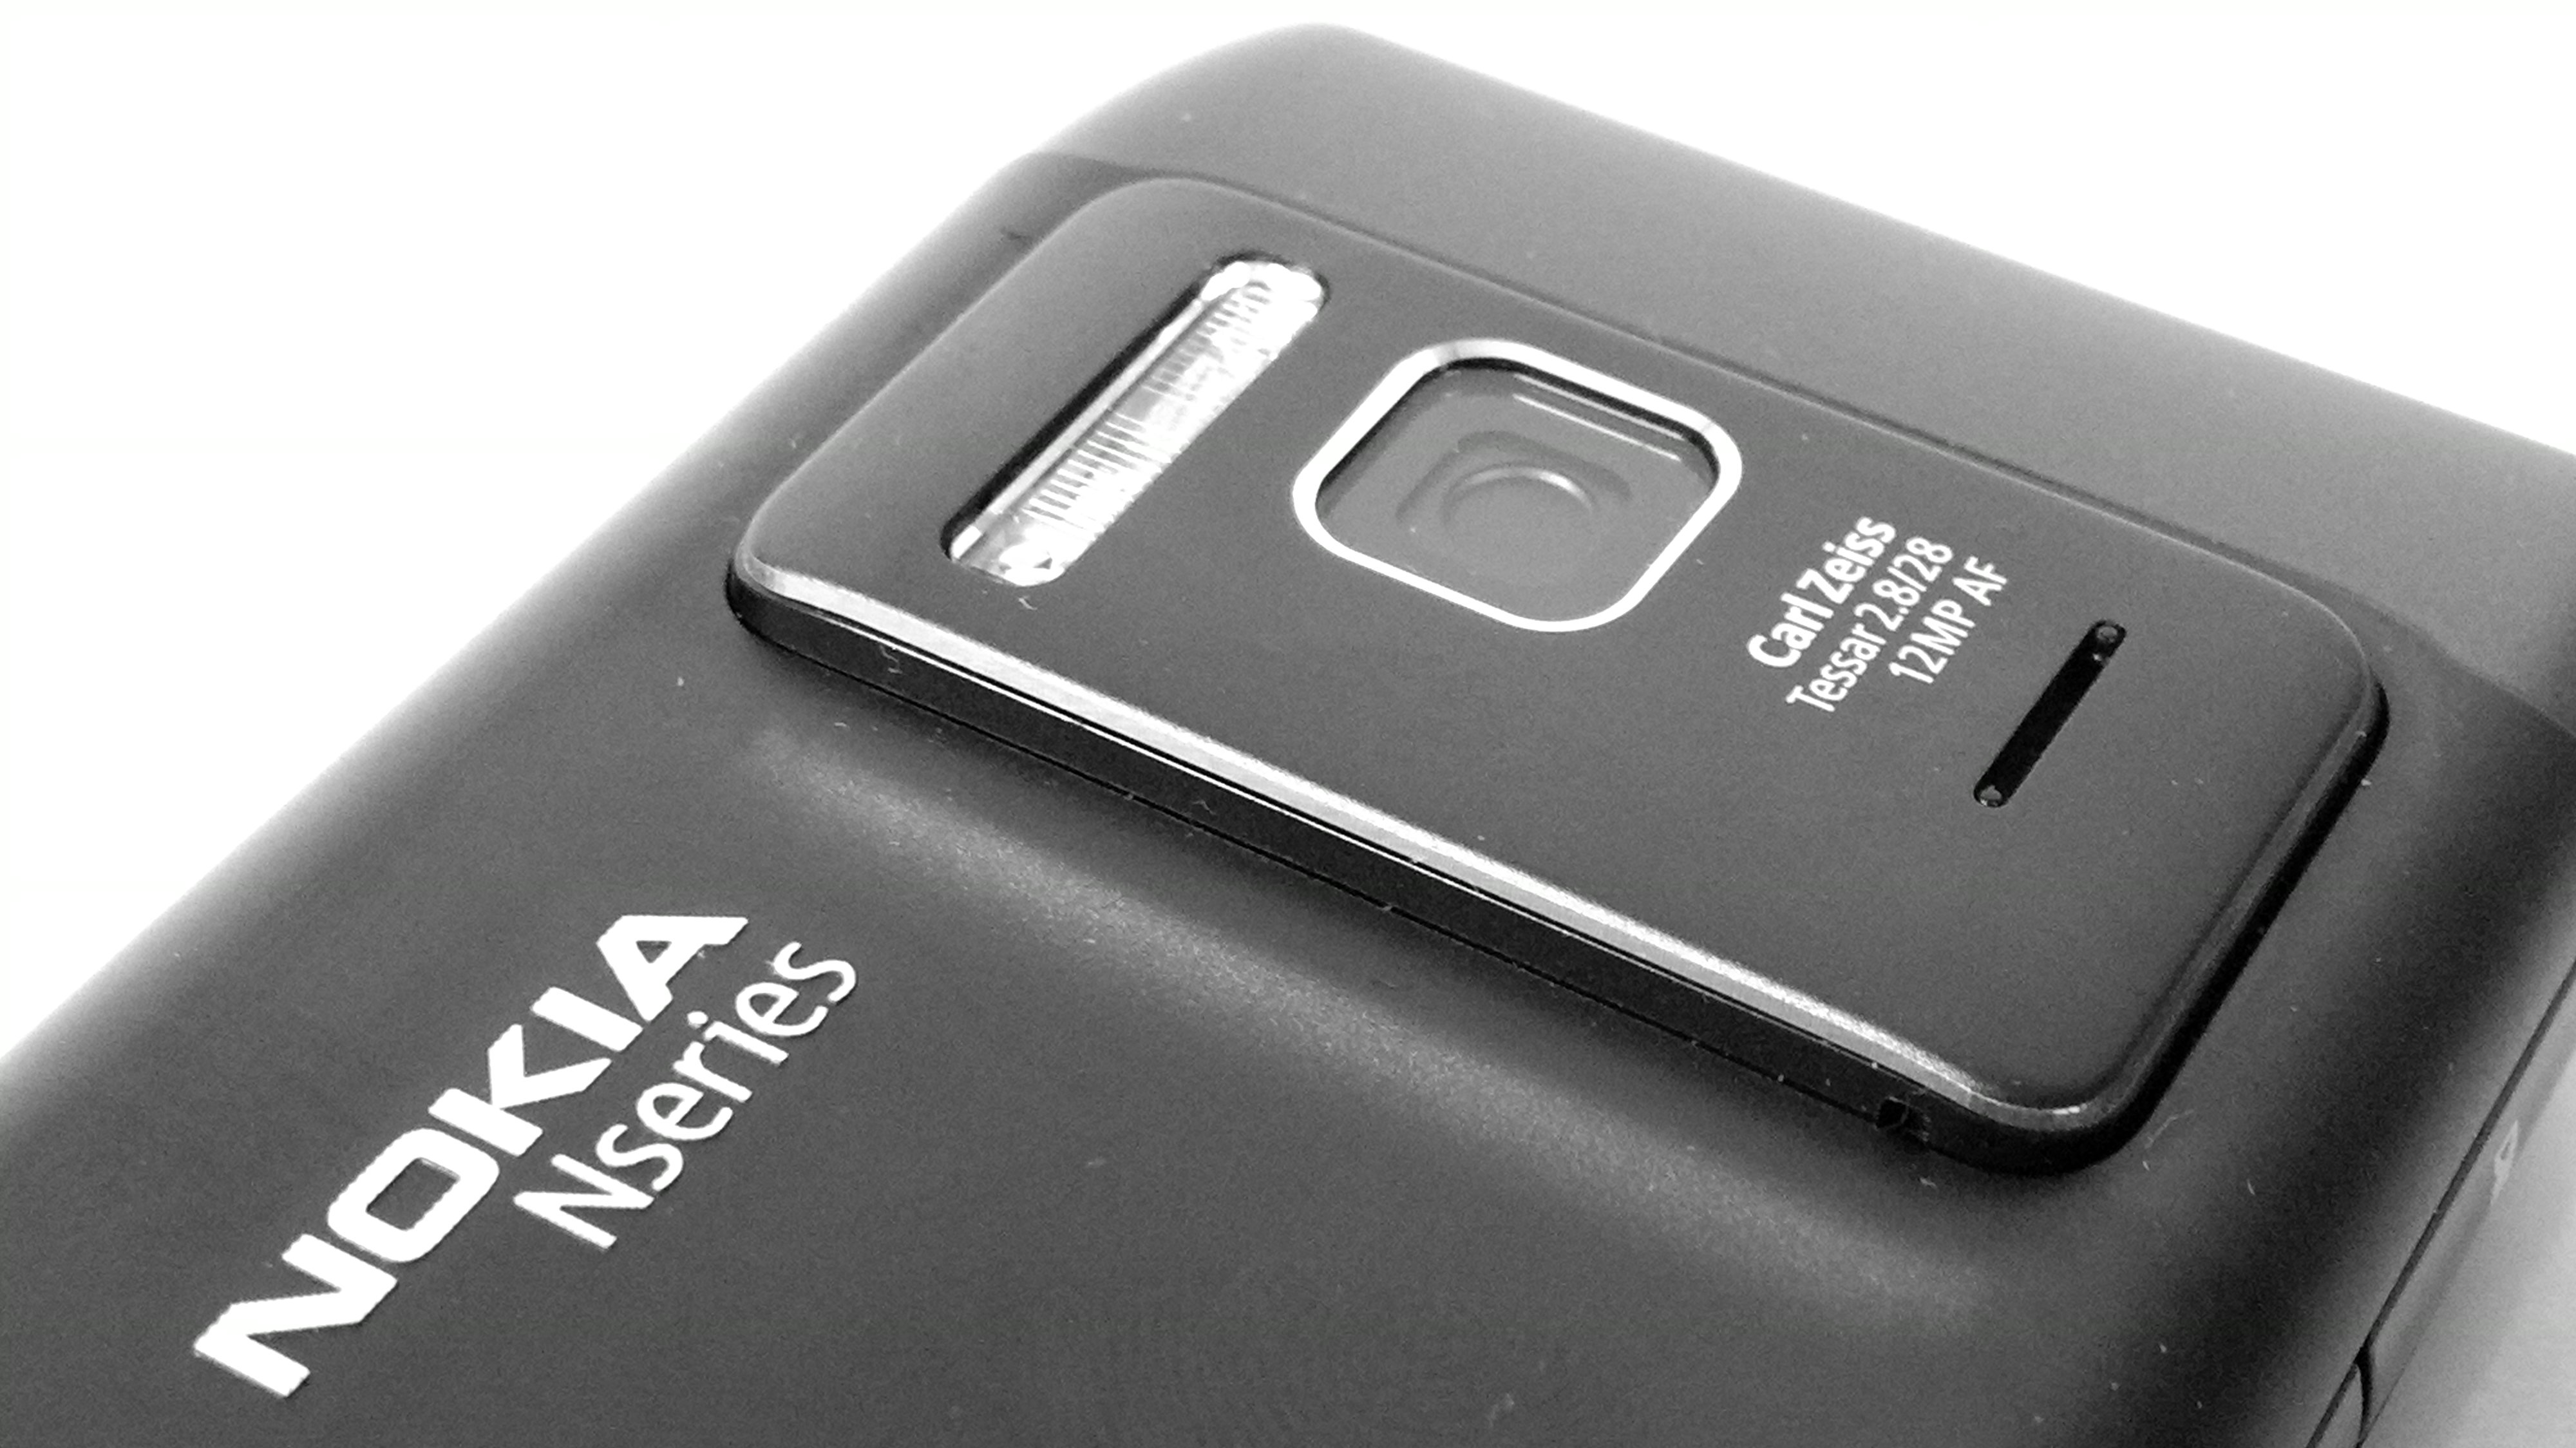
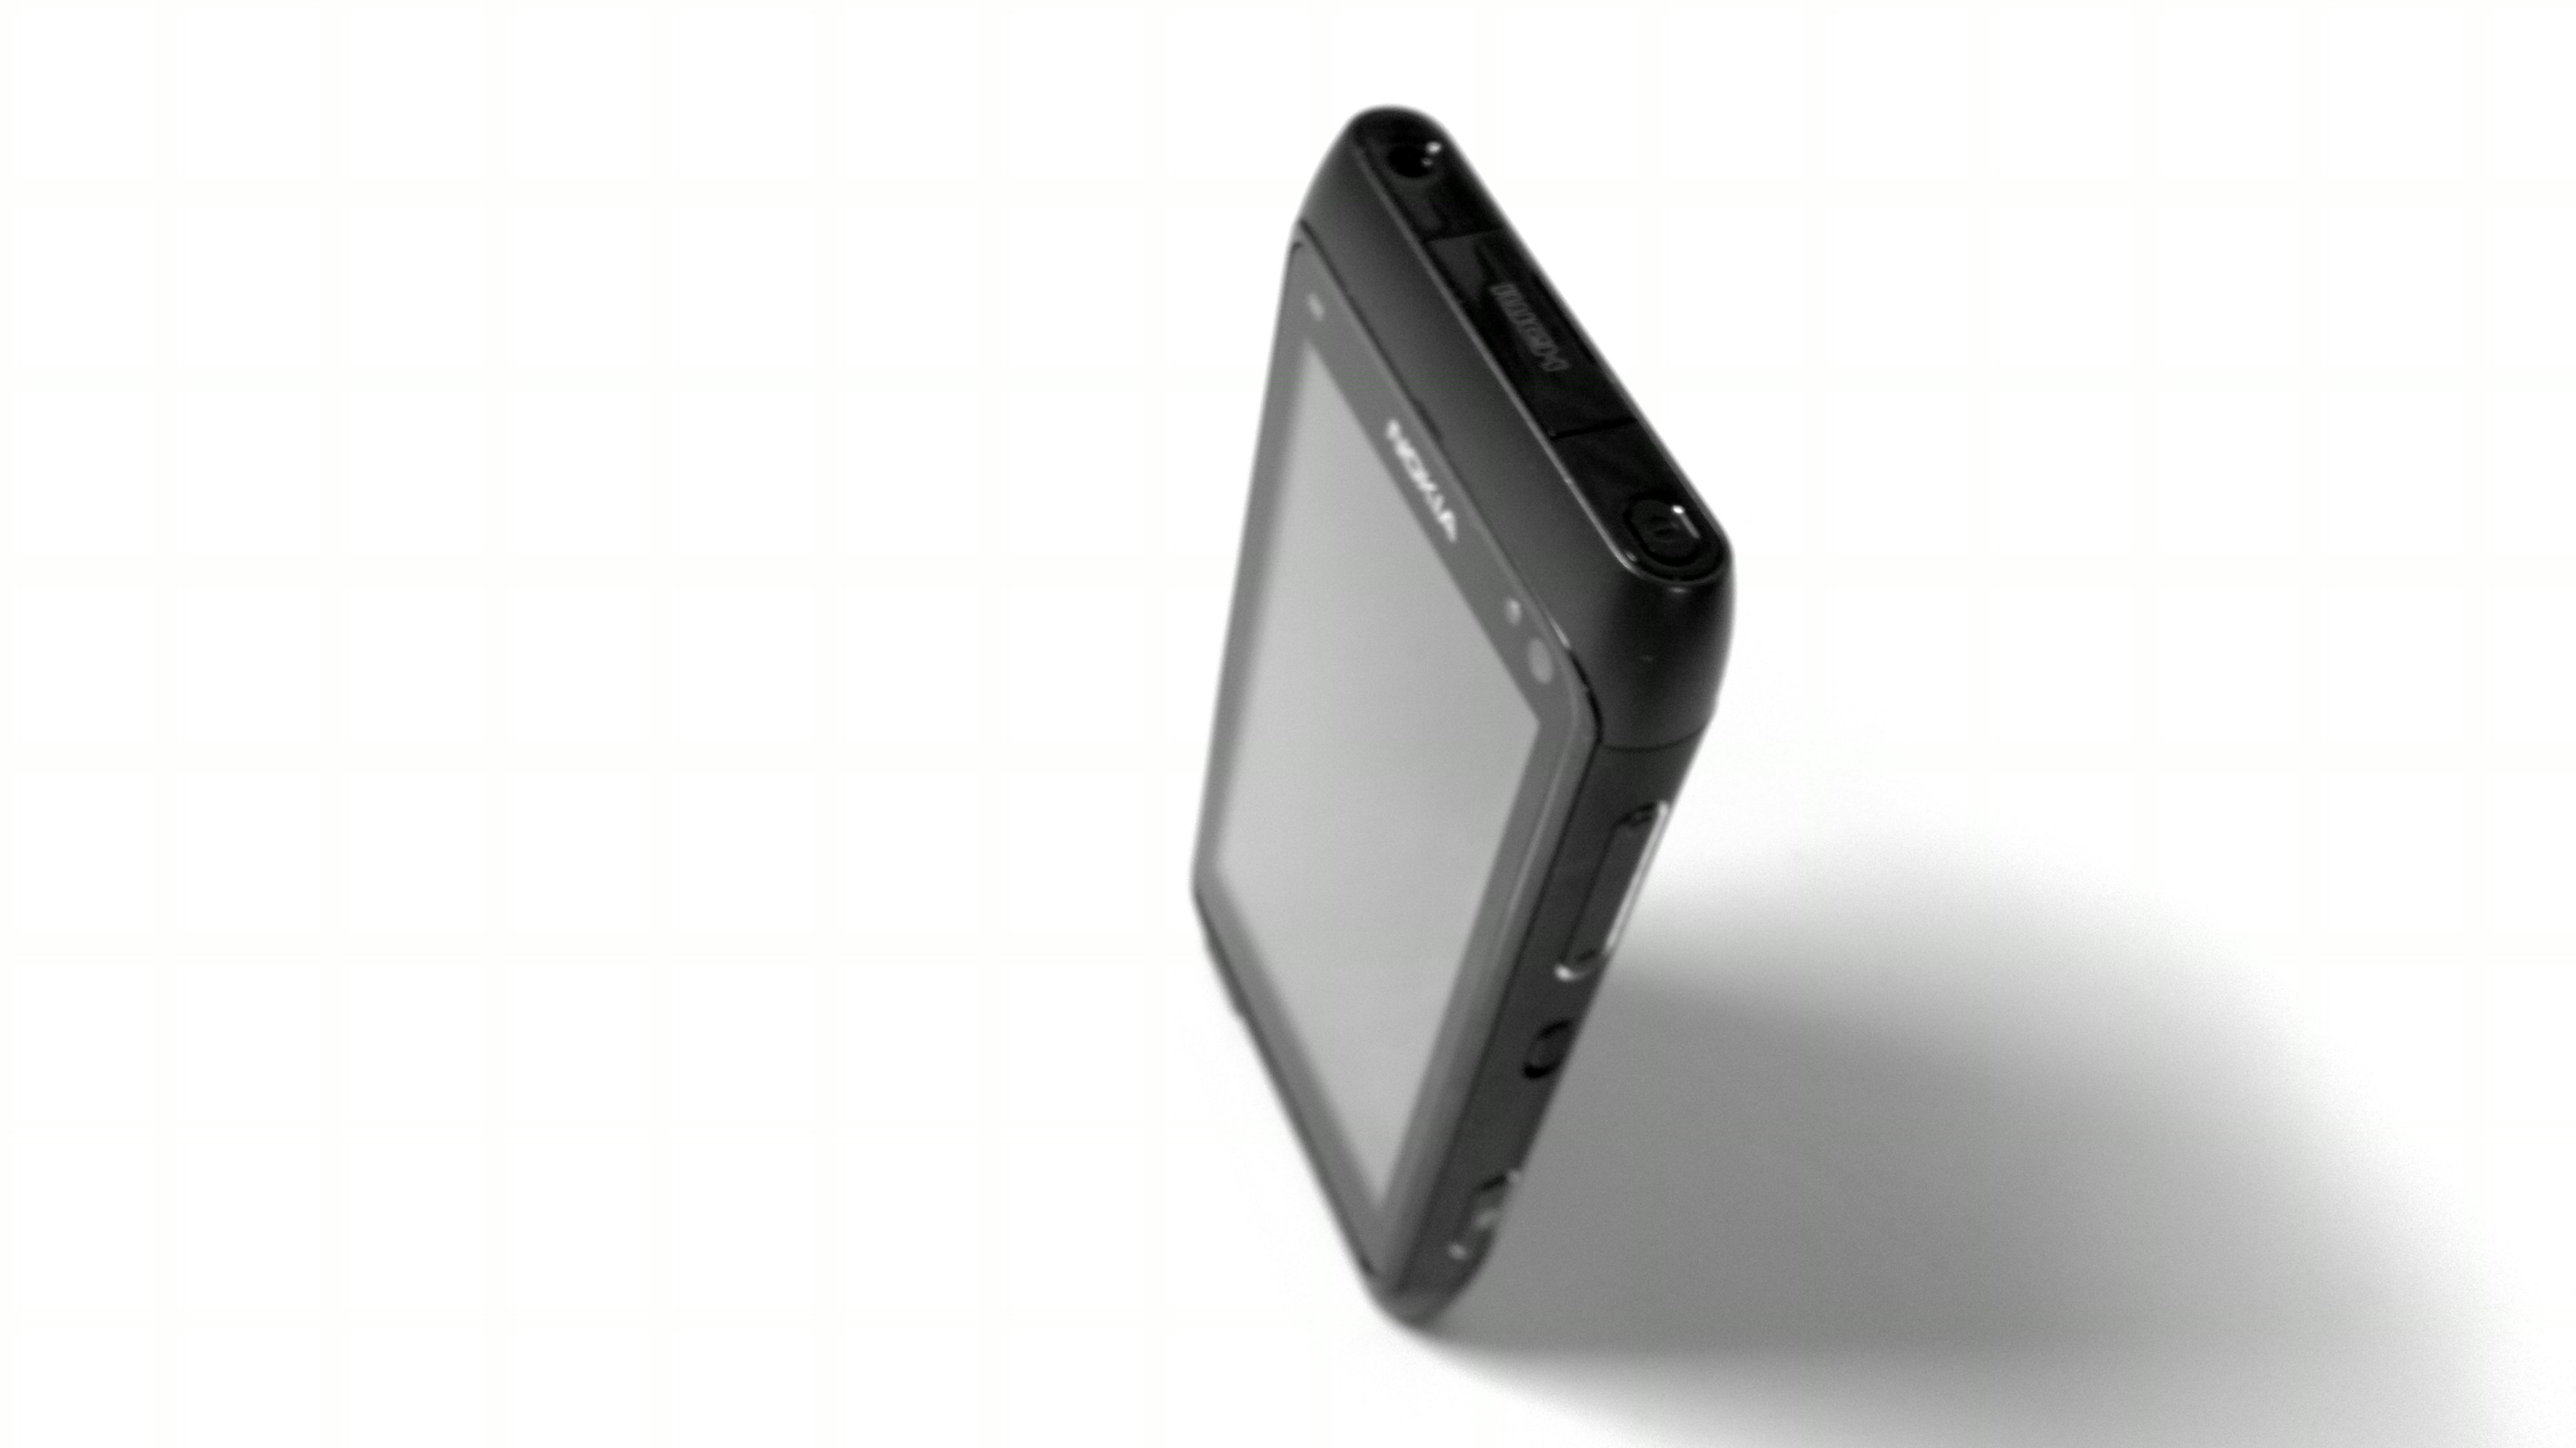
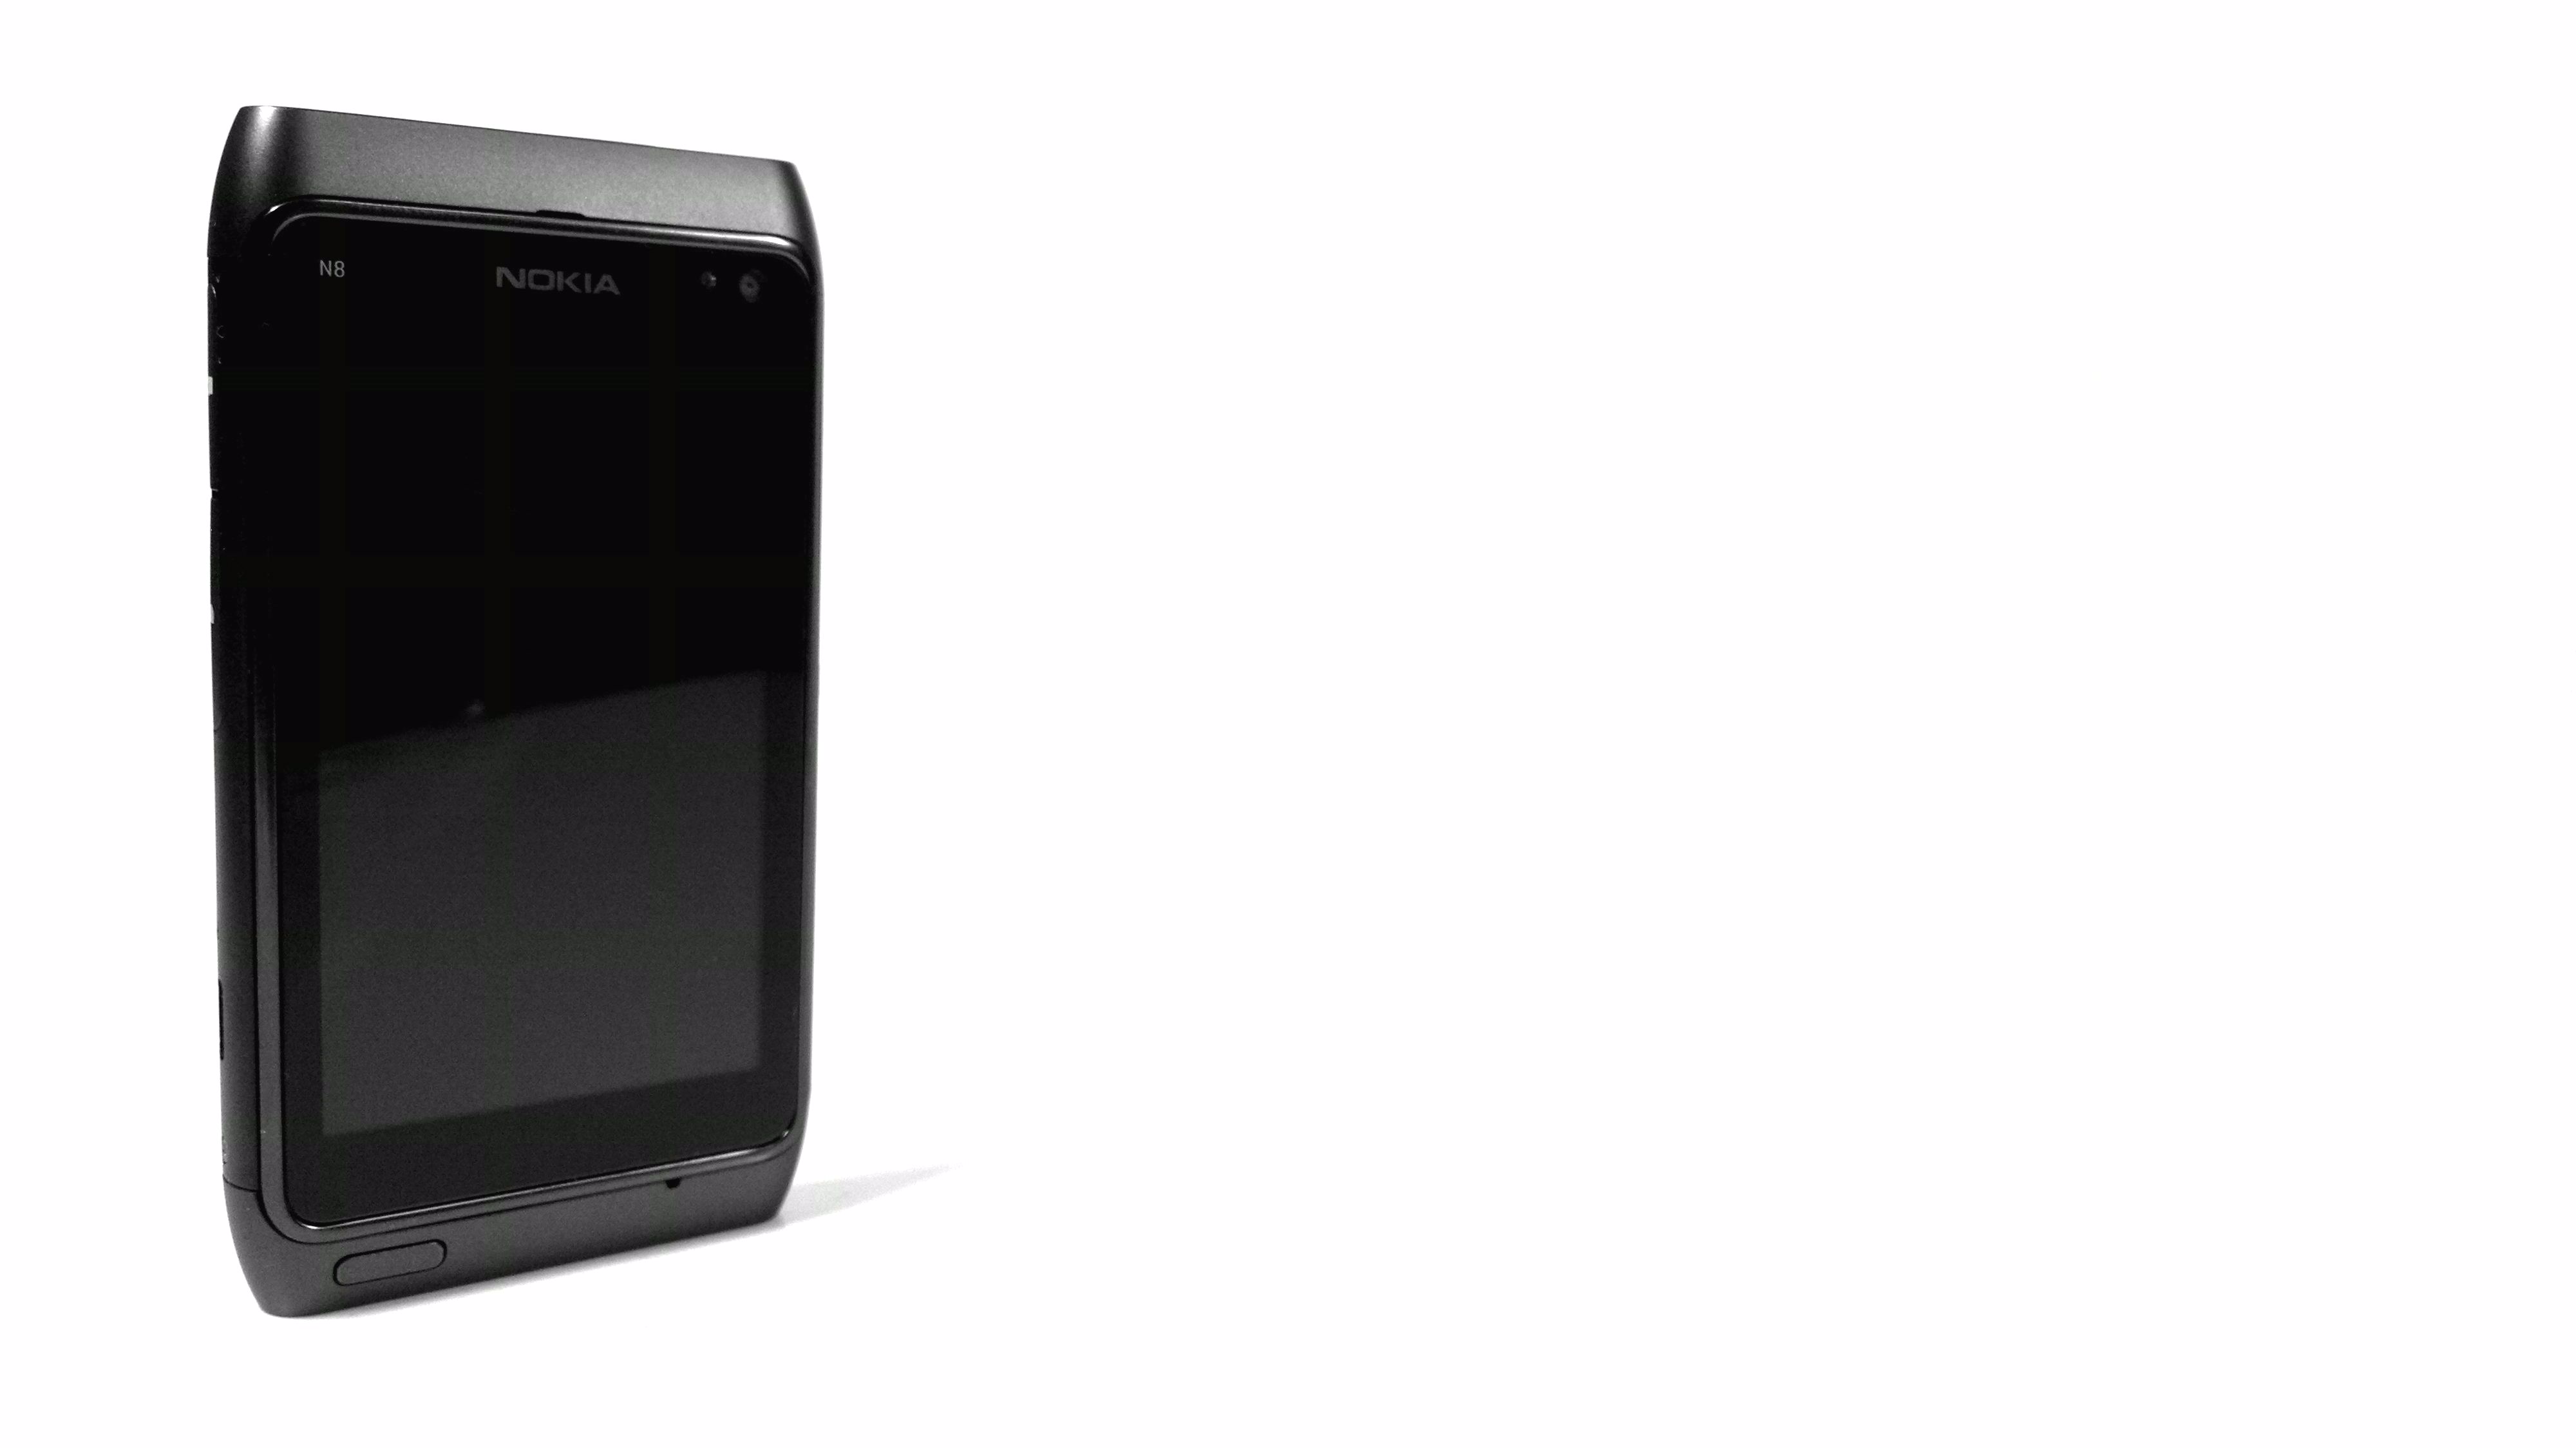
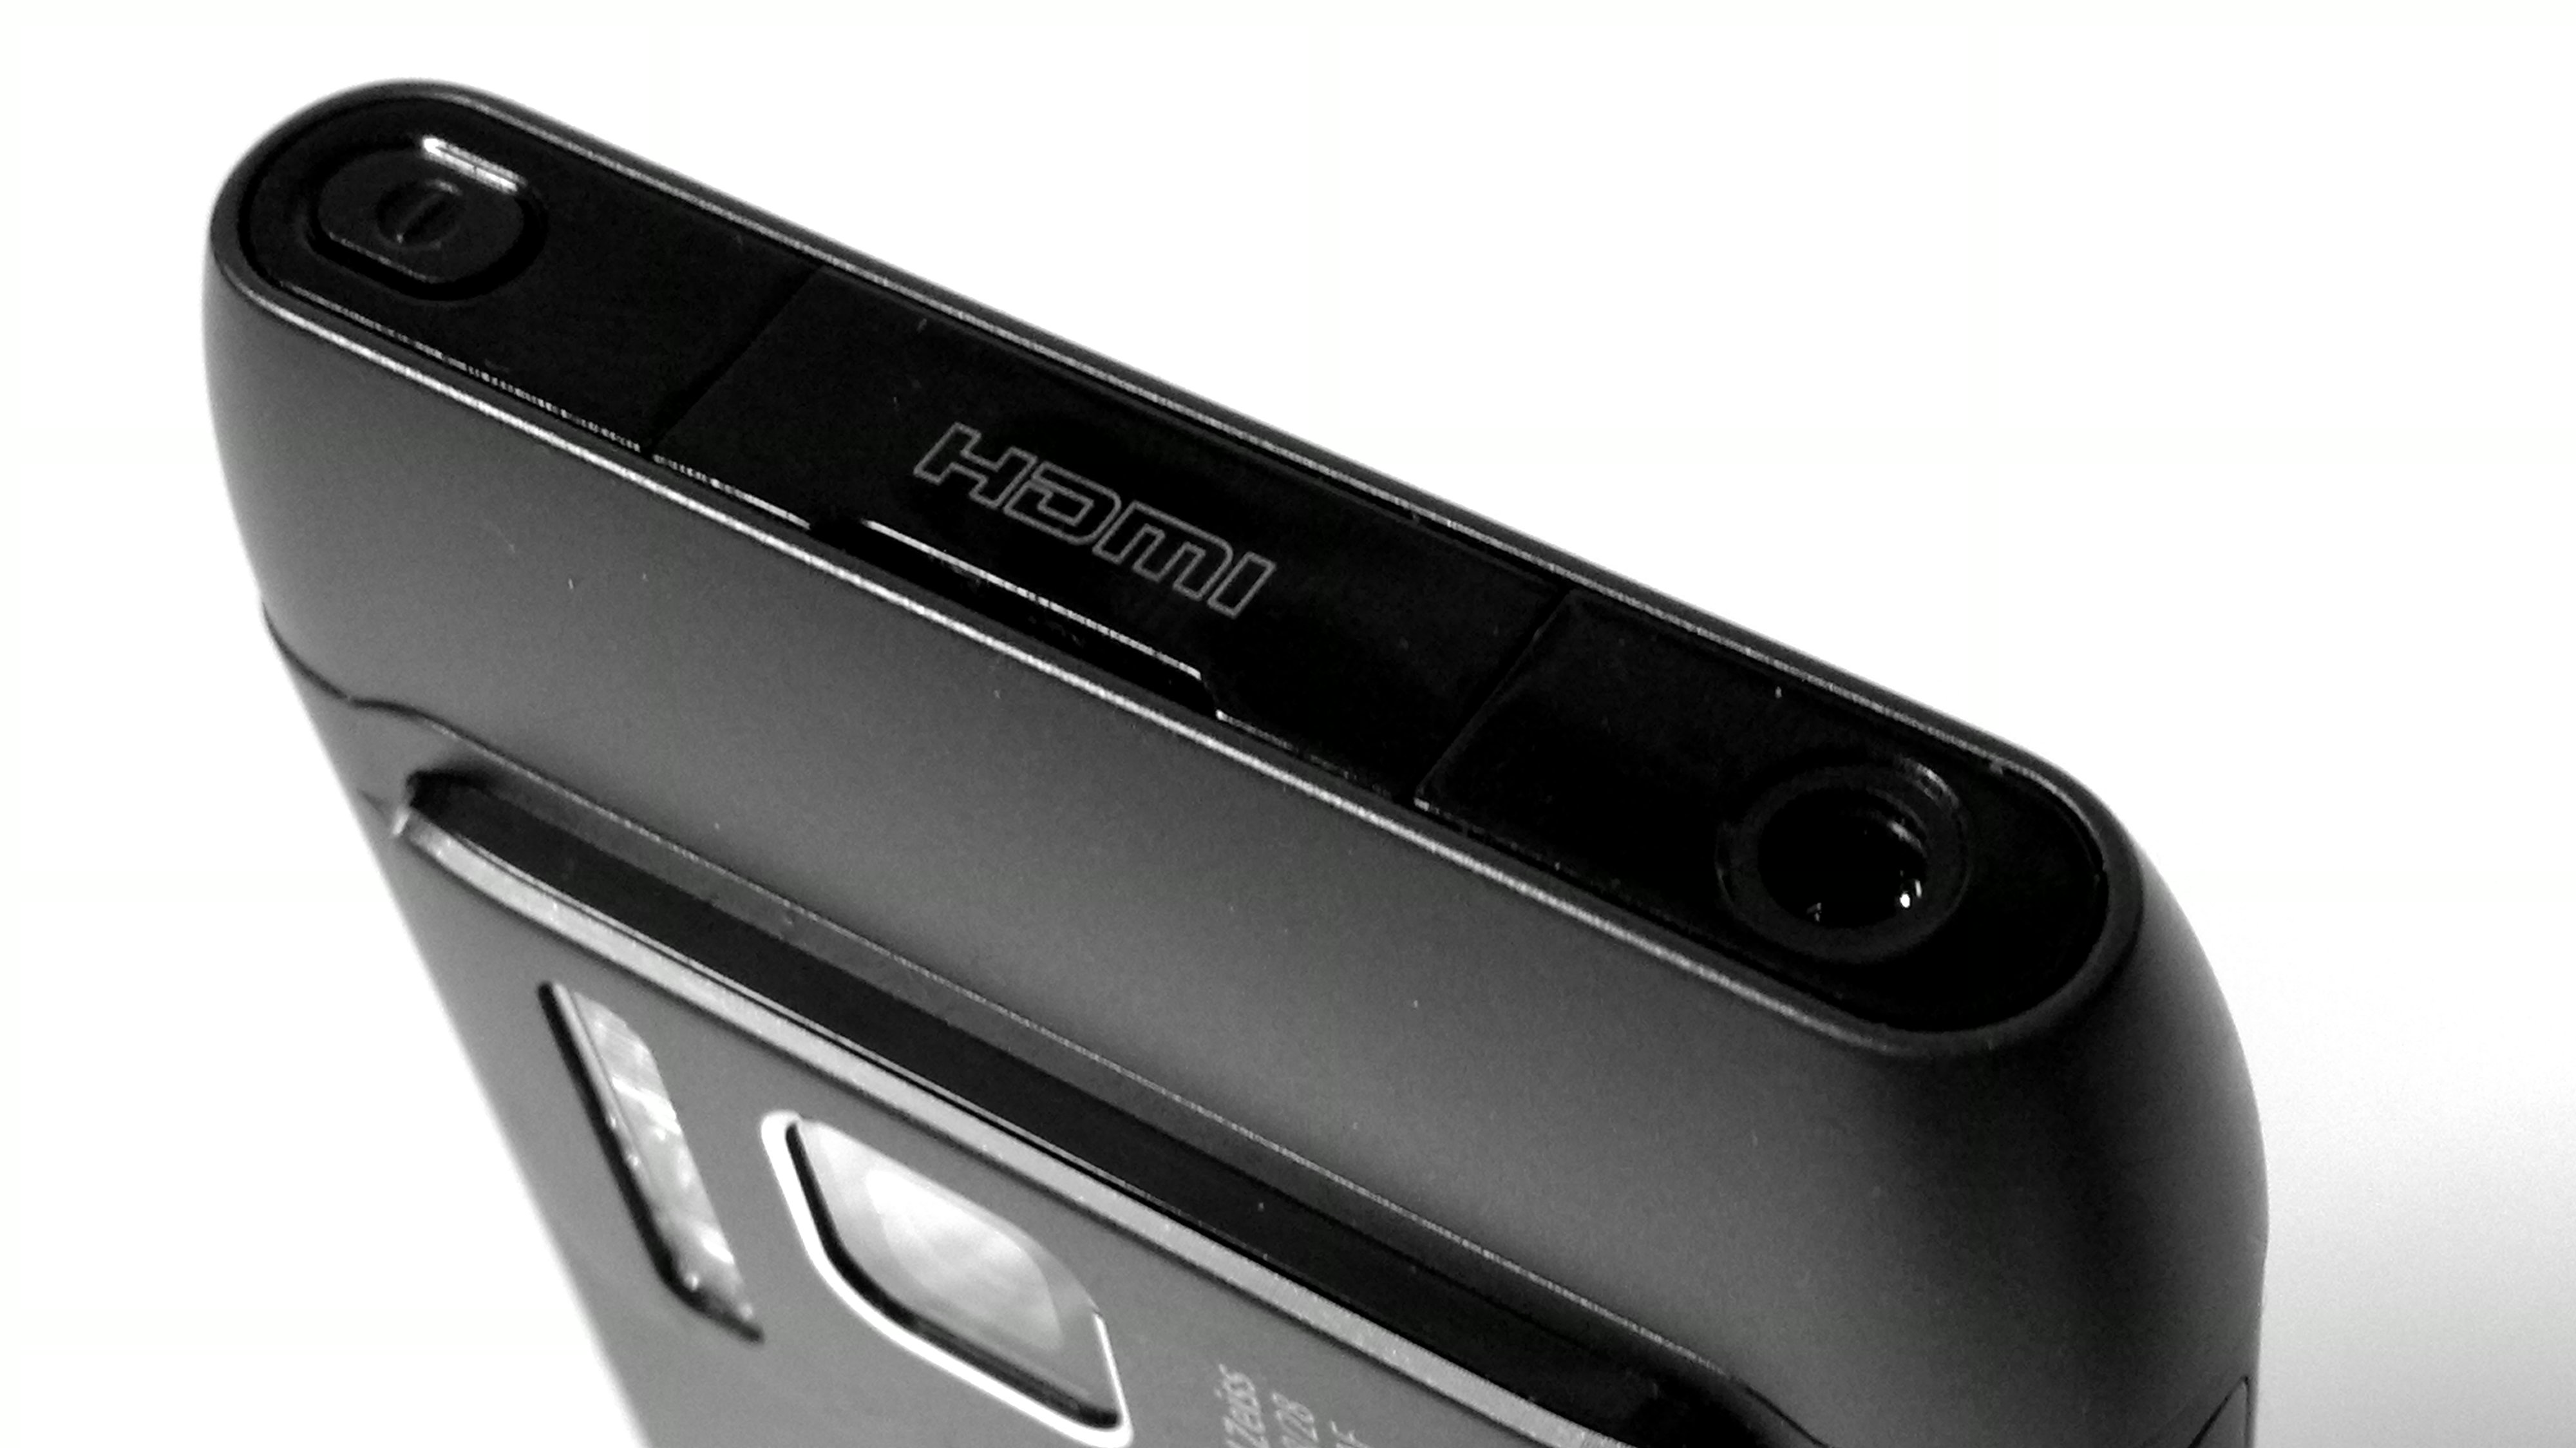
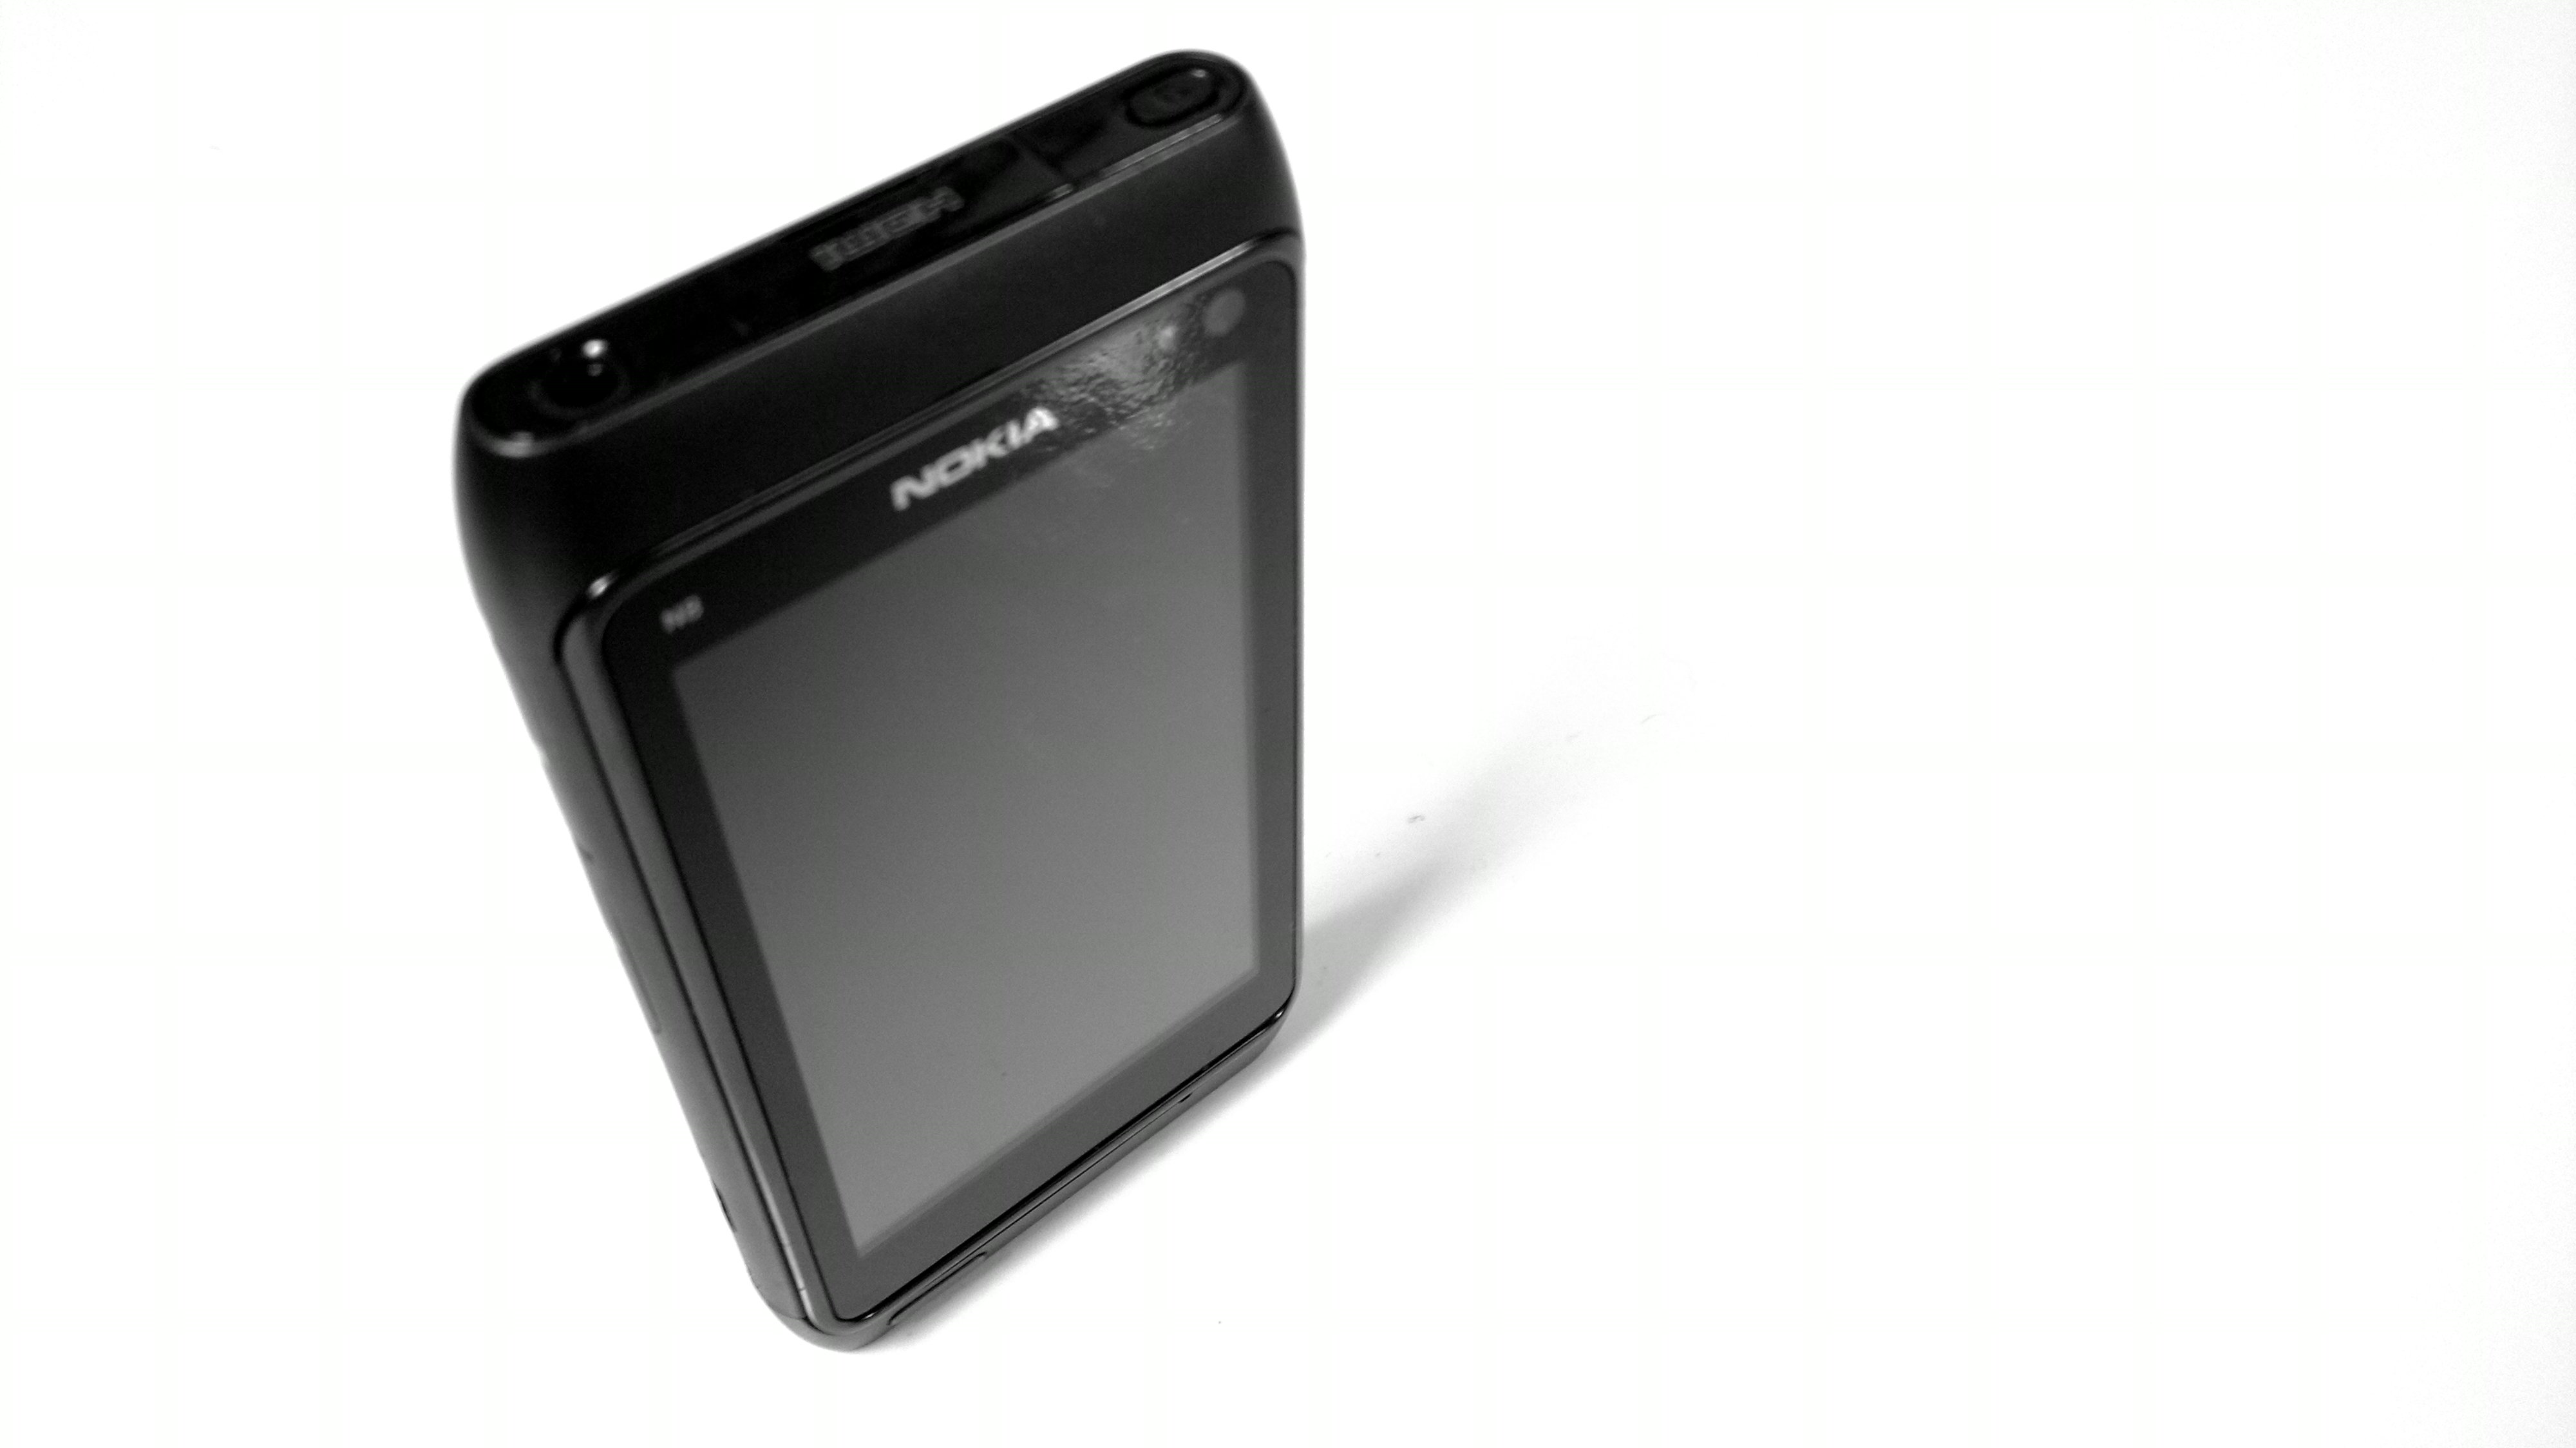
The selection here are of the black and white shots of another Nokia N8. Being already black there’s not really that much of a drastic change.
Camera Settings:
- Macro
- Exposure (+1)
- Contrast (+2)
- Black and White
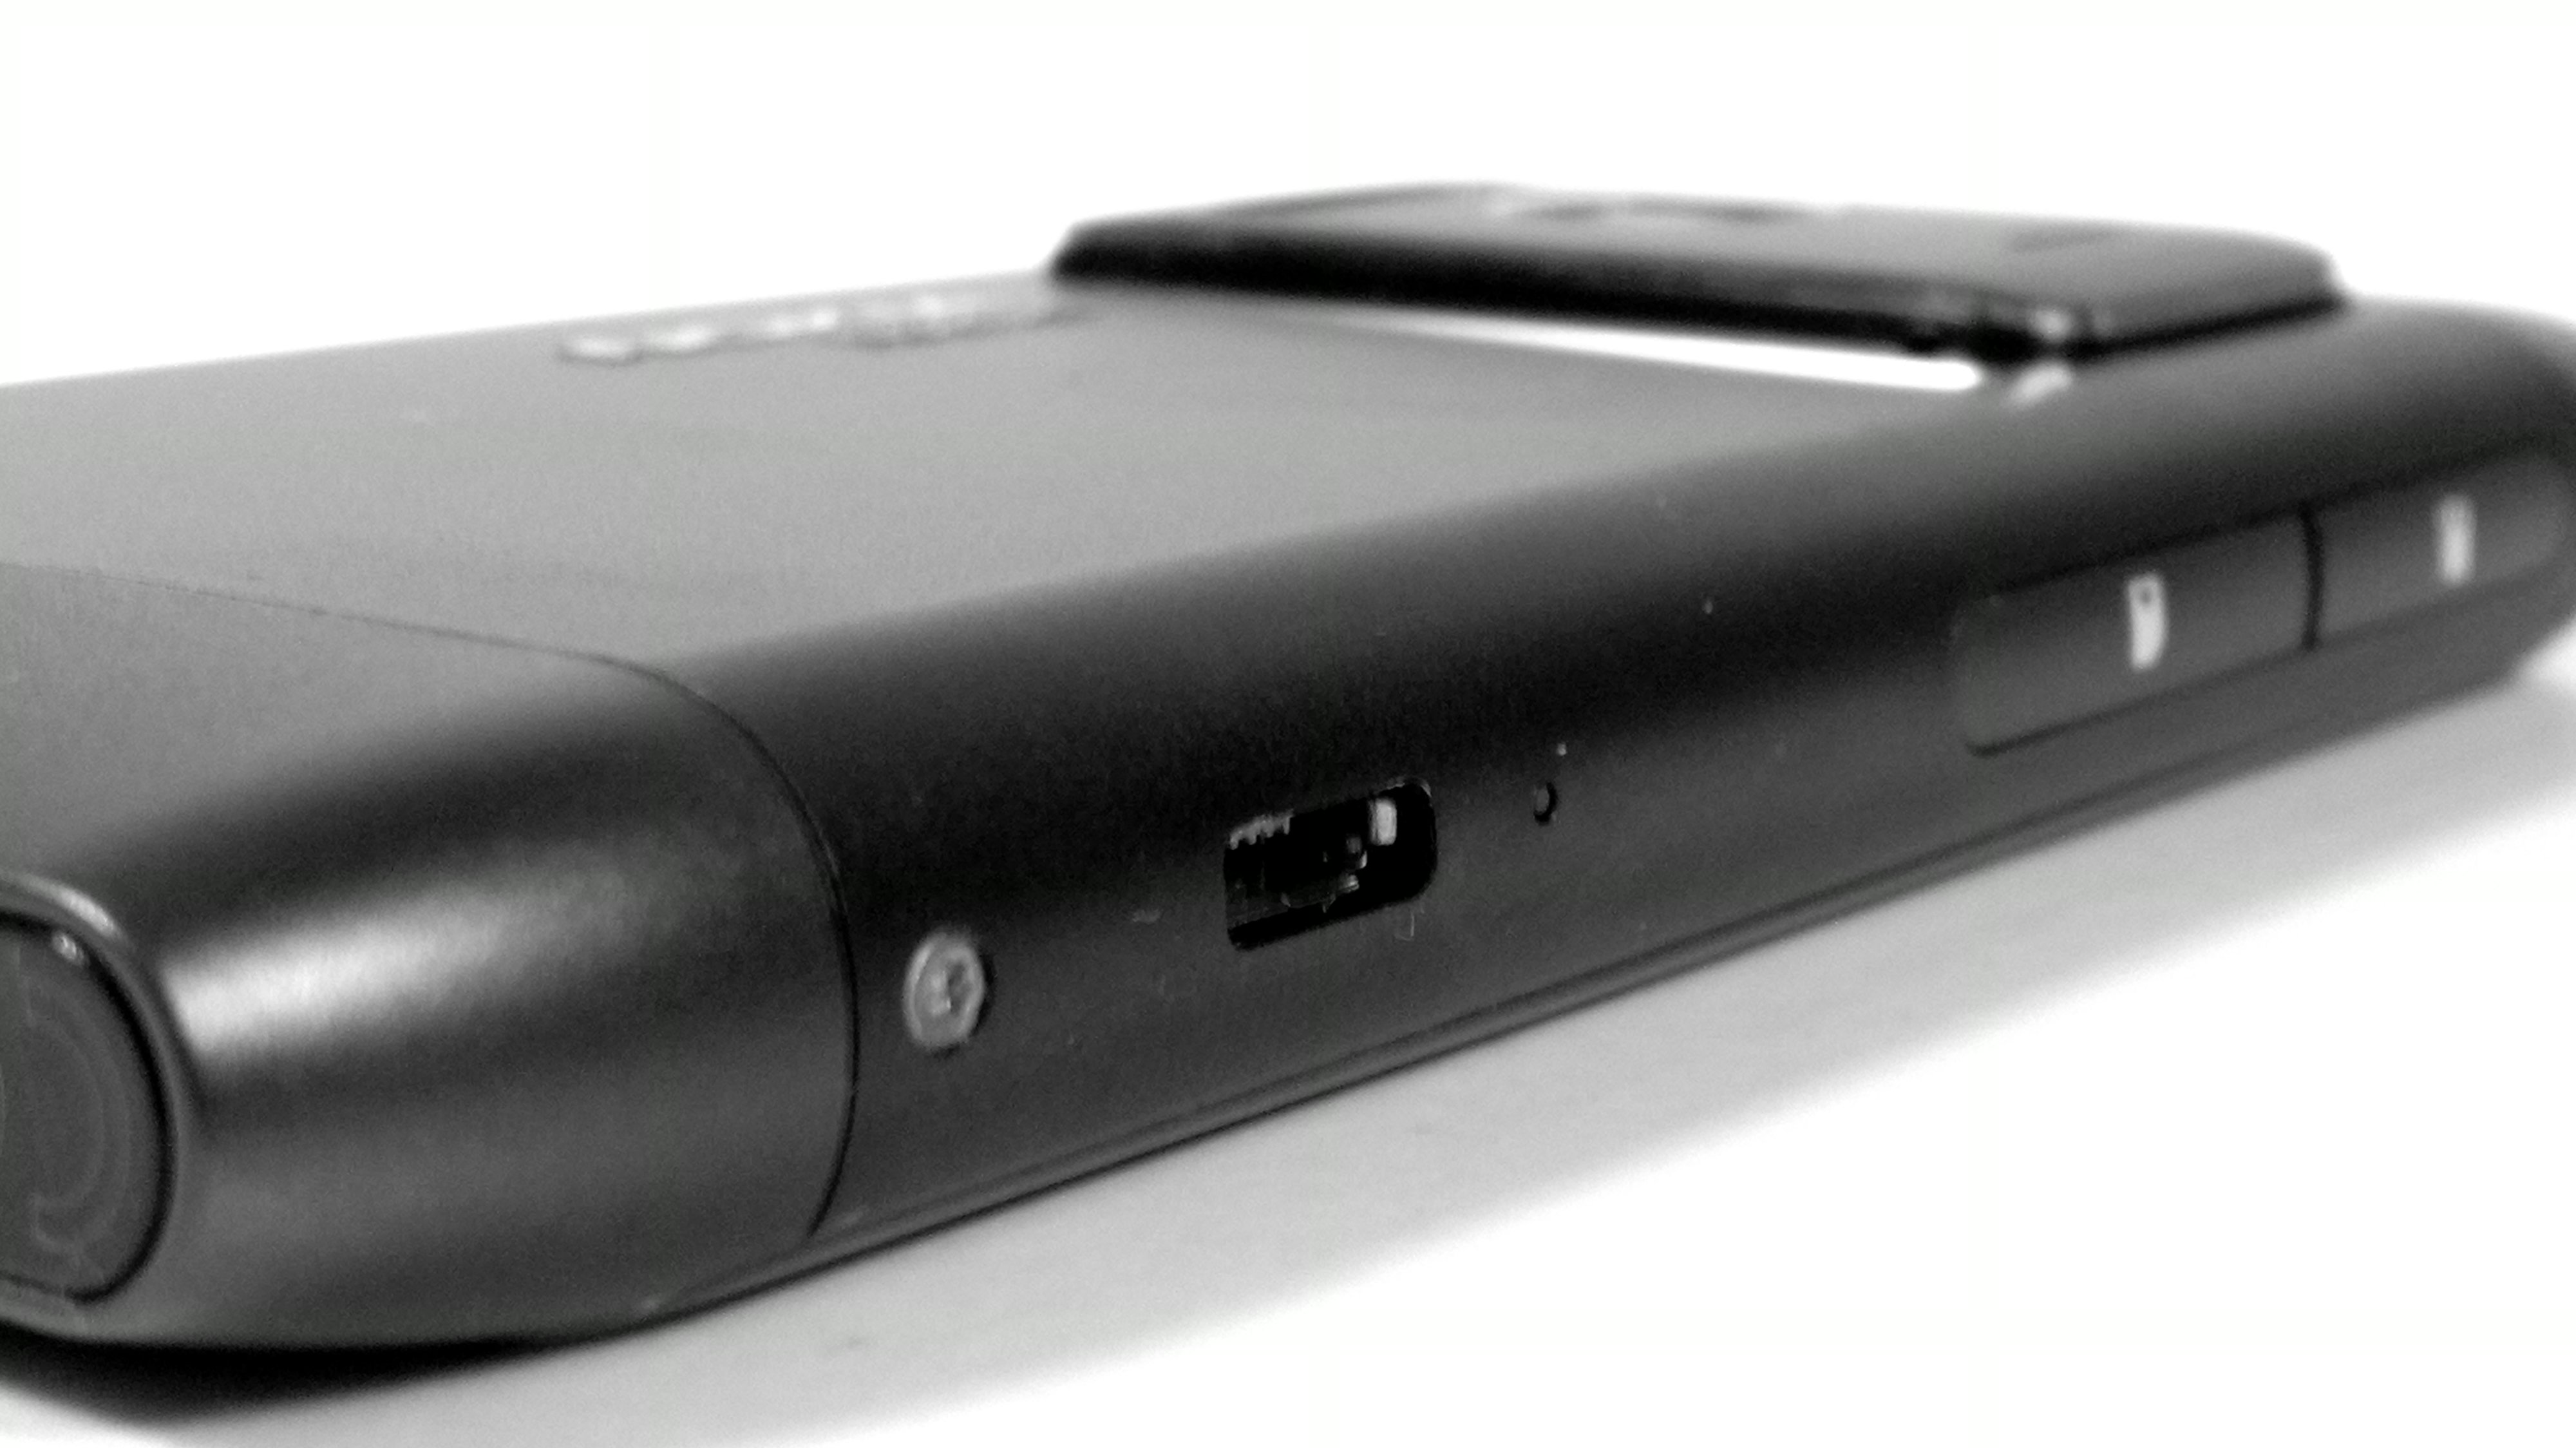
Increasing the exposure makes the white background truly white. This would require little editing if you wanted to achieve those photo styles where they just have the device on a white background and nothing else. The set up is as simple as a piece of plain paper and some good lighting.
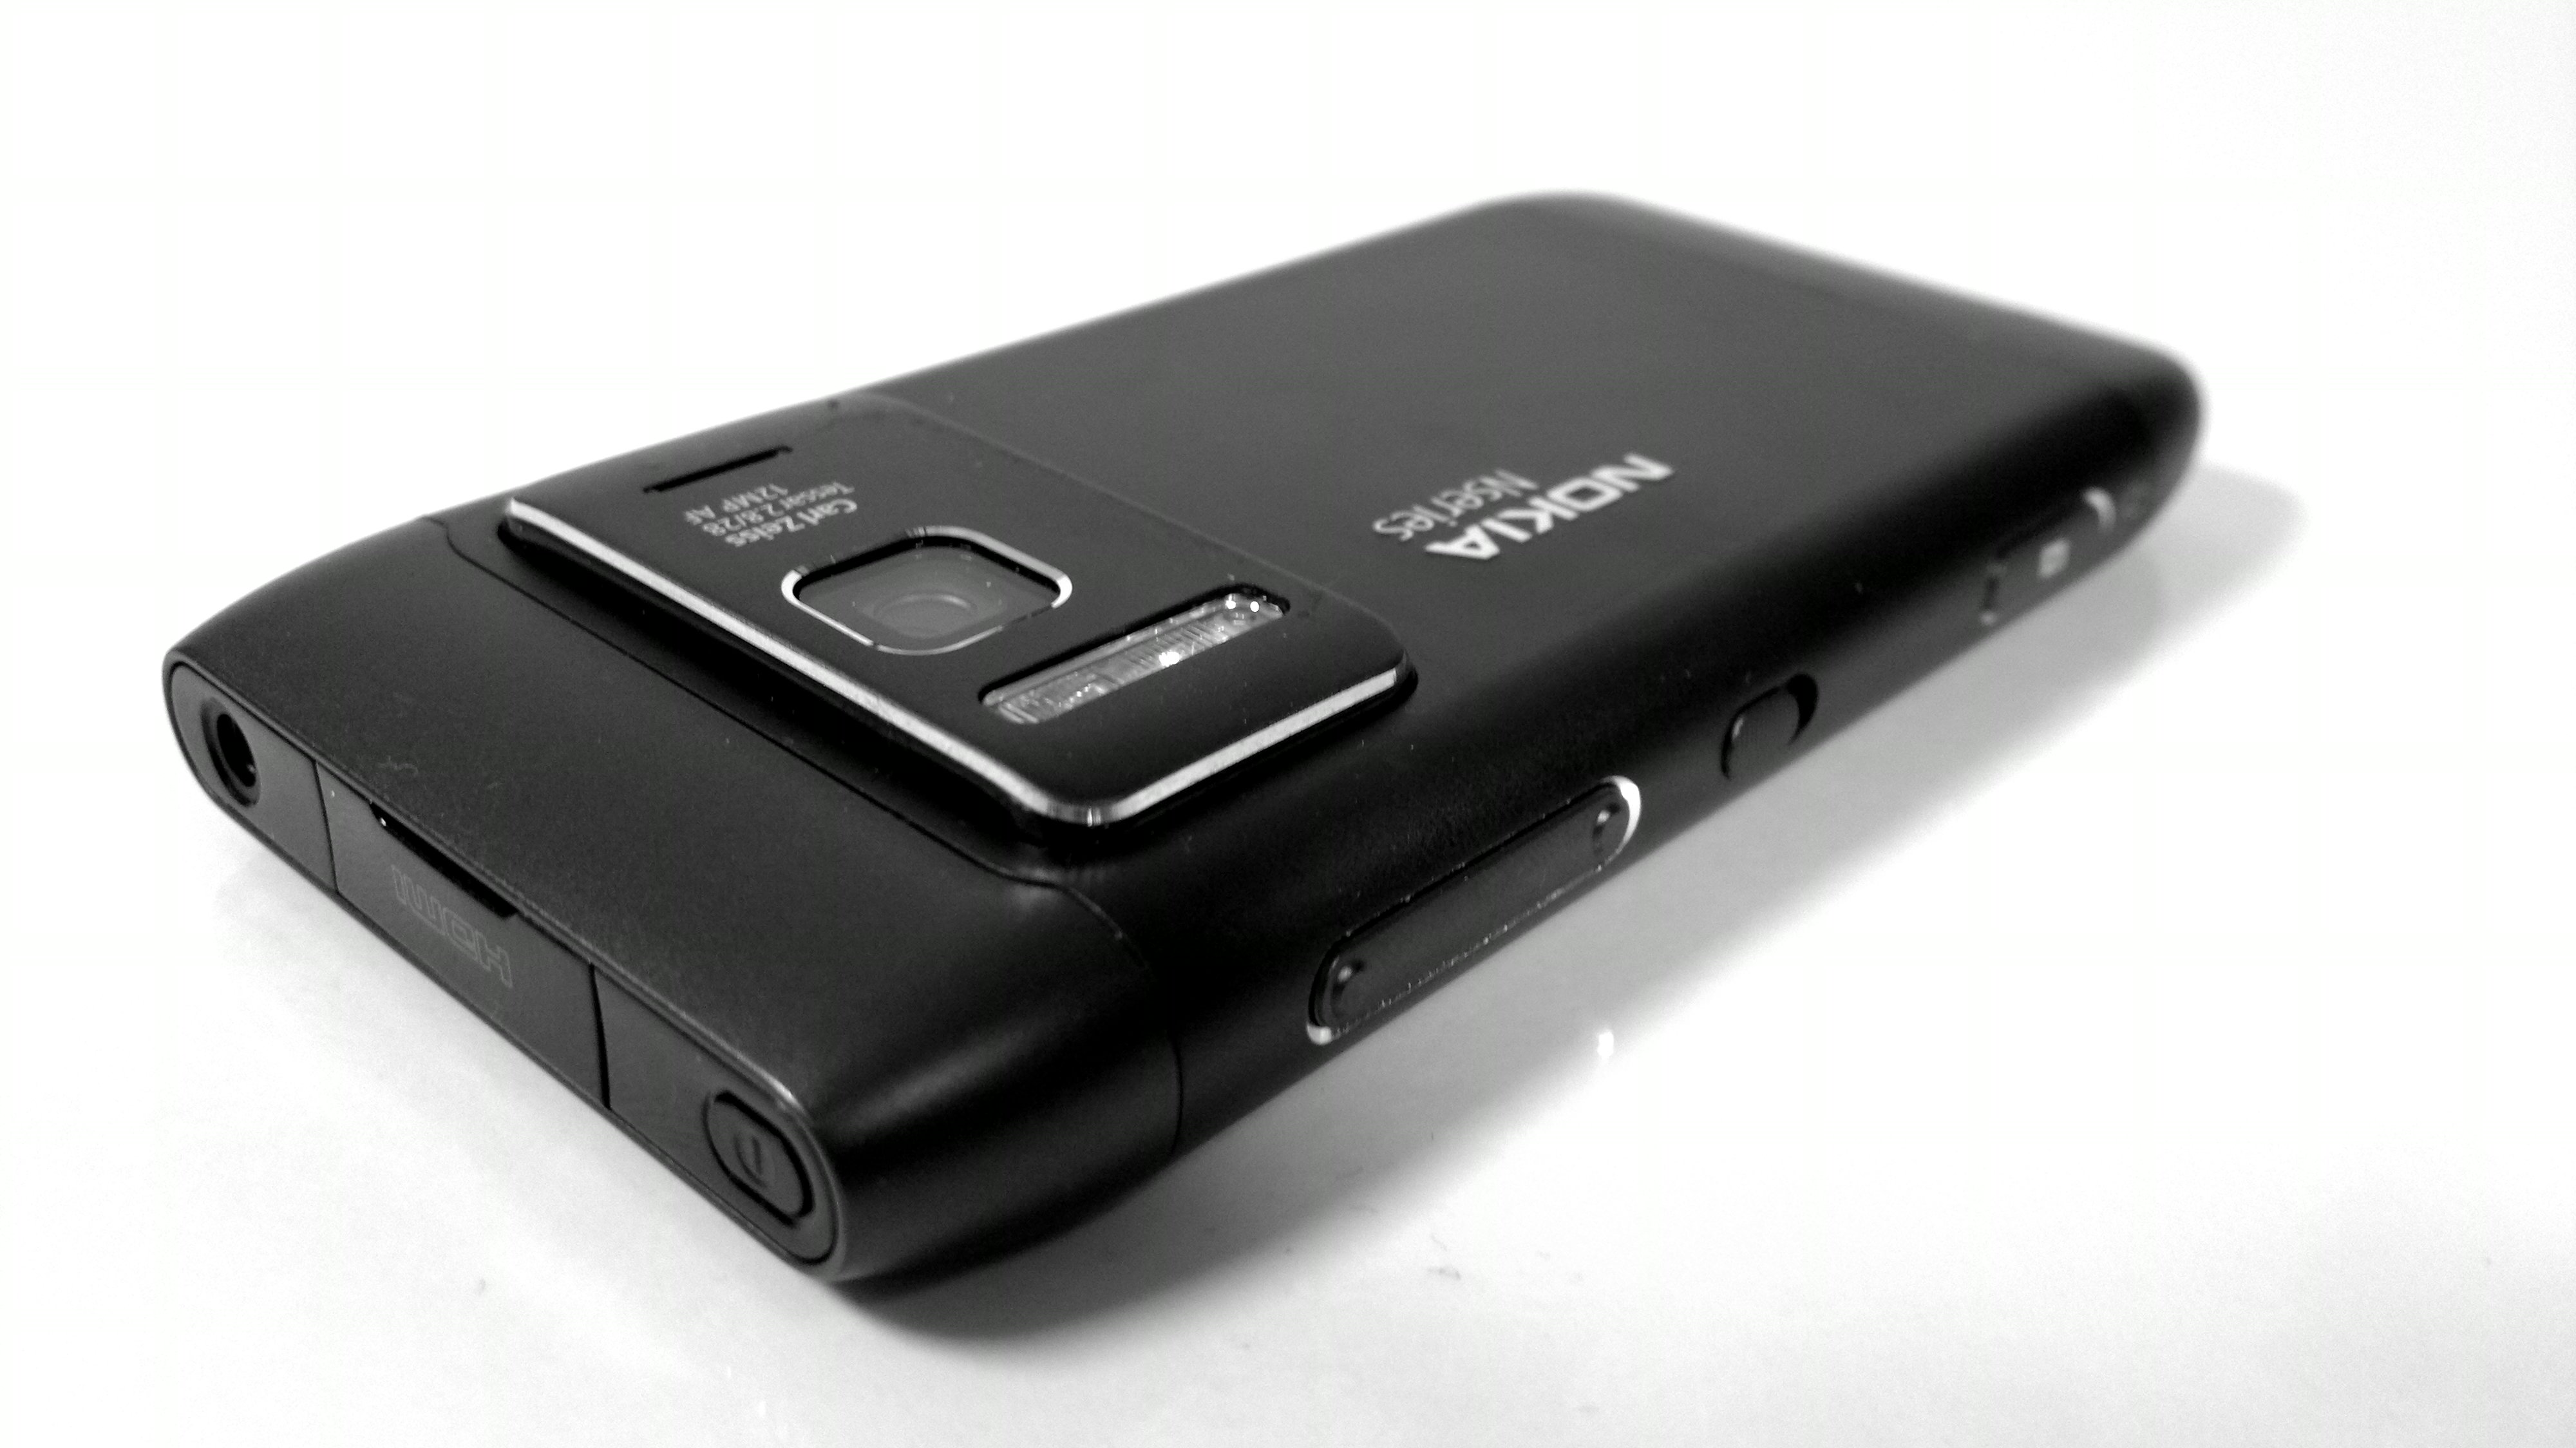
 At +2 Exposure things start to look a little alien. Ooh the bright lights! Works in some situations, but here makes the image washed out. The white surrounding it is definitely now just completely white.

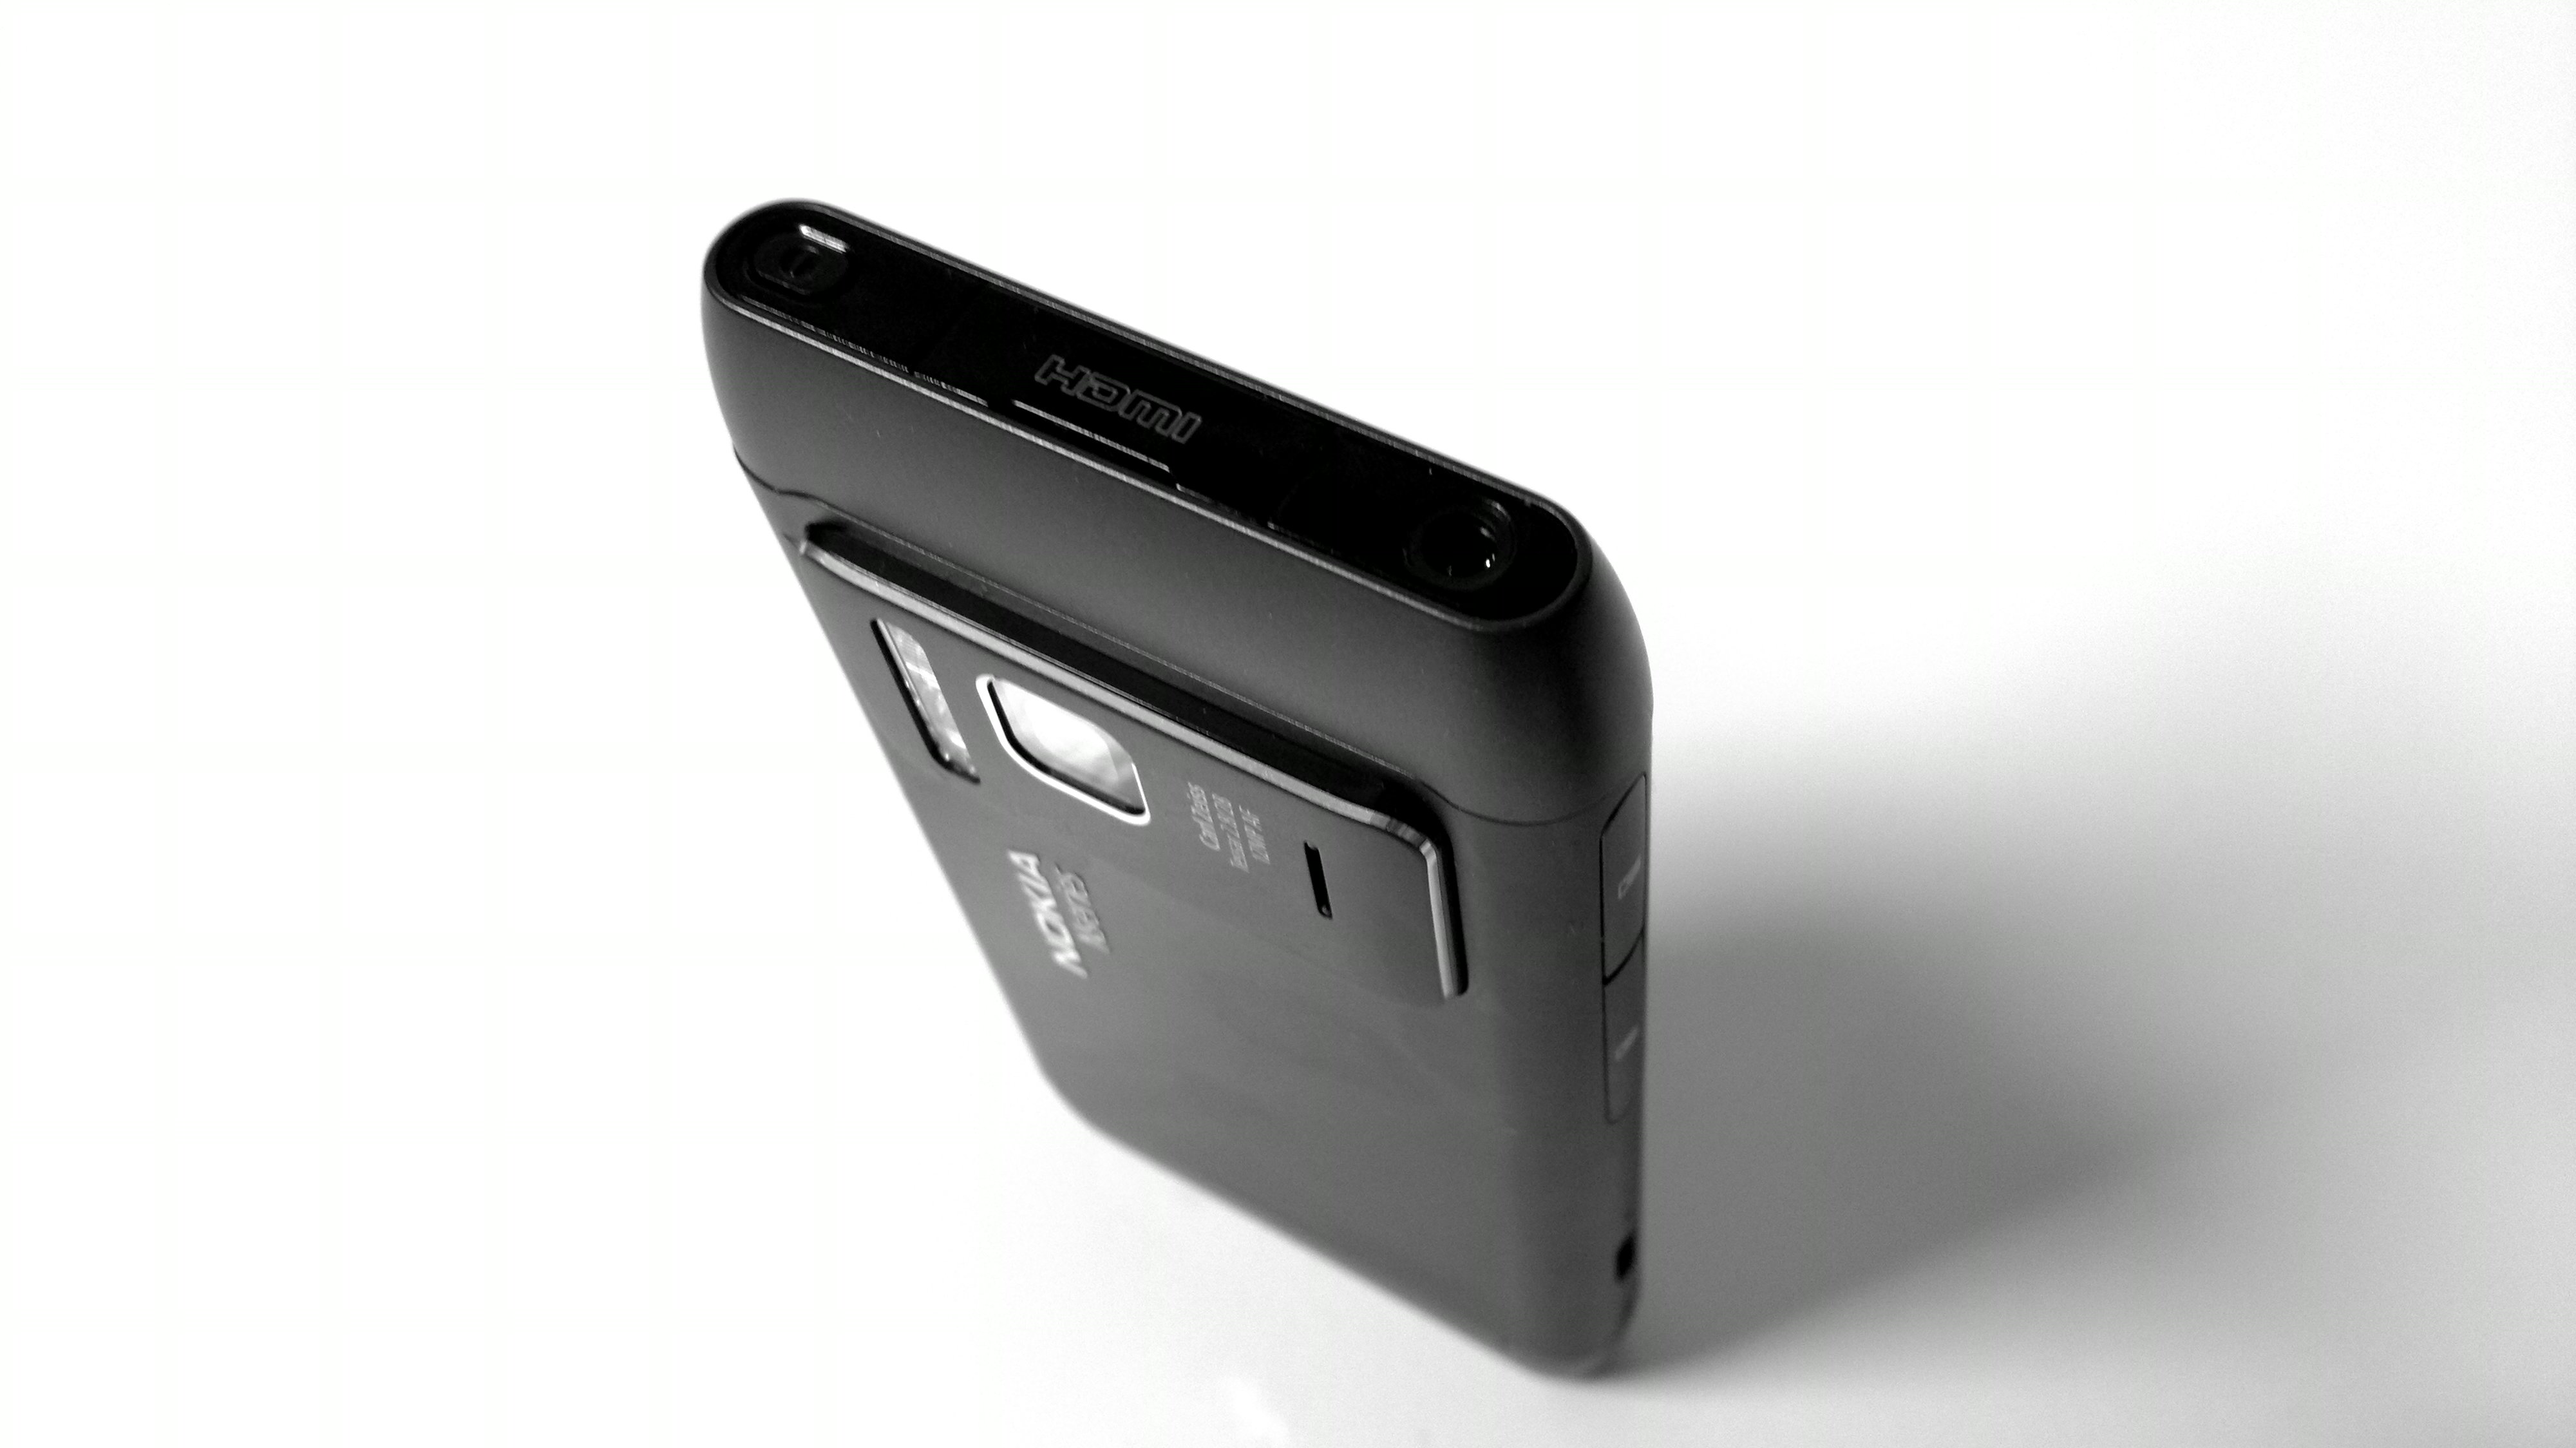
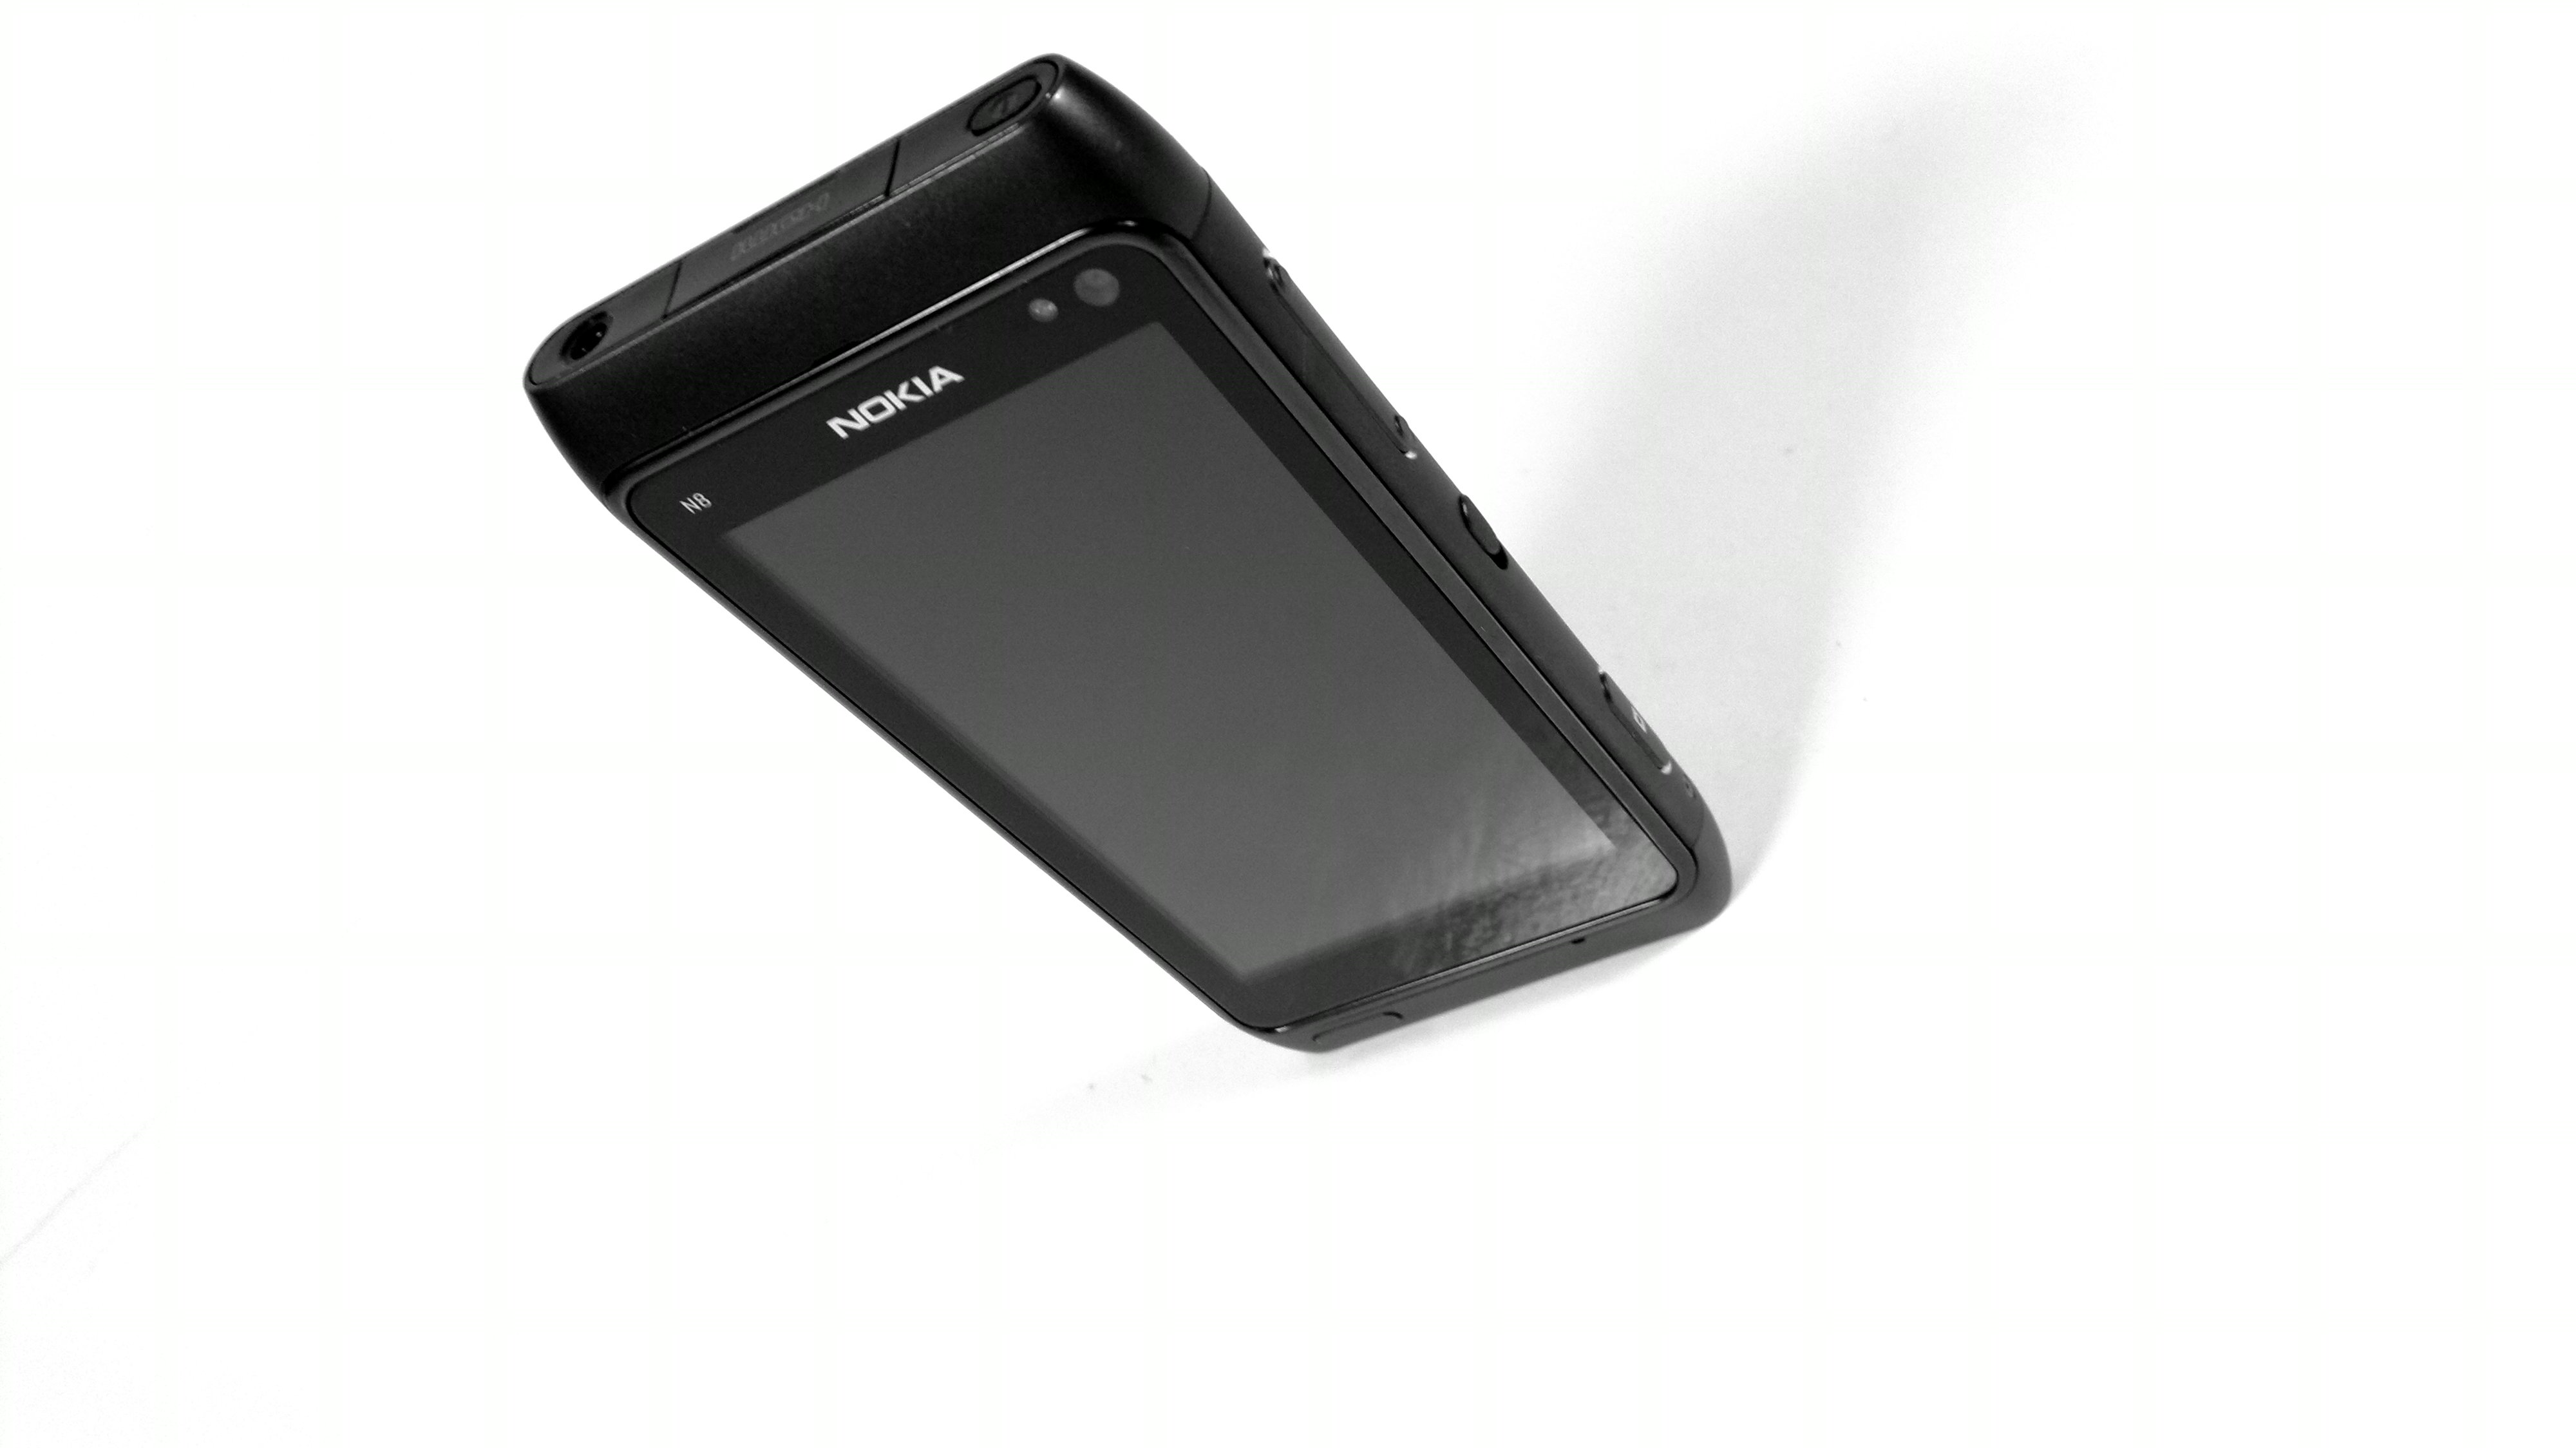
Now with the wide-angle lens we can’t get the same close up macros as the N82, HOWEVER: Tip: Just use the digital zoom.


PHOTO EDITING
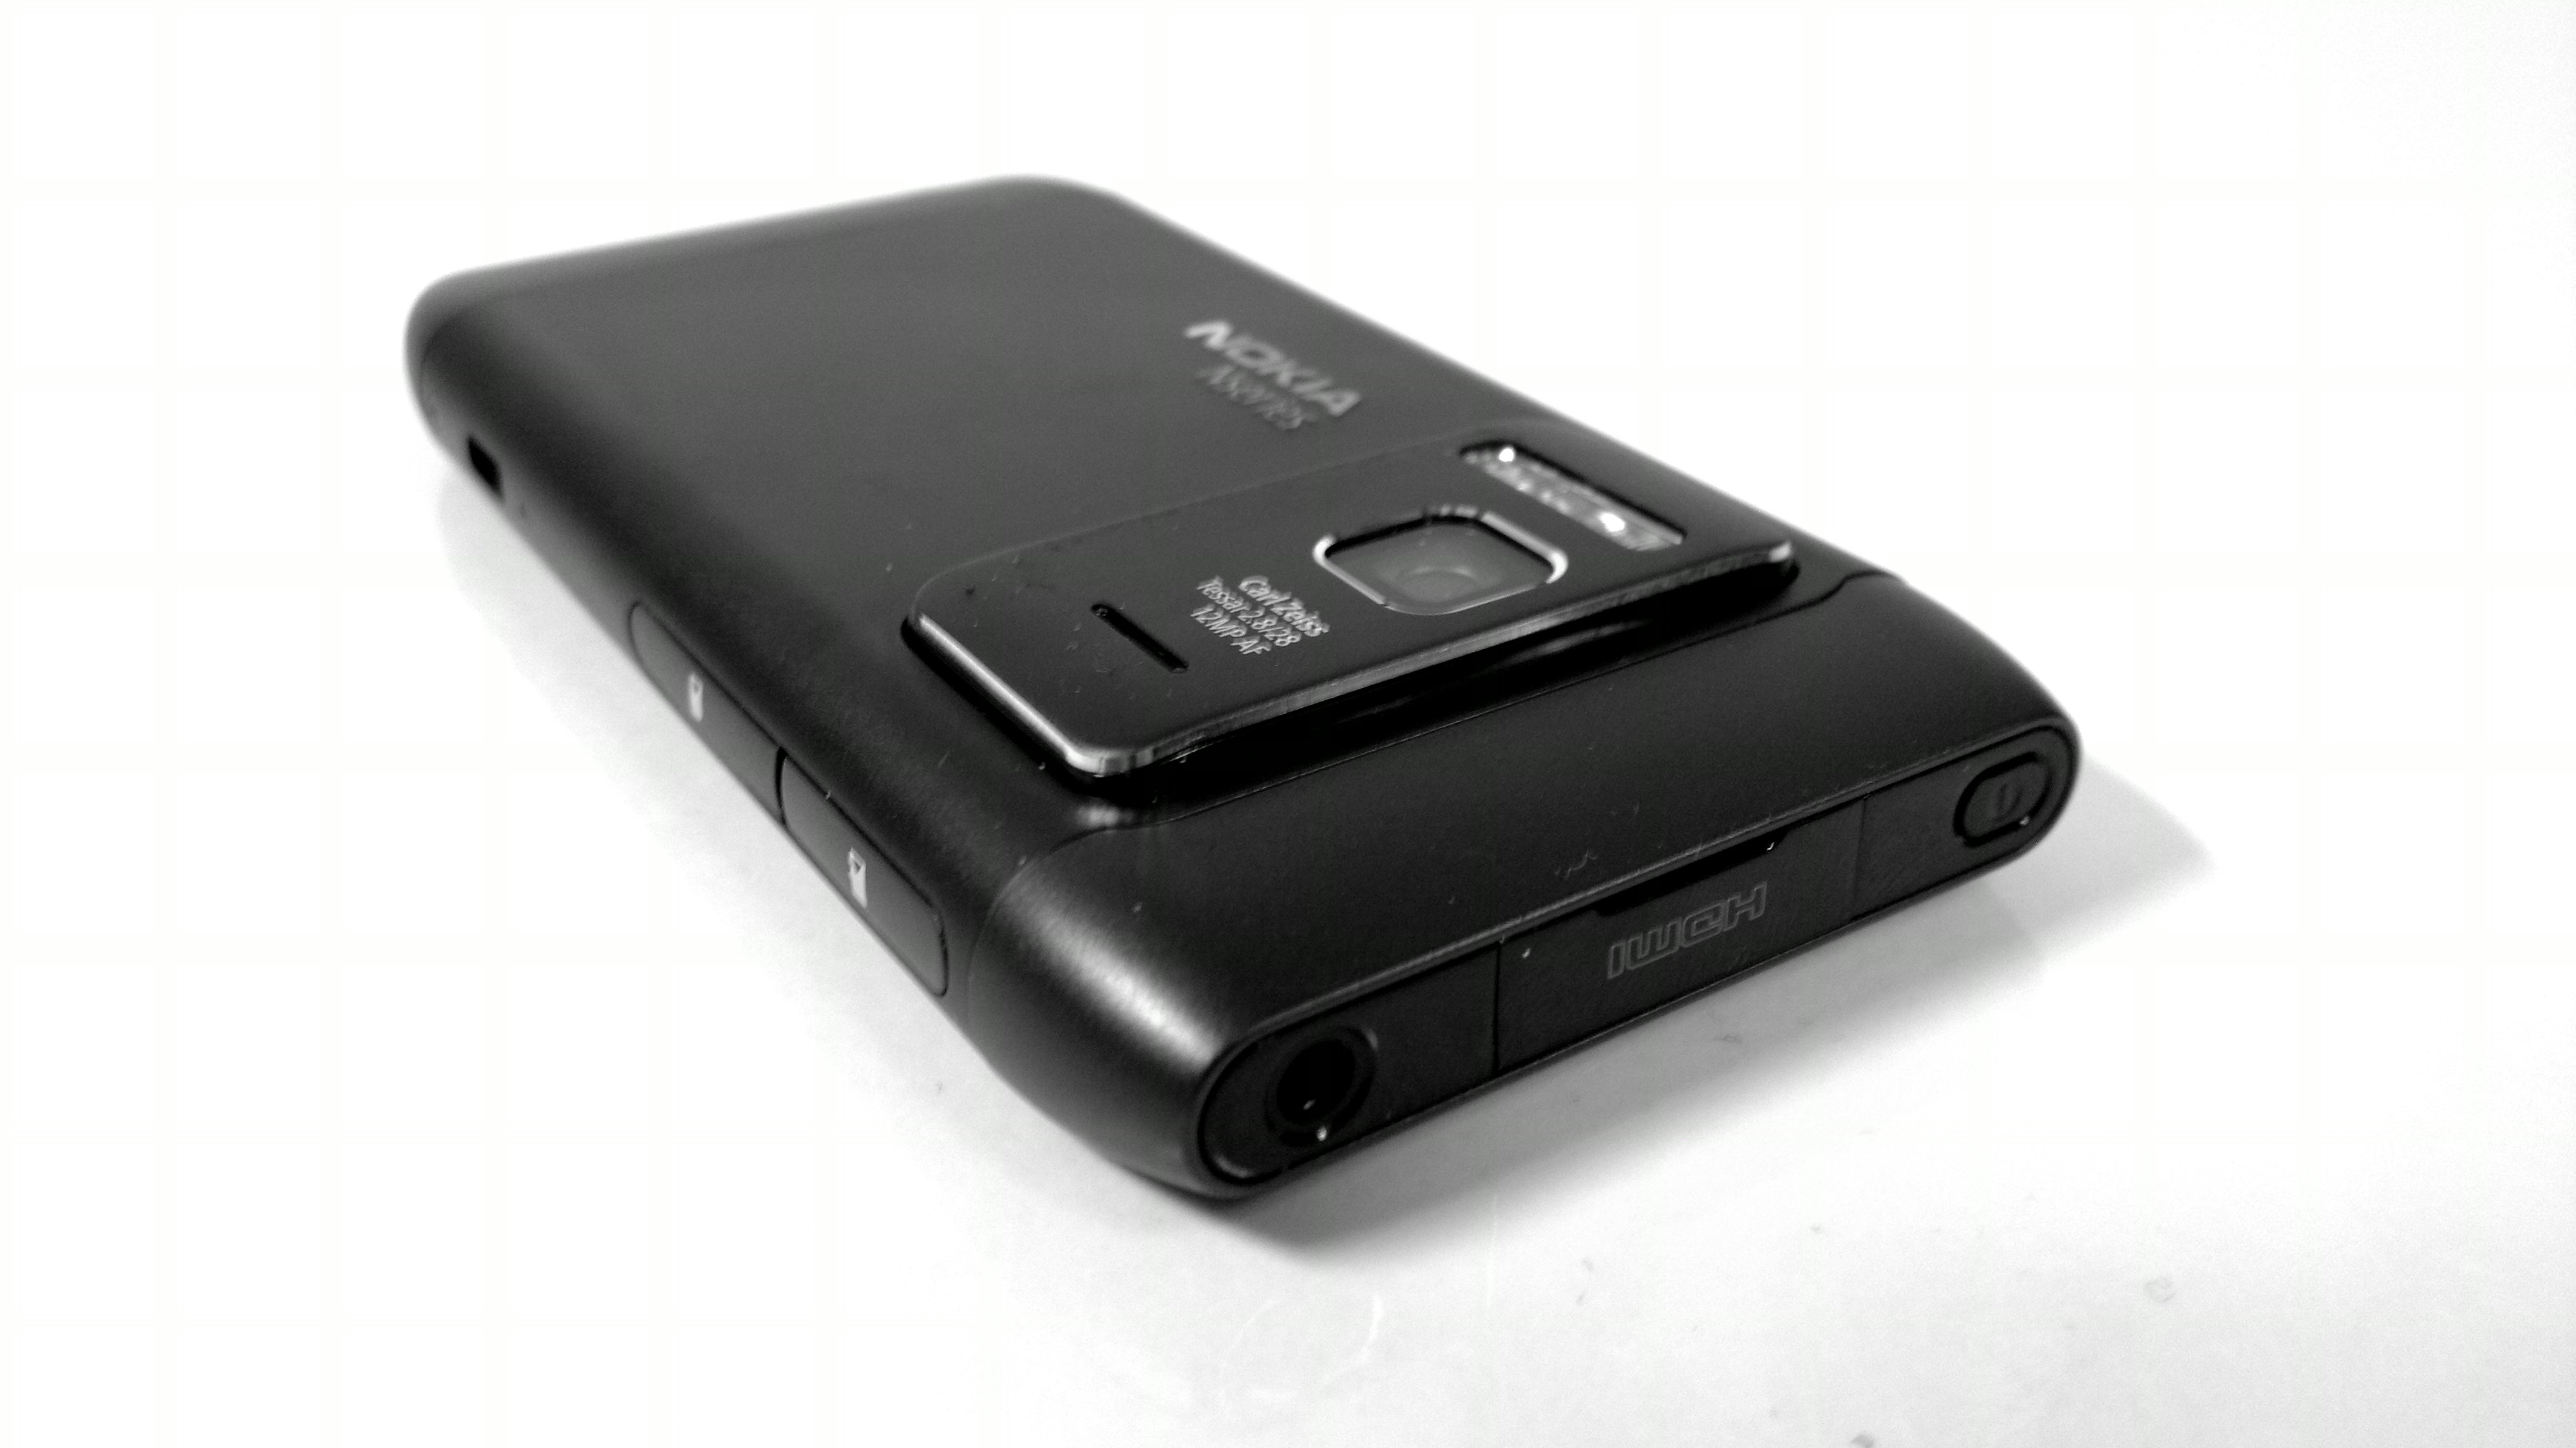
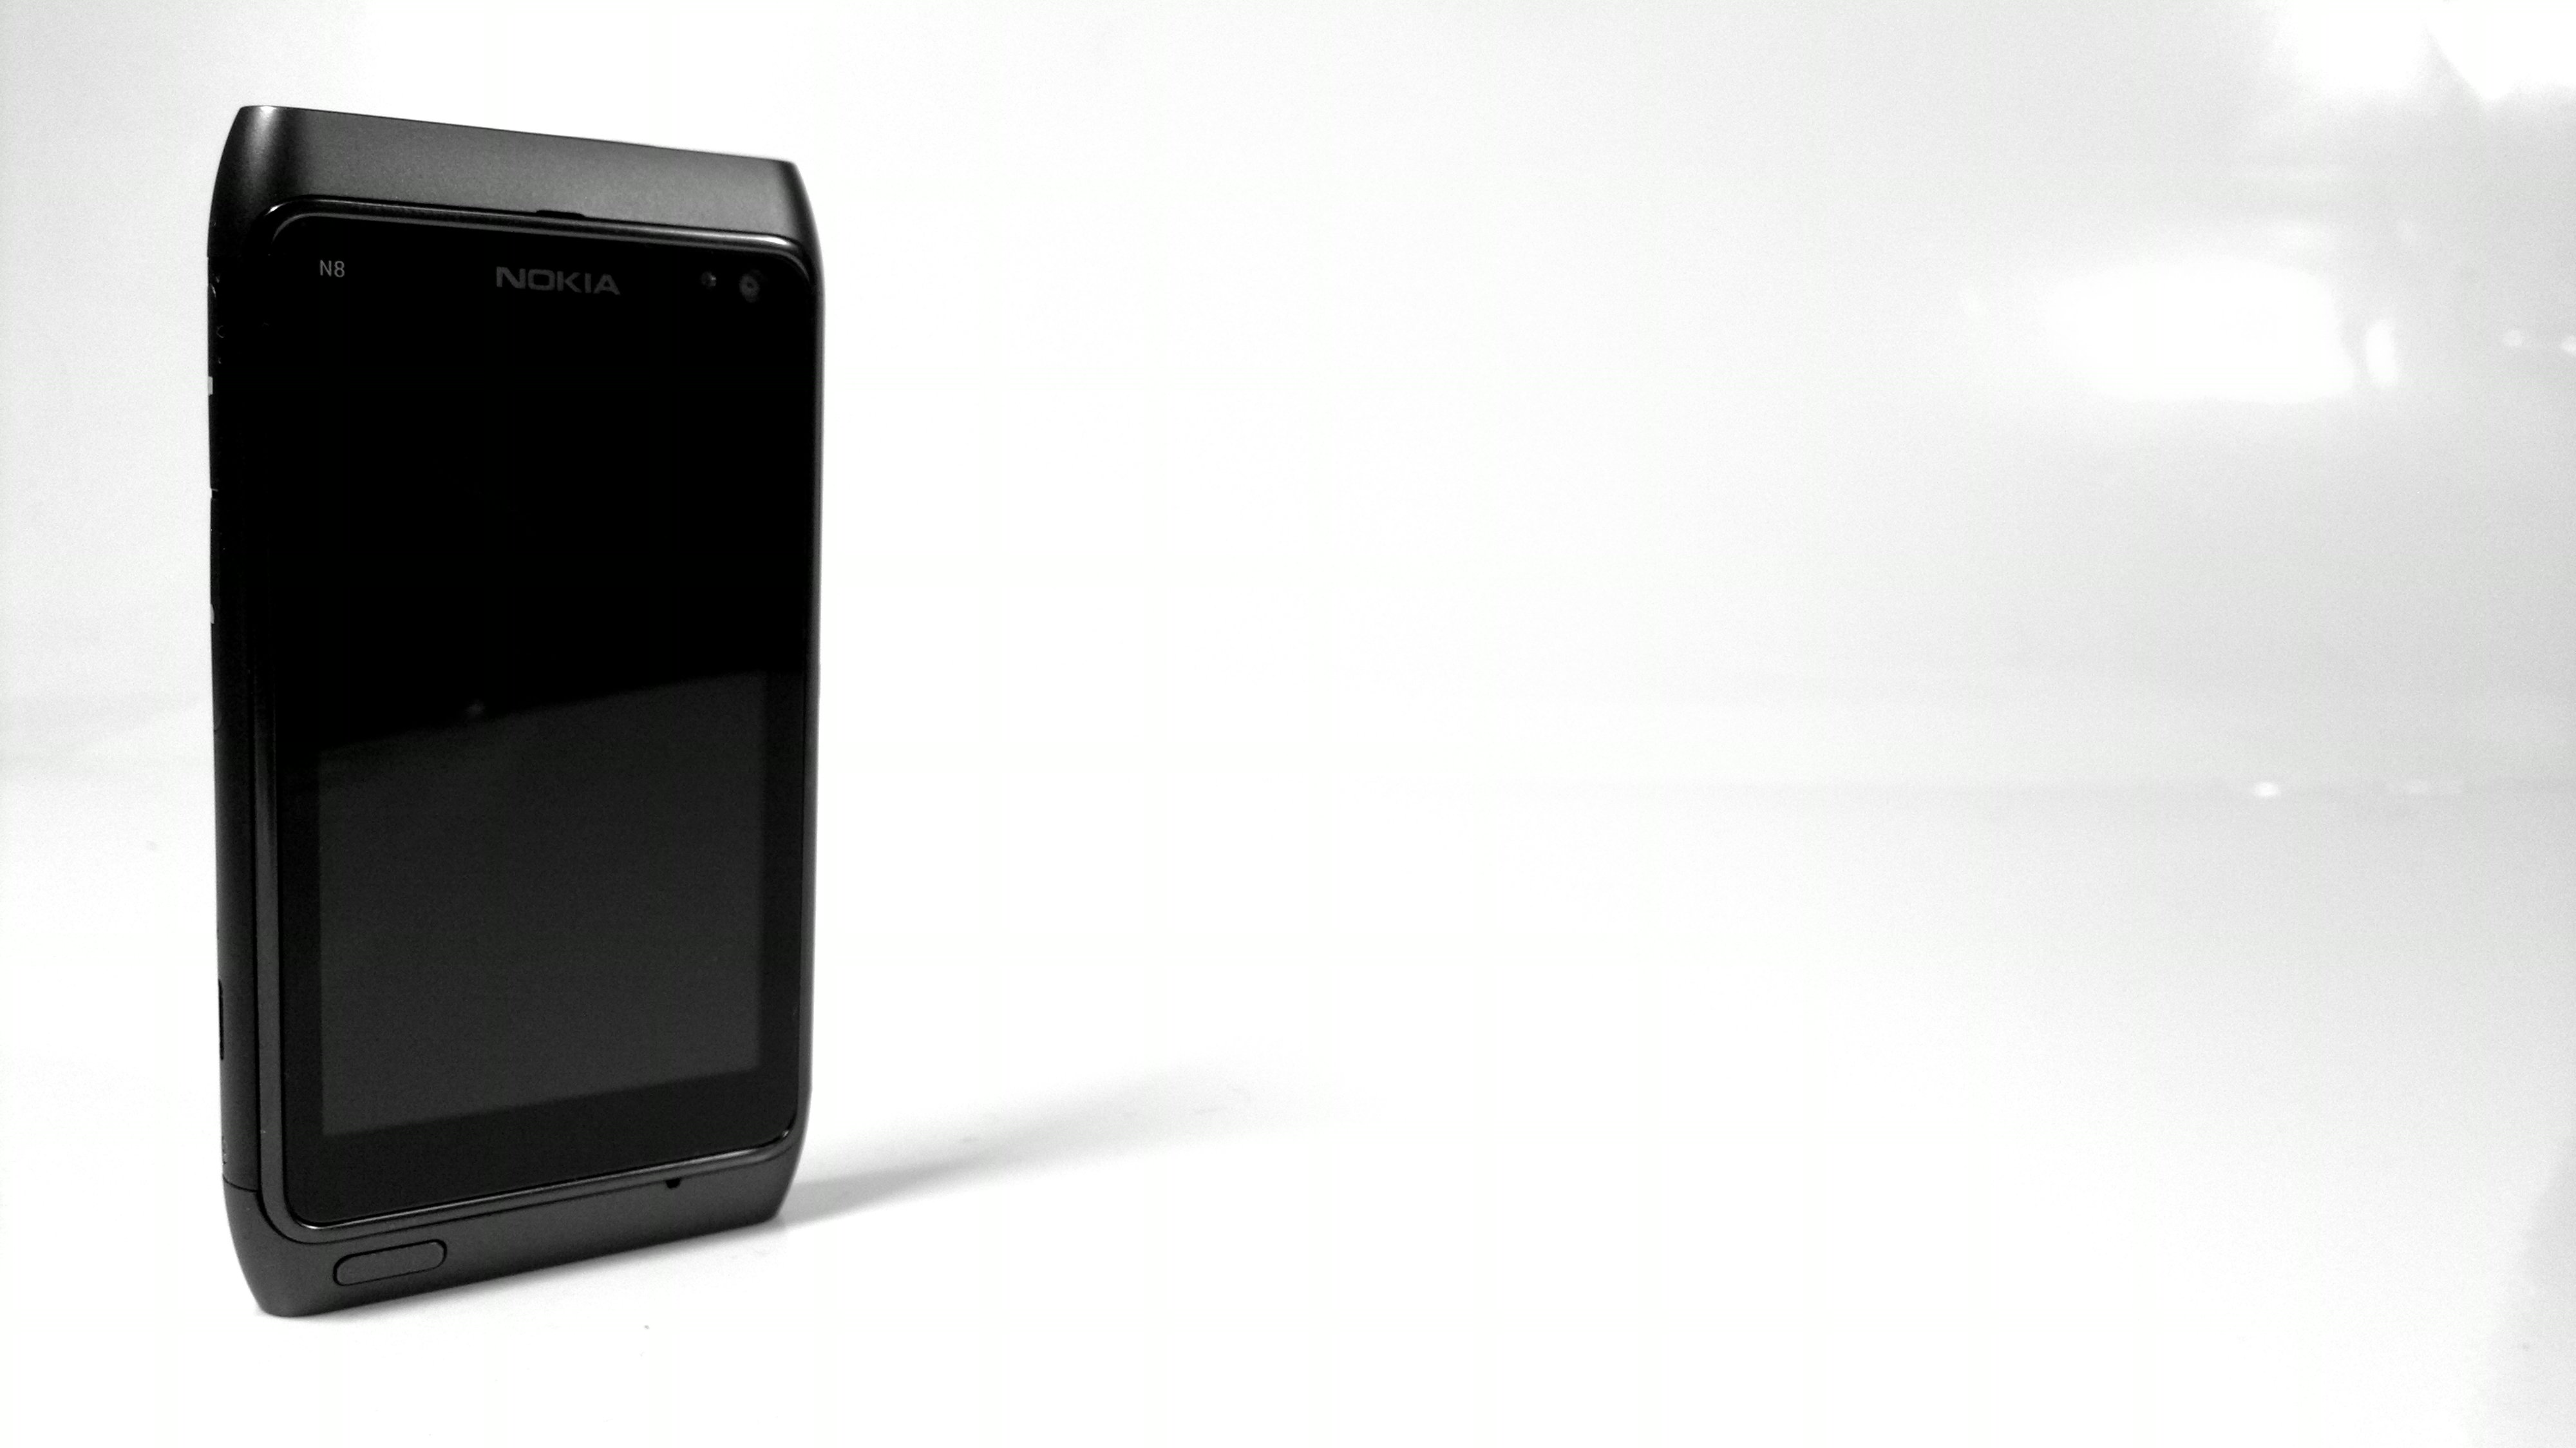
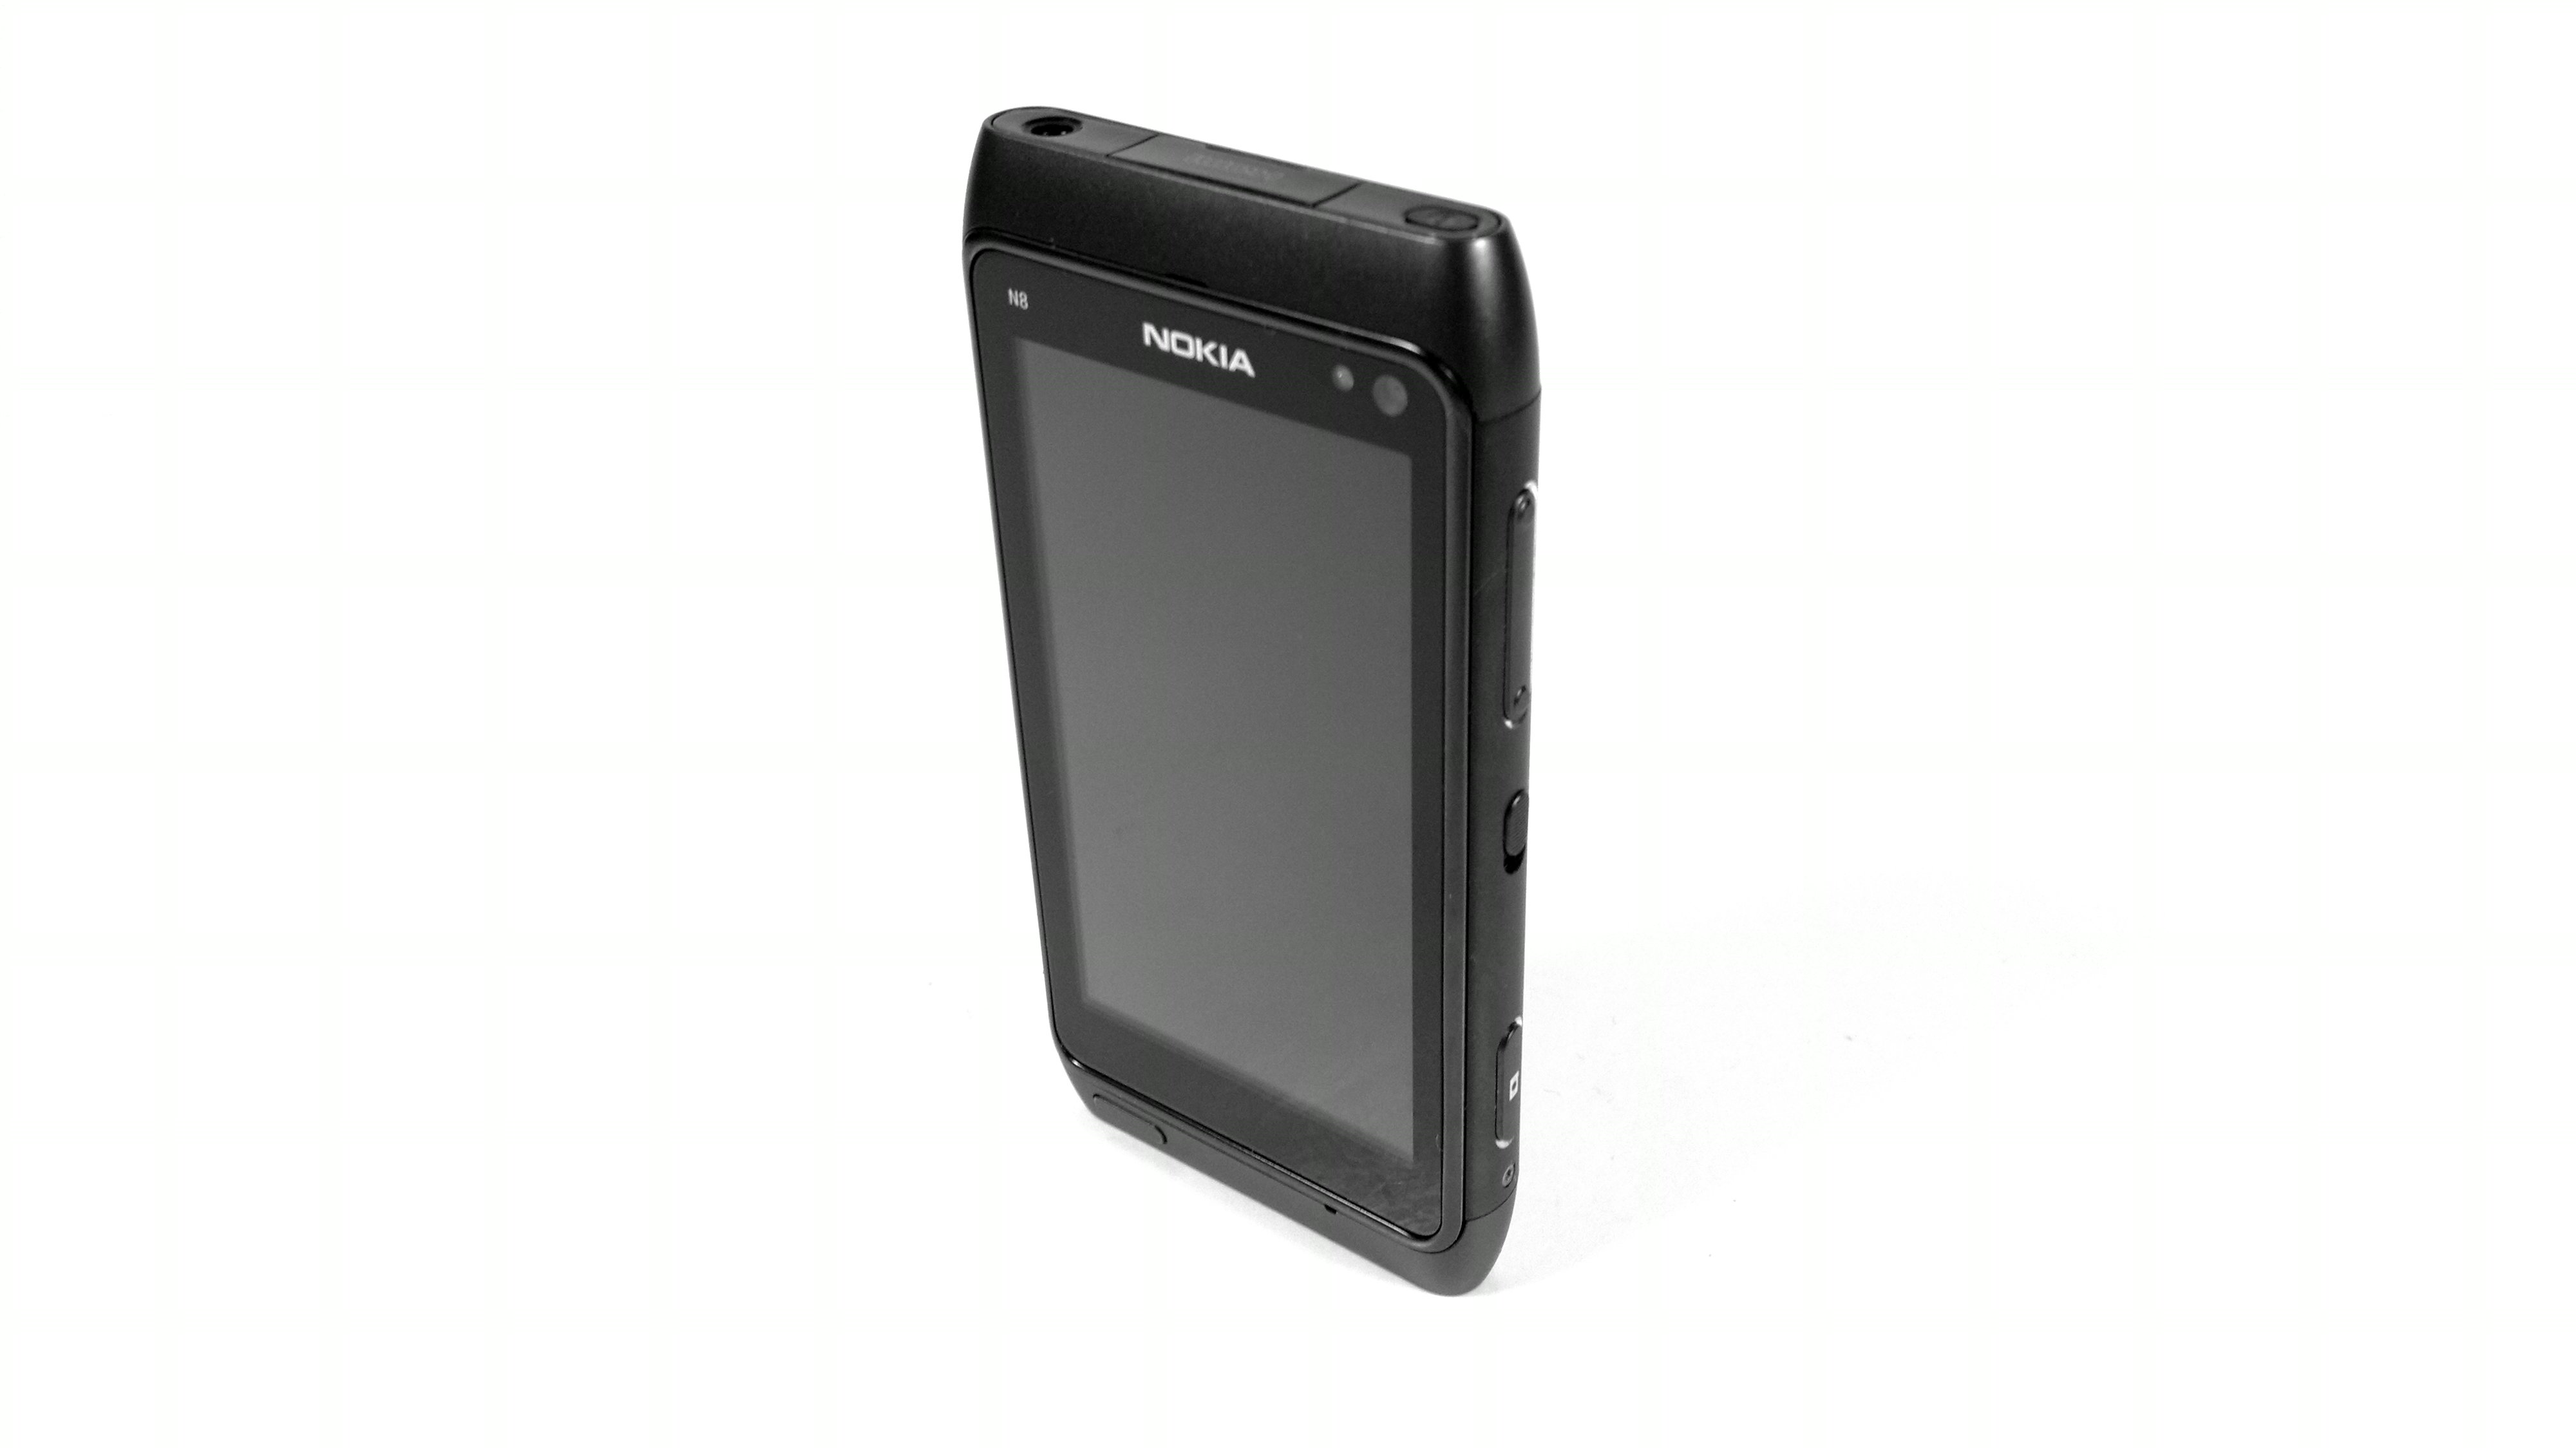
Here’s the original unedited photo as seen in the first picture of this post. Note that it isn’t completely white behind the N8.

Now to get rid of those darker patches, it’s VERY easy. You don’t even need to go to Photoshop (or whatever photo editor on your PC).
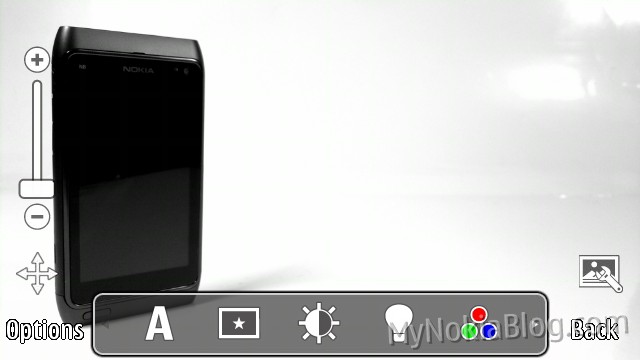
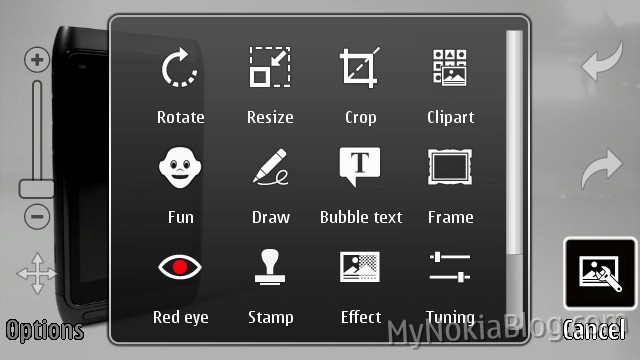
Just edit the image with your Nokia N8. You can edit the image as soon as you’ve taken the photo (pencil icon) or edit from the gallery (or photo editor app). Either way…
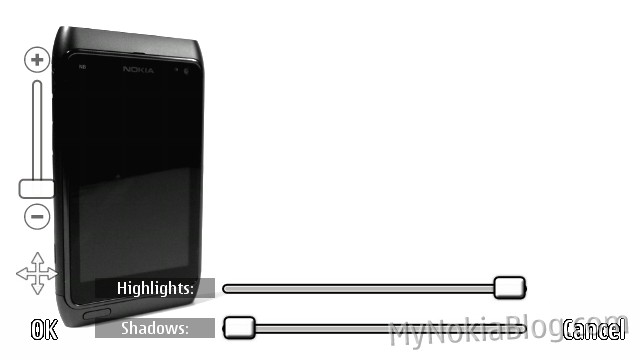
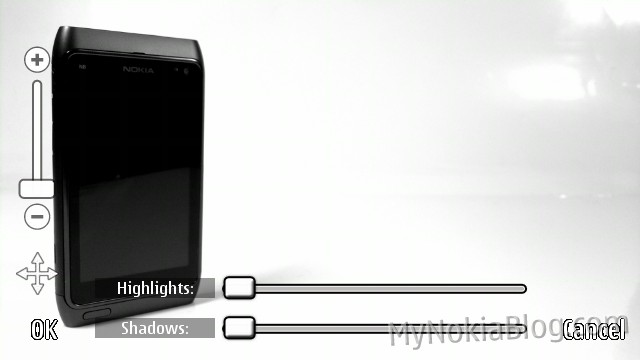
Choose Edit and then hit “Tuning” (Row 4, column 4)

Now click on the bulb icon (fourth one)
Now gradually increase Highlights and keep shadows down until you’re satisfied. (Note, colour change not really noticeable since photos are black and white).

Click OK and then save your image.
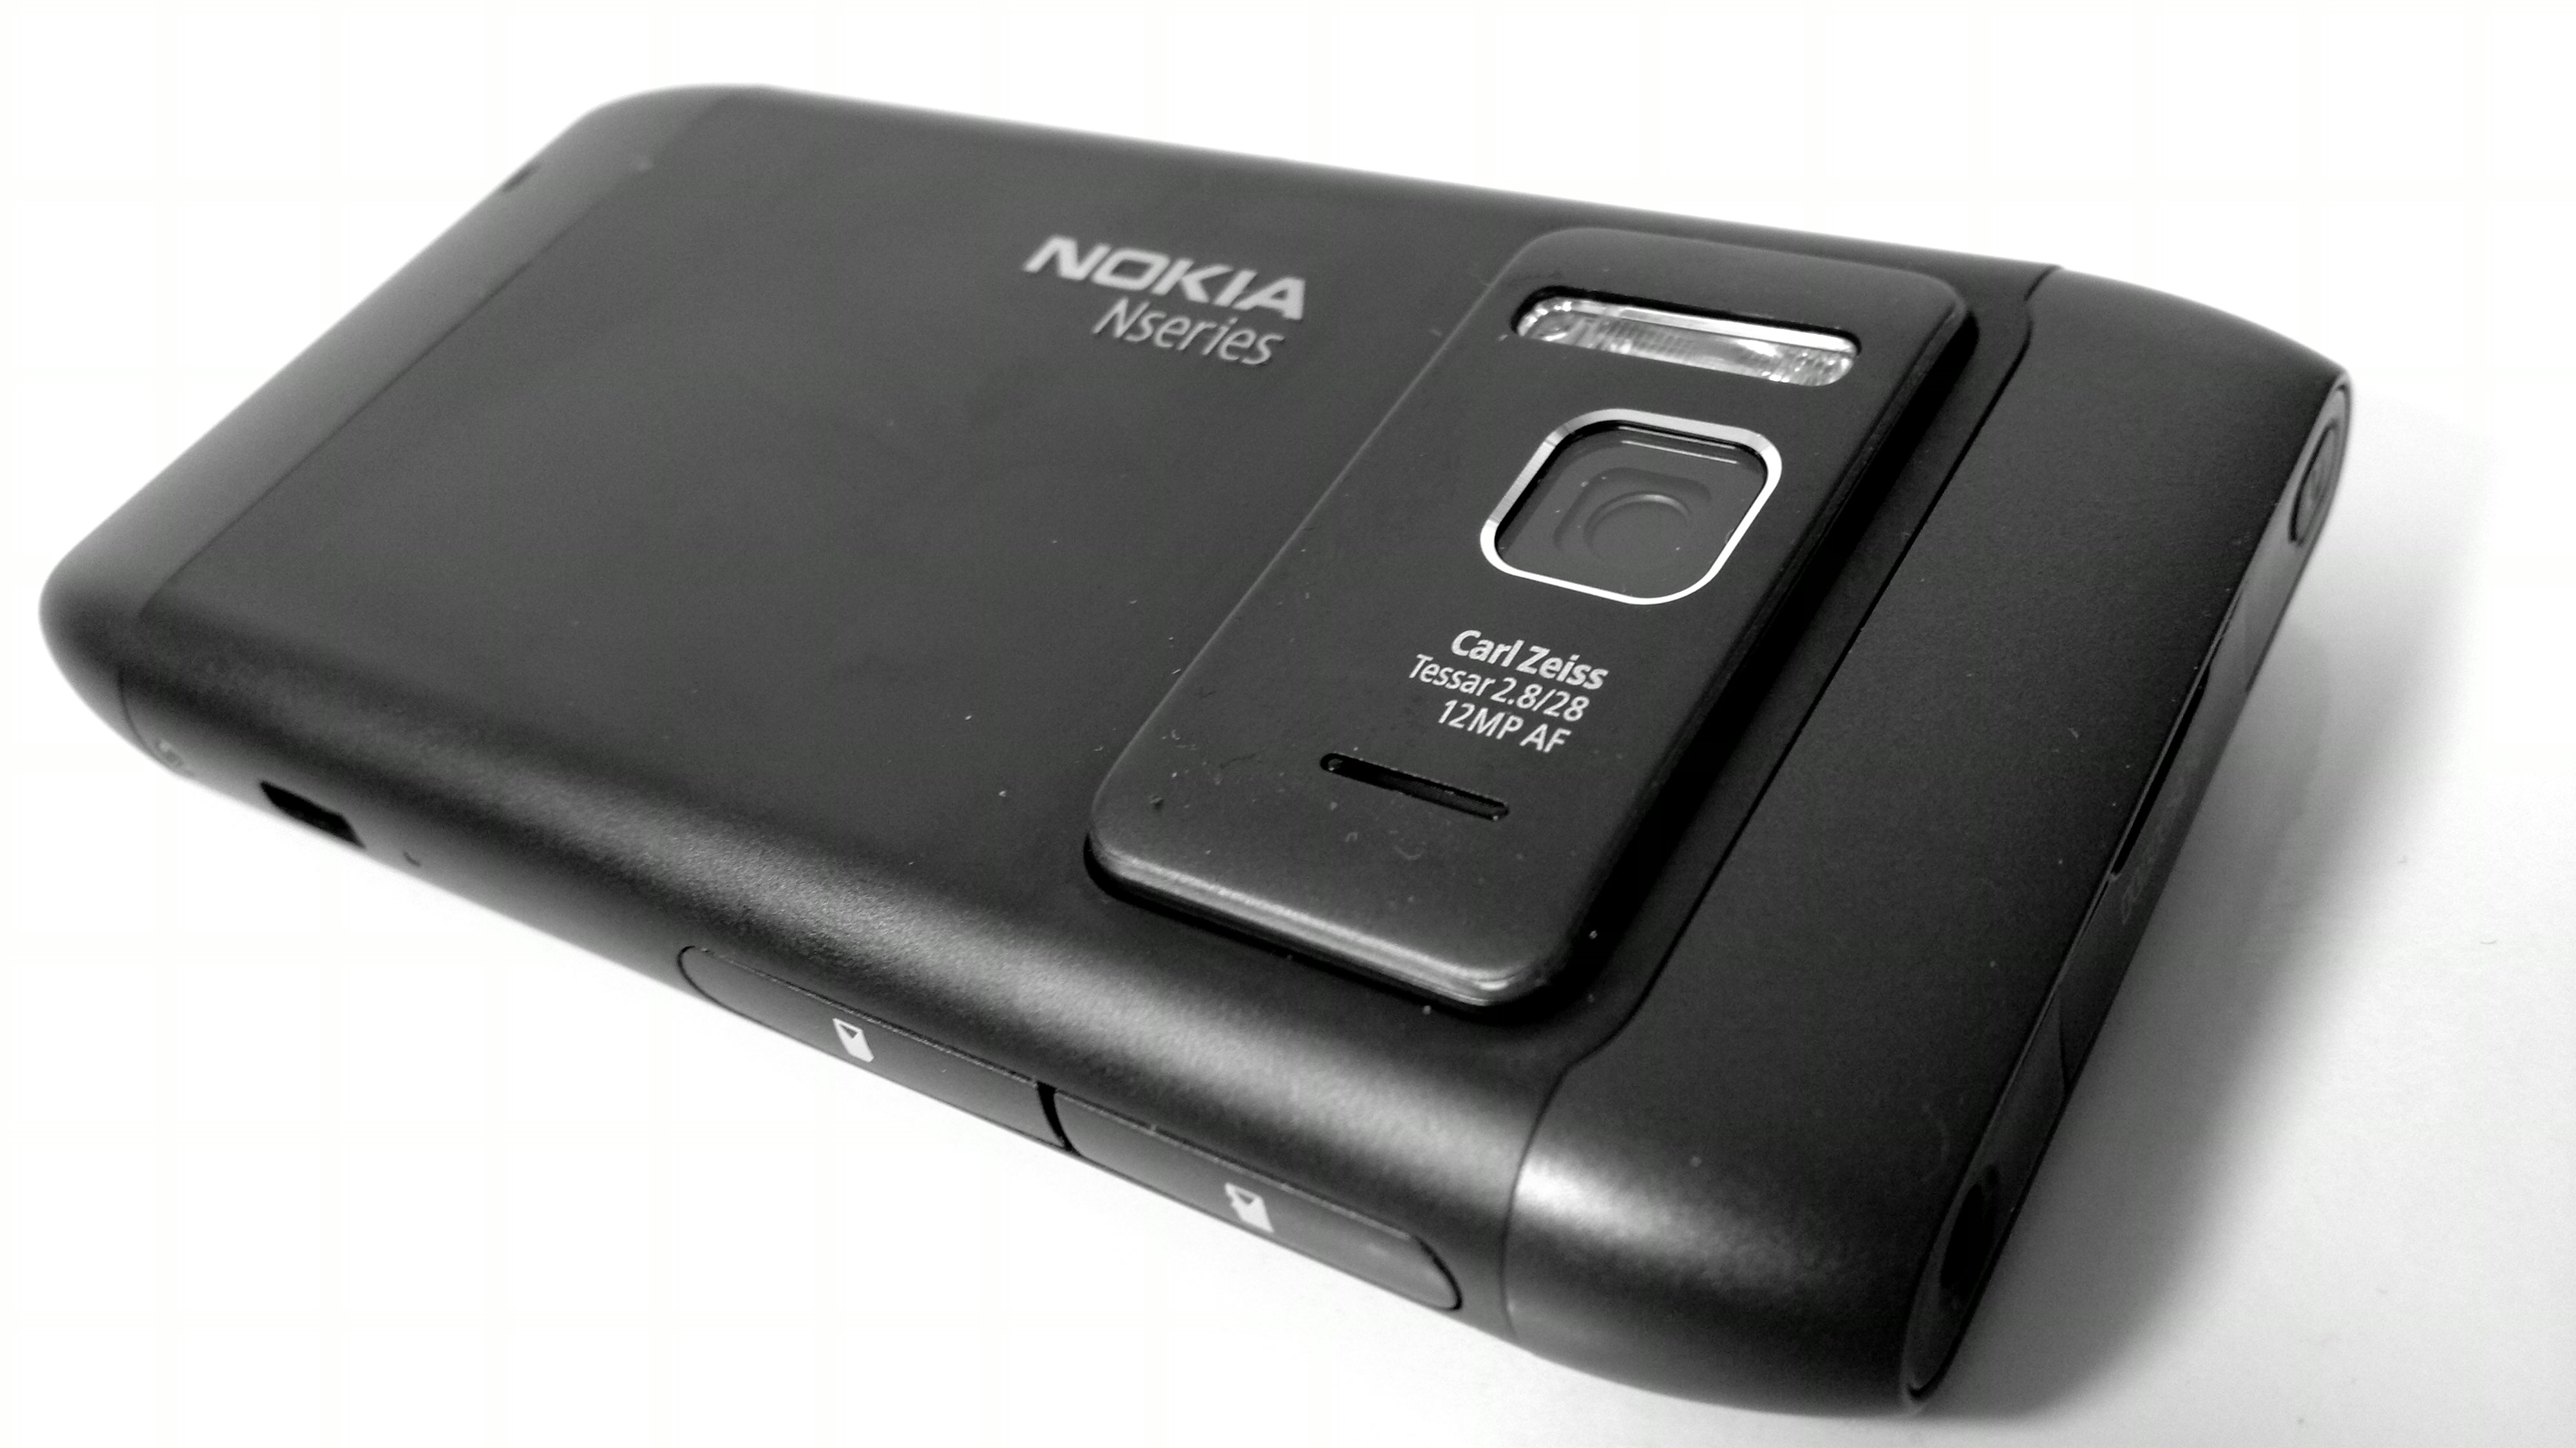
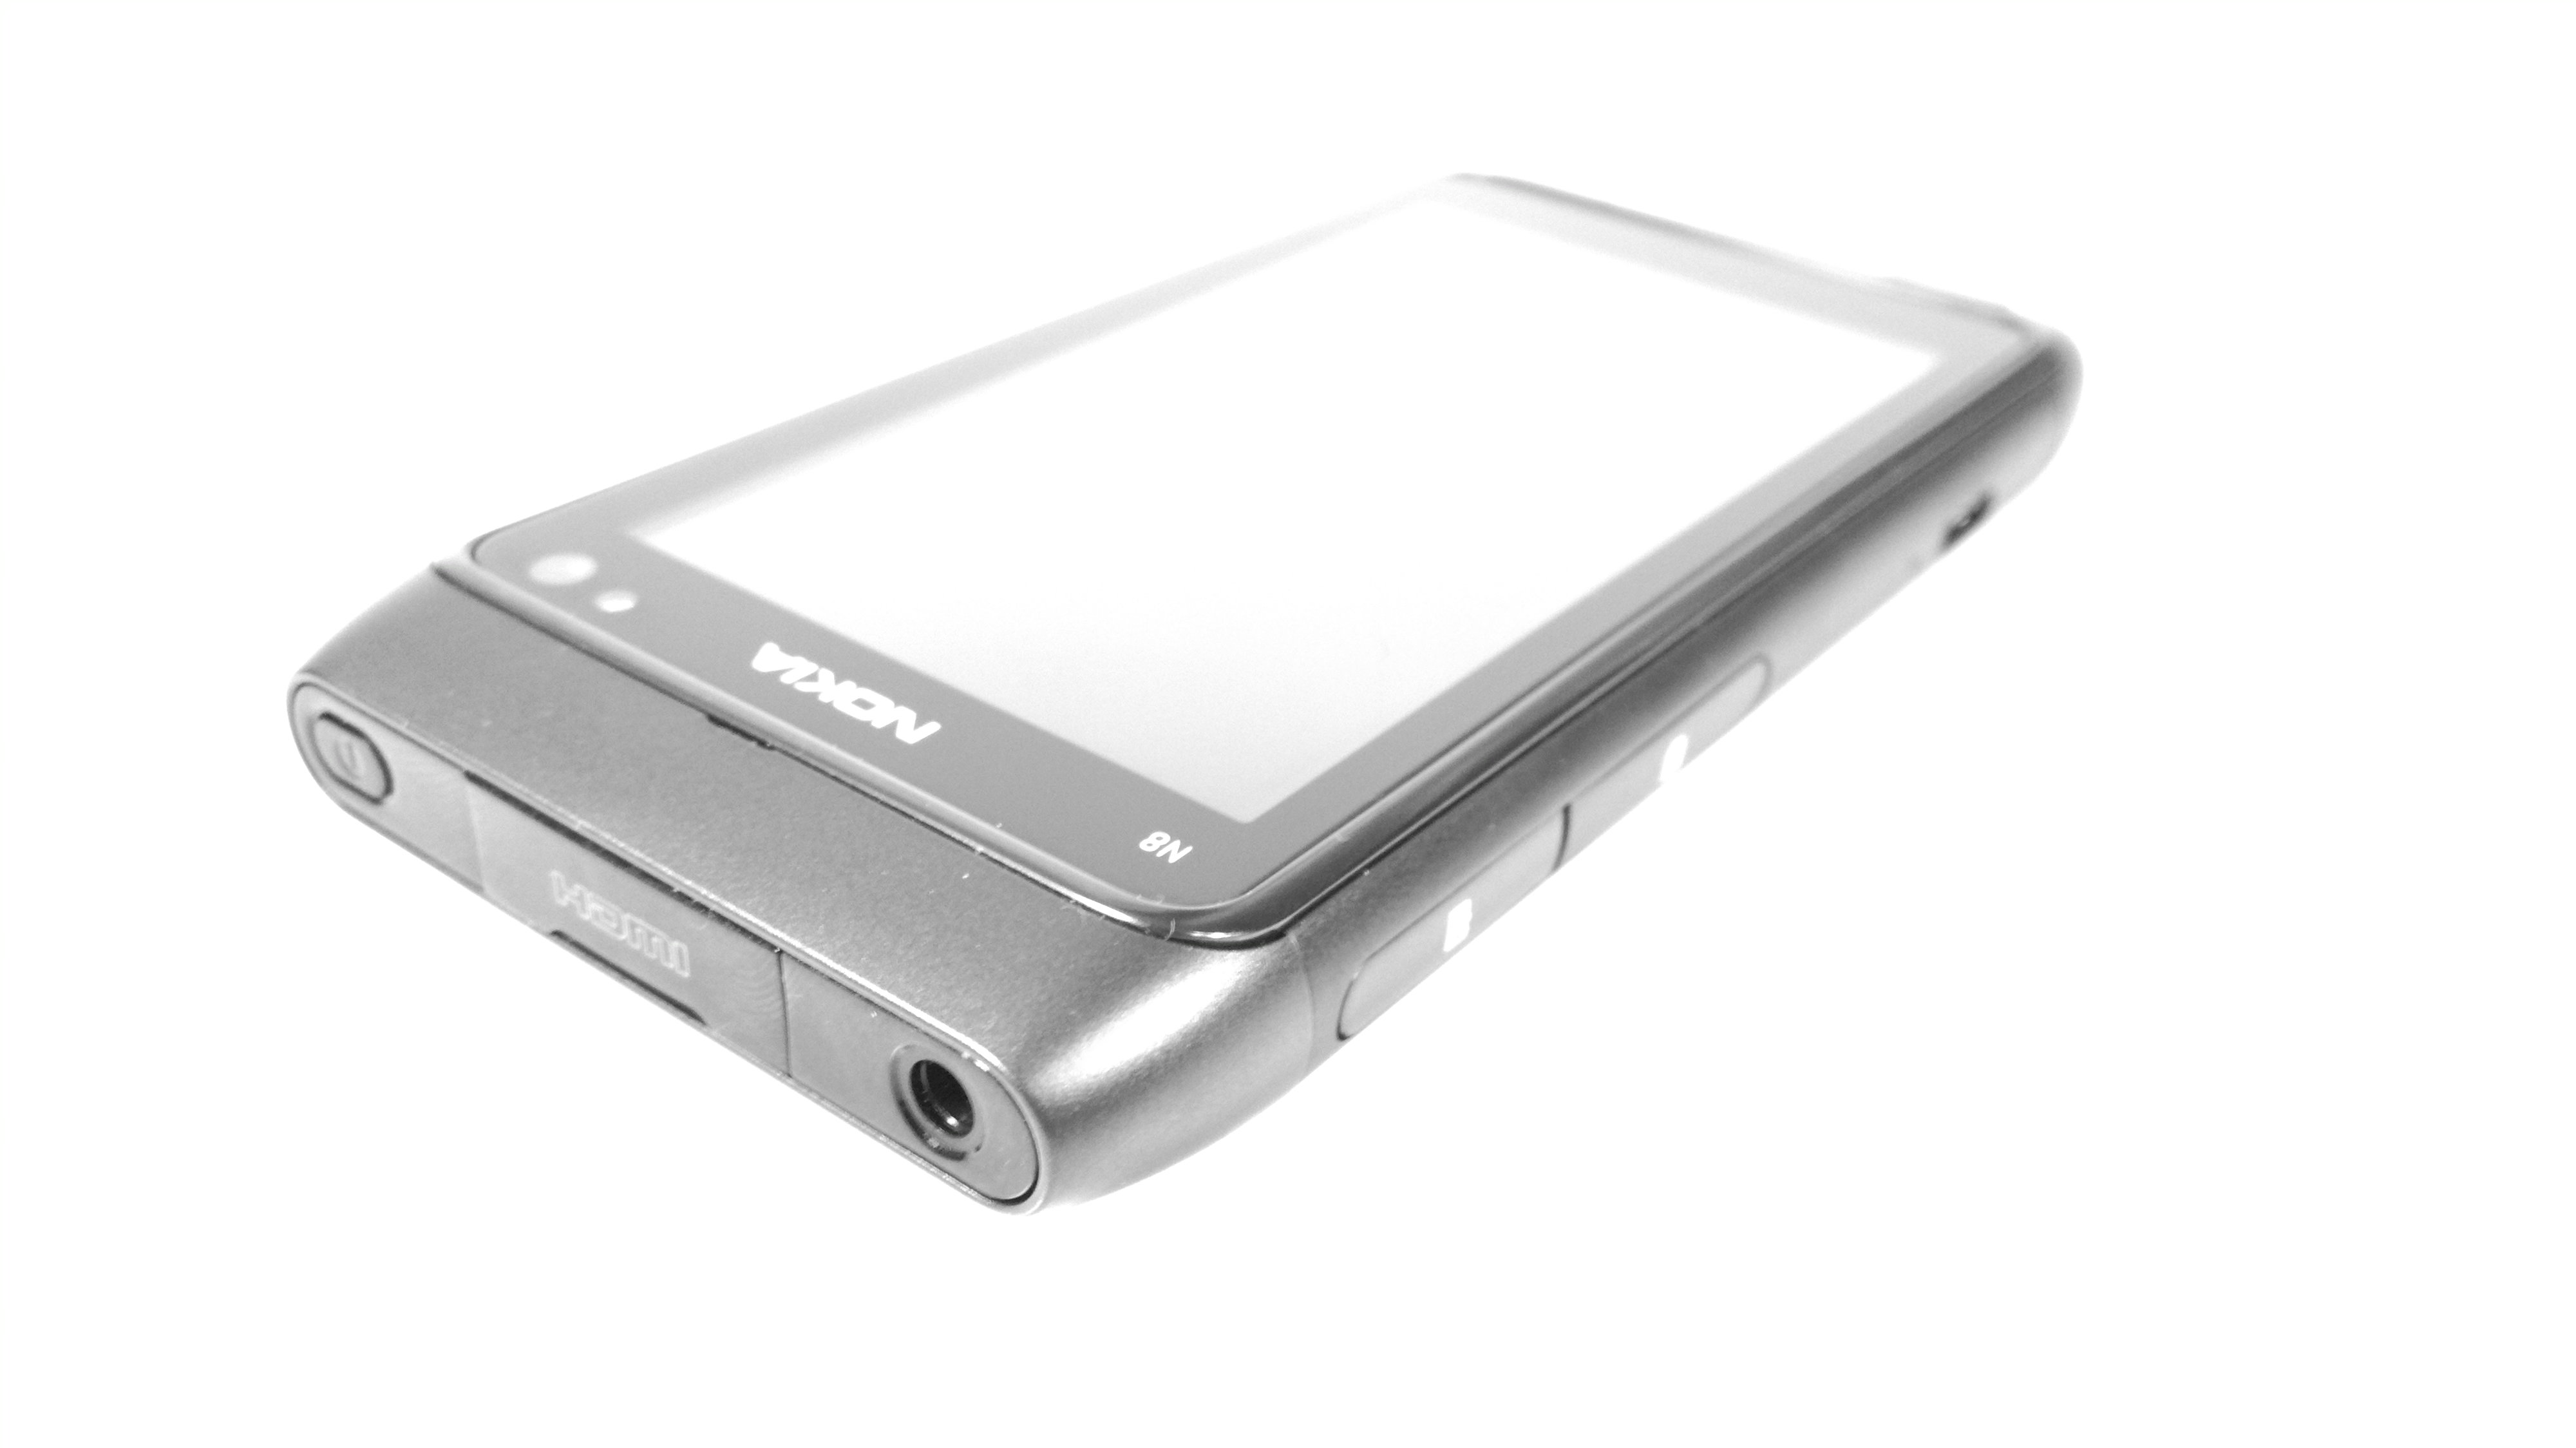
And voilà . N8 with completely white background. There are of course other methods to remove the blemishes to make a completely white background but this one is super quick and all straight from the Nokia N8. Now this shot is ready to add text to (as seen in first image, also done on N8).
It always helps though to give the photo editor a hand and reduce the amount of shadows/dark areas during the photo taking stage. When you get the hang of it, most of the time you won’t need to edit as the original photo is just right.

Here’s the full gallery of unedited pics (first 24. WordPress has decided to attach the N8 screenshots too).
As seen, a quick removal of certain darker patches/shadows or a crop here or there would sort them out but I’ve left them as is.


[Site note: I’m going to try using more page breaks as mynokiablog.com takes an awfully long time to load with oodles of pics and videos. Not noticeable on desktop with unlimited broadband but slower connections and limited mobile bandwidth, not to mention intensive for some browsers trying to load full site – it’s quite unfriendly. What do you guys think? Of course, folks might not read the full article due to not clicking the “Read More” link]
About the Author (Author Profile)
Hey, thanks for reading my post. My name is Jay and I'm a medical student at the University of Manchester. When I can, I blog here at mynokiablog.com and tweet now and again @jaymontano. We also have a twitter and facebook accounts @mynokiablog and  Facebook.com/mynokiablog. Check out the tips, guides and rules for commenting >>click<< Contact us at tips(@)mynokiablog.com or email me directly on jay[at]mynokiablog.comSubscribe
If you enjoyed this article, subscribe to receive more just like it.


Connect
Connect with us on the following social media platforms.